Holidays with the Huangs by Connie H. '15
a nondenominational celebration of capitalism and duck
I’ve been home for almost a week now and I’ve done nothing but sleep gratuitous amounts and eat animals I wasn’t aware still existed while lounging around in the most godawful turquoise bathrobe ever sold at Costco. (I refuse to wear anything else.) I’ve slowly been getting myself back to good health with the power of time, the love of my parents, and the mesquite goodness of Barbeque Lay’s (okay, so maybe to mediocre health).
And I can’t tell you how luxurious it is to wonder what I should be doing right now (nothing) or when I should stop doing something (whenever) or when I can go sleep or draw or watch 30 Rock or ponder (also whenever).
And finally being on break has let me catch up with some of my closest friends, make my eyebrows reasonably symmetric, watch Struck By Lightning while making my room look slightly less like a gulag…

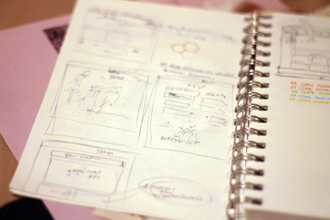
and start working on my sister’s wedding website…
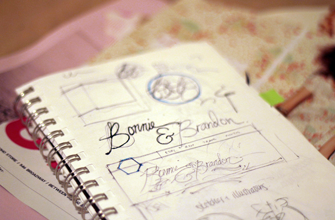
(Yes, my sister’s name is Bonnie. Yes, this makes me even more suspicious that my life is one big cosmic joke.)
And finally, I’ve been catching up on a number of DIY projects I’ve been meaning to get around to.
Here’s one to try if you have a DSLR. If you don’t, attack befriend the nearest hipster and then come back to the end of this post.
If you do, hopefully you have access to an obscene amount of holiday lights, a chandelier, or even streetlights.

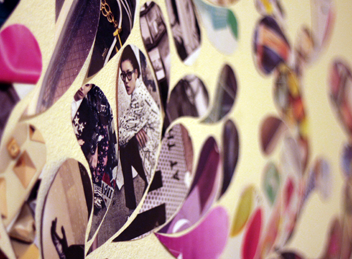
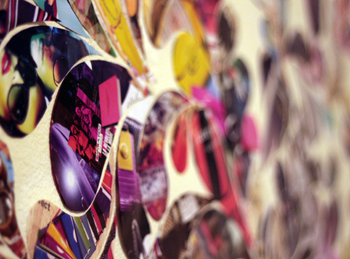
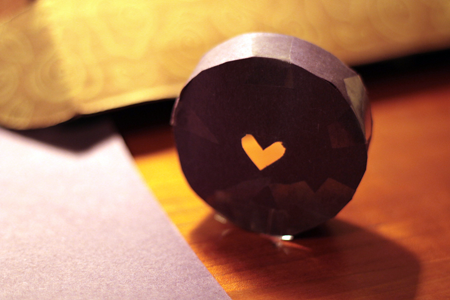
Create Your Own Bokeh — from DIY Photography
You need:
- a favorite shape
- a DSLR with a prime lens (large aperture)
- scissors or an exacto knife
- black/opaque paper or cardstock
- tape
- reasonable fine motor skills
- a pretty light source
Instructions:
- Ponder deeply until you discover your favorite shape. Perhaps listen to some Nawang Khechog.
- Locate opaque paper, the blacker the better. Trace your lens cap out on the paper loosely.
- Cut out another piece of paper as long as the circumference of the circle you just drew and about an inch thick.
- Cut out your favorite shape in the center of the circle — nothing larger than 15x15mm.
- Tape the sucker together by wrapping the long piece around the circle, securing the edges with tape.
- Pop the cover onto your camera lens. Turn your camera to the lowest aperture possible.
- Find your colorful light source of choice.
- Take gratuitous amounts of photos and dazzle your friends.
Your facebook cover photo will thank you.
But in all seriousness, get some rest. Pusheen out.