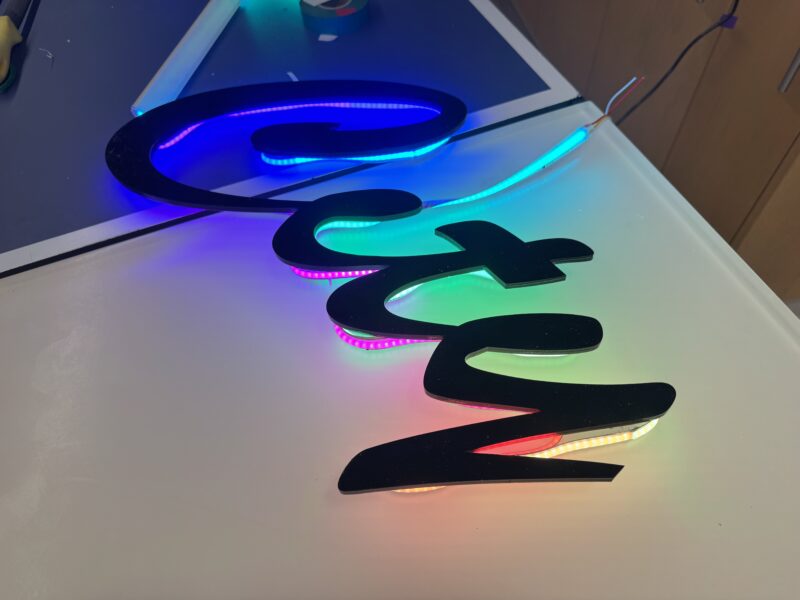
How to Build an LED Acrylic Sign by Richard O. '28
Your Complete Beginners Guide
I absolutely love the design process. Everything from coming up with an idea to bringing it to life are things I don’t think I can ever get sick of. So when a discussion came up during a house meeting about things we could do to change up the Chocolate City lounge space, I absolutely jumped at the idea of creating a new sign for our wall.
For reference, the previous sign was a printed banner which to me felt pretty old-school and was asking to be improved.
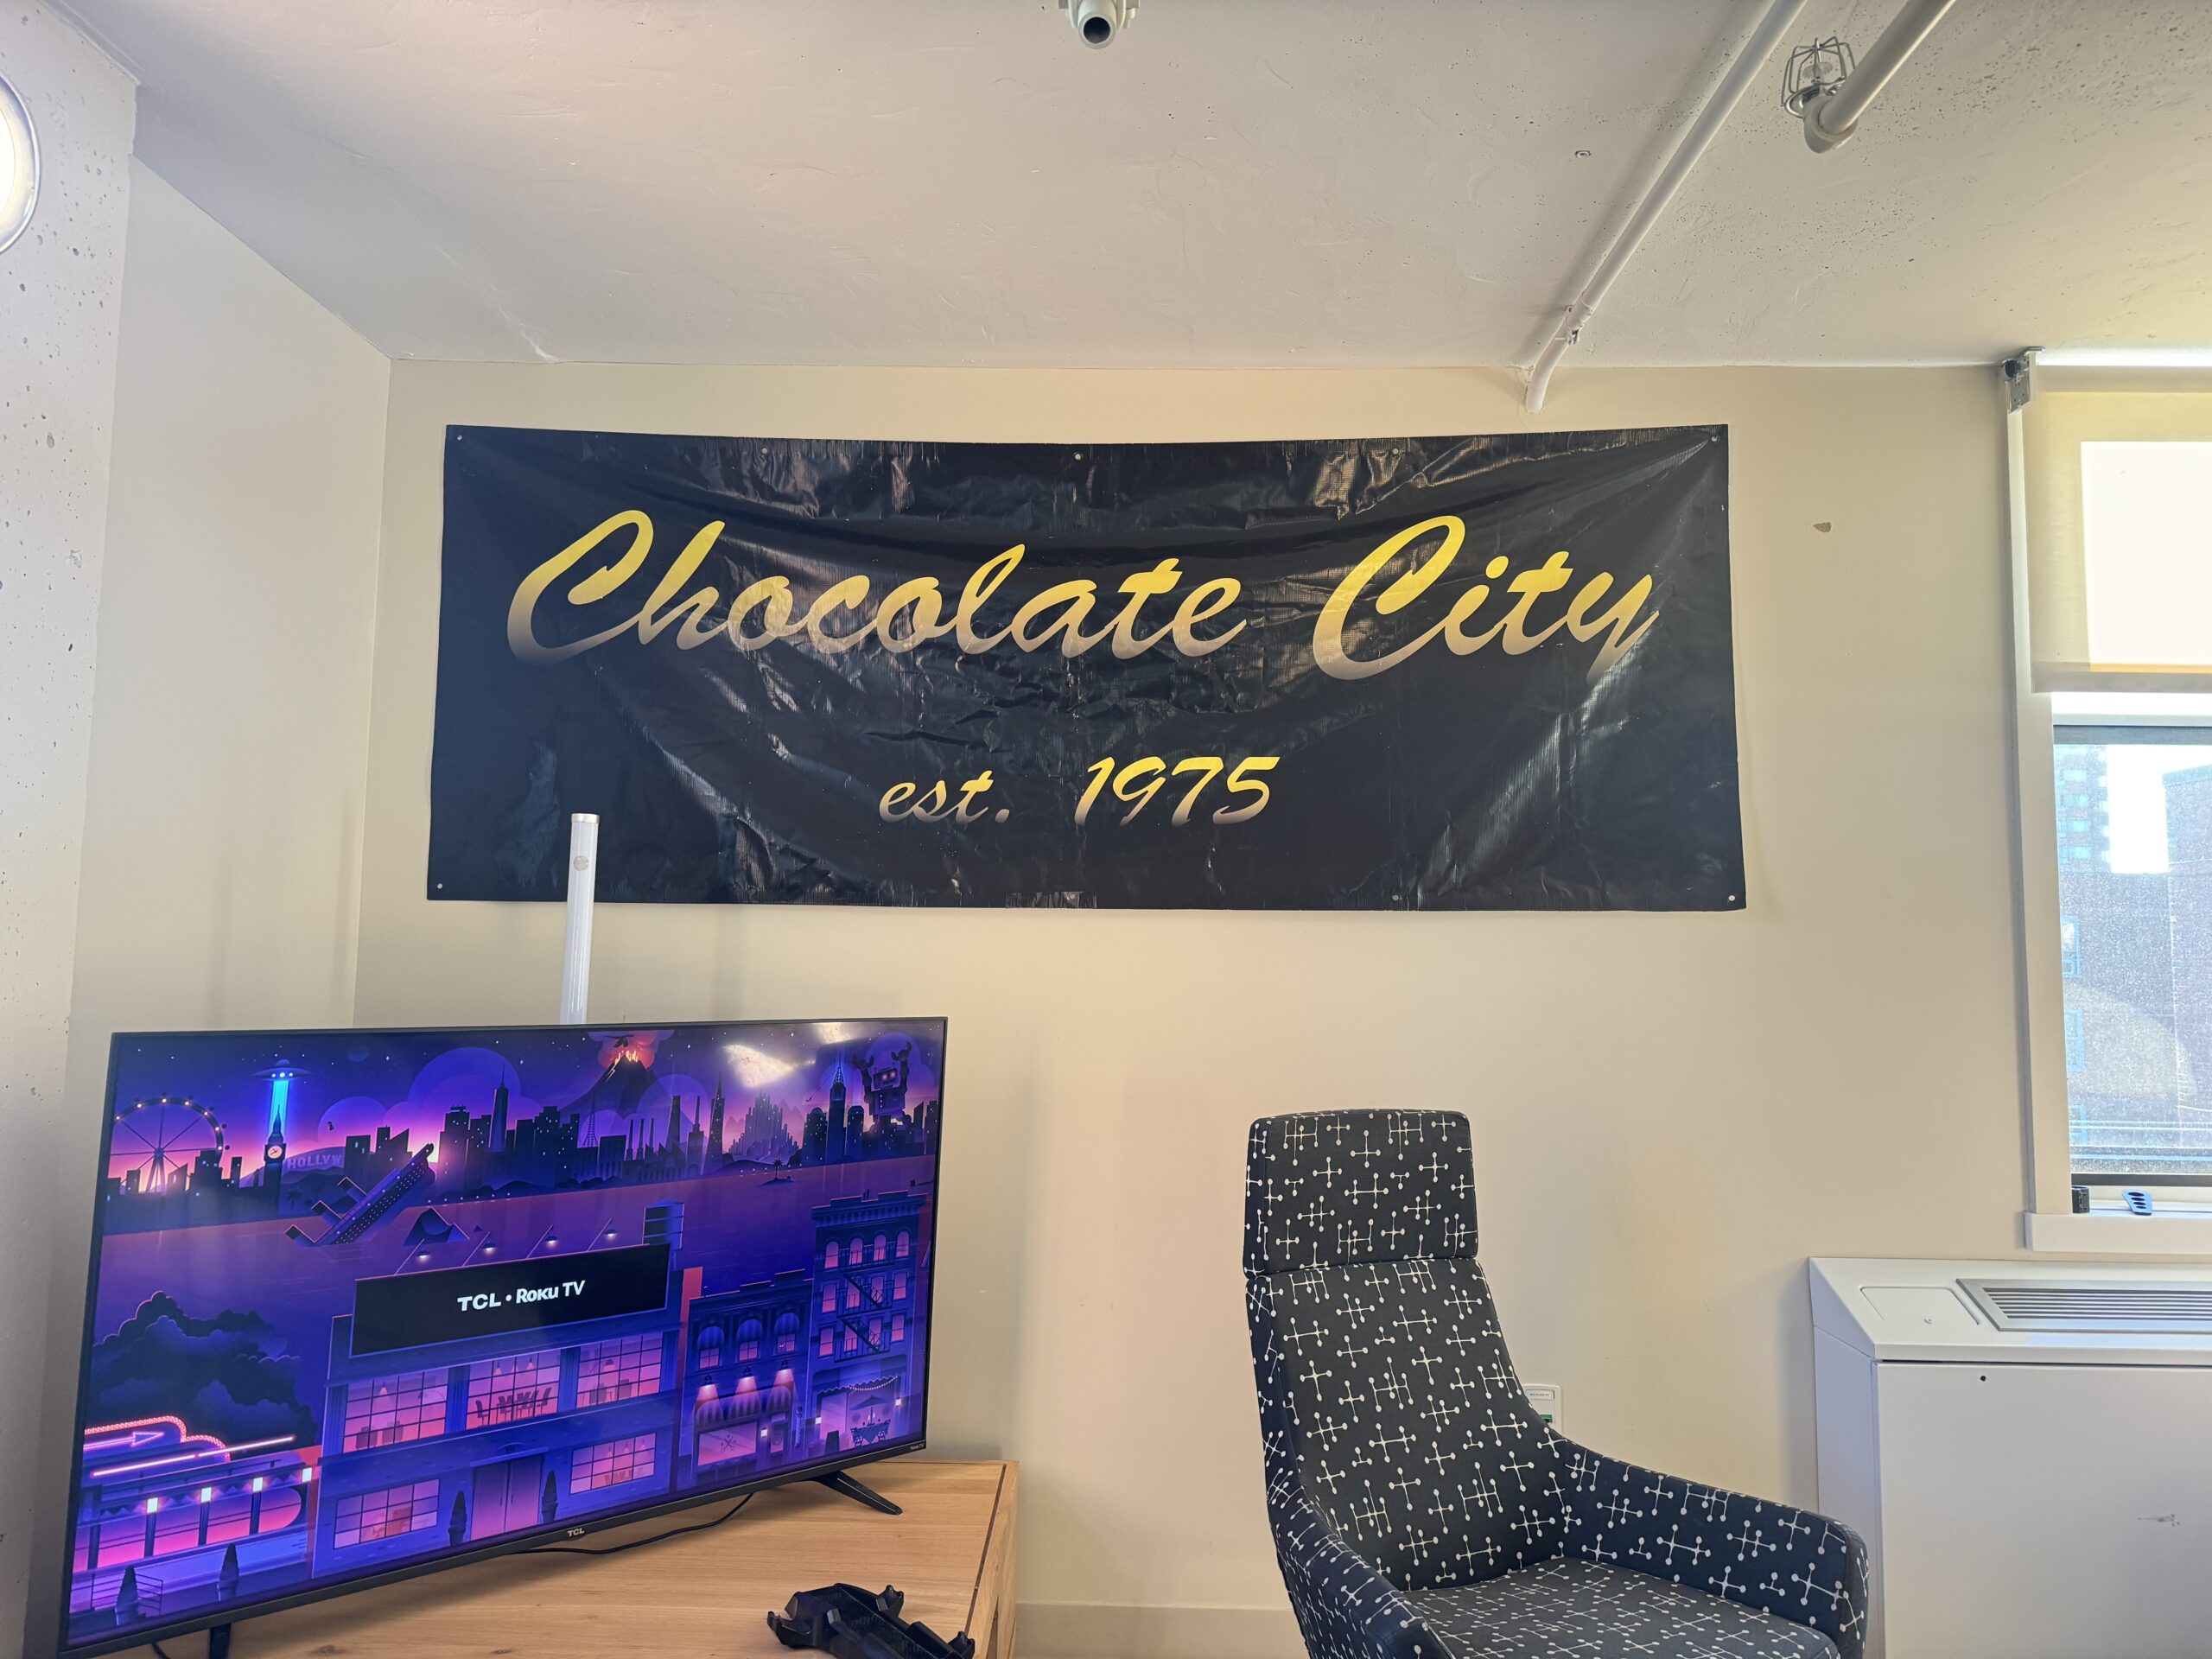
Old Sign
So with that, the following instructions will teach you how to make your very own acrylic signage from scratch!
Step 1: Visualize the sign in your designated space
Alright so I’m not like a super cracked Autodesk user or anything but I do love using Blender 01 <em>I highly recommend learning how to use Blender for everyone because it's 100% free and can really help you create and visualize pretty much whatever you want in 3D regardless of what you're doing</em> for visualizing my ideas. So before even discussing it with the rest of our house, I ended up drafting what the sign would look like using some pictures of the wall and created different 3D versions of the sign on top of the pictures to see what people thought.
Now at first, I had drafted these concepts using inspo from this one YouTube video and thought that maybe a modern font would look a lot more sleek on our wall. But of course, sometimes the cooler designs aren’t the most feasible since some of the brothers pointed out that the wiring for LEDs between each letter for the modern fonts would end up being exposed since we, unfortunately, can’t drill holes for wires into our wall. So thus the original cursive script font that I found by using whatthefont on our banner became the set style for the project.
Step 2: Discuss, Collect Measurements, and Create Files
With the idea approved, it was now time to actually brainstorm all the logistics behind getting the sign up. So to do this we created a group chat and began talking about things ranging from materials, to hanging the signs to LED options, to maker spaces to work on it, etc.
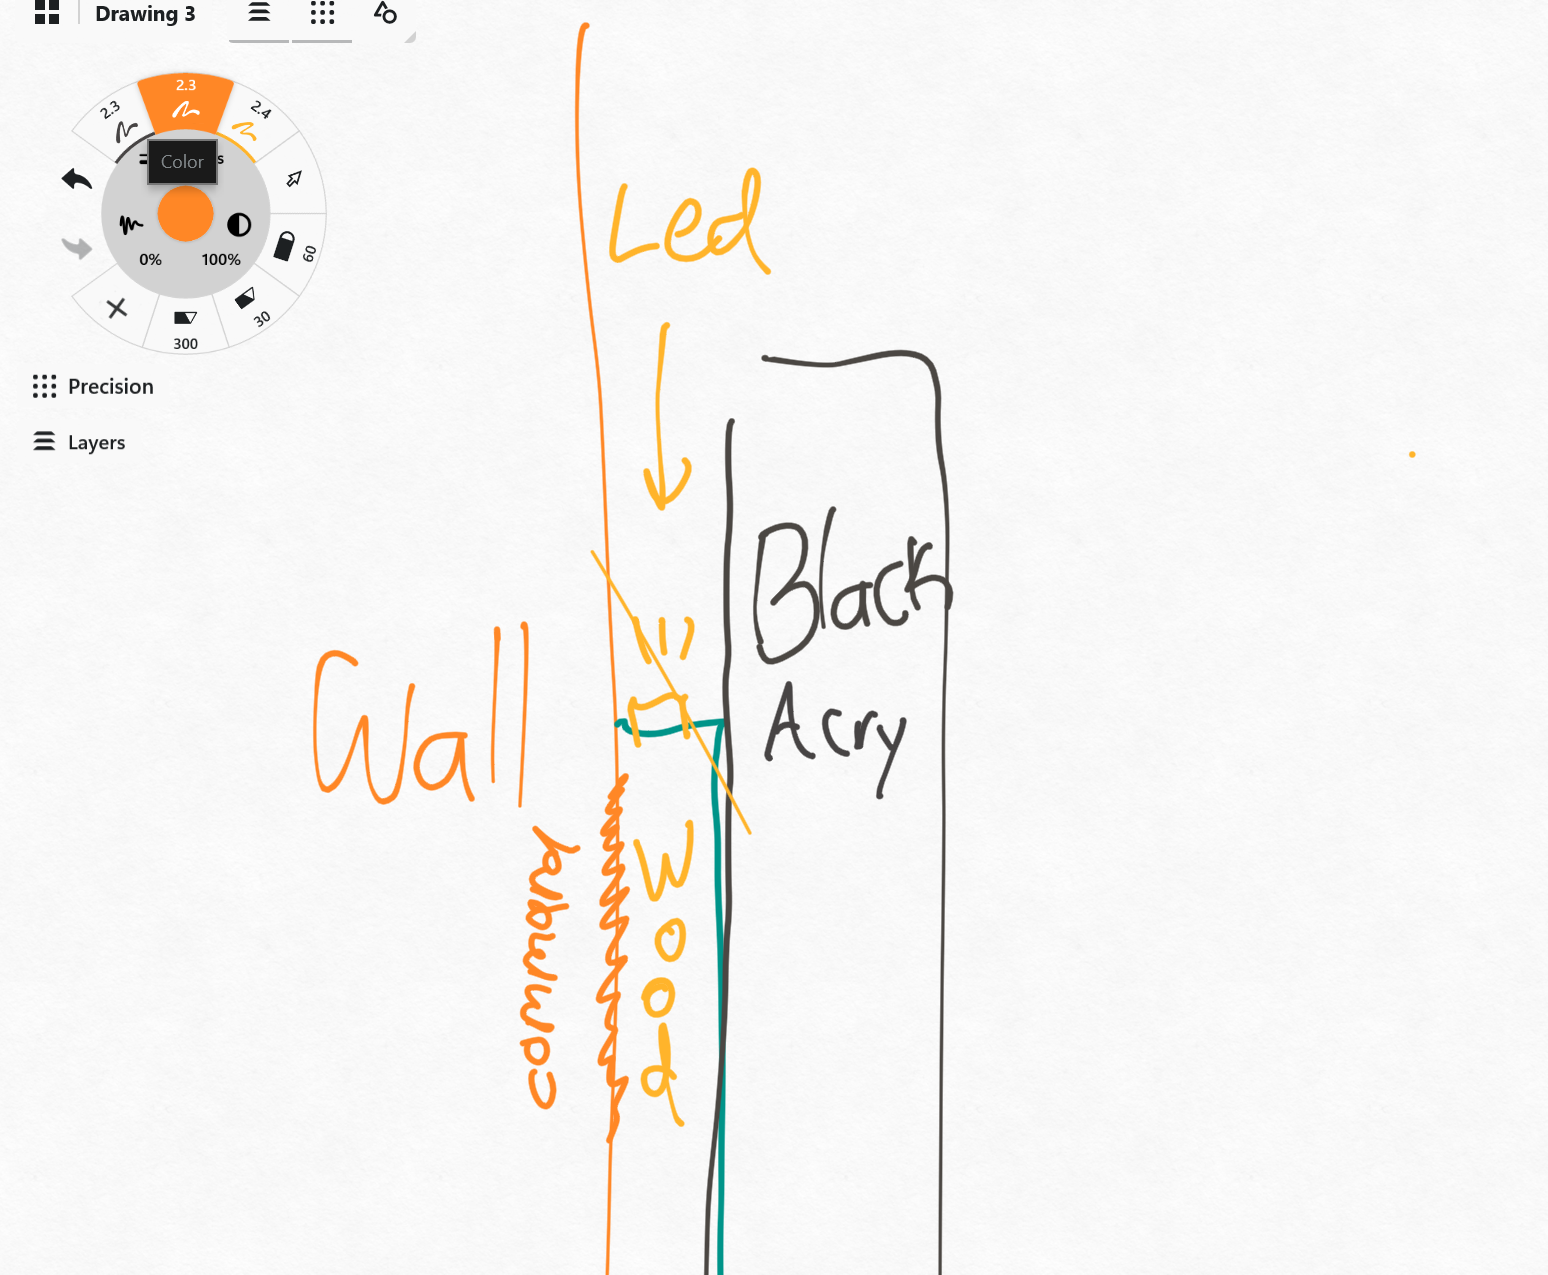
Not the most sophisticated sketch but pretty much explains the process
Next step was to see all the different arrangements of the wording we could make on different-sized acrylic sheets that would allow us to save money while maintaining the original size of the font from the banner. We then also realized that some laser cutters would have sizing restrictions so we ended up just getting four 12×24 sheets to be on the safe side with the word “Chocolate” being split between two sheets.
Afterwards, it was time to turn the letters into a format that could actually be read by the laser cutters. So to do this, I went back to Figma 02 <i>I also recommend learning how to use Figma. It's an amazing 2D graphic design app that's like Canva but so much better. It's 100% free and has both an online and desktop version. Trust me. It's the best tool ever. Can do anything from designing posters to presentations to websites on an infinite canvas.</i> to flatten the font so that instead of the words being treated like text, they would be treated like vector shapes. After flattening them, each of the letters became composed of line segments connected by individual points which you can see in the second picture and once I addressed some overlap issues, I then exported the words as SVG vector files and passed them along to my friend Ty who is a senior in the house that was more experienced in maker spaces than I was and helped convert those SVG files to DXF files more suitable for the cutter.
Step 3: Gather Your Ingredients
The following ingredients are specific to this recipe but can be adjusted accordingly for your own needs:
- four 24x12x(1/4) inch sheets of black glossy acrylic (Maybe 5-6 sheets if you follow step 6…)
- A buttload of command strips
- Epoxy packets
- 32FT of undiffused LED strips prior to step 6
- 32FT of much cooler, much more expensive diffused LED strips post step 6
- 1/2″ wooden square dowels
- A 60-70 watt Universal Systems Free Standing CO2 Laser Cutter (or something of the sort)
- Maybe a bandsaw if you wanna be fancy
- Pipe Cleaners
- Sand paper
- Clamps
- Cable covers that match your wall color (only if you can’t do wiring inside your walls)
- Scissors, pens, measuring tapes, and all the other basic stuff you might want
Step 4: Bake Your Acrylic in a 60 Watt Universal Systems Free Standing CO2 Laser Cutter
Laser cutters have to be the top 10 coolest things humans have ever built (the Colosseum would probably come in 11th place or something). Prior to this project I had never actually used one on my own but having both staff at the EDS 03 Cypress Engineering Design Studio which is a maker space here on campus maker space and a senior there that were willing to show me how to actually work one made the learning experience so much more fun. But like…you’re telling me a skinny automated lightsaber pretty much cut out these detailed shapes in like 2 minutes?
Anyways we started by lasering the “Choco” part and noticed that the cutter had offset the top of the letters from the bottom and started doing some weird stuff and not cutting right which led to us losing a sheet. But weirdly enough, one of the EDS staff who was helping us went into this back room of materials and walked out with the exact same sheet of glossy black acrylic we had been using in the exact same dimensions we had purchased and let us use it for free (absolute miracle). So before we tried again, we realized the alignment of the file on the bed was a little off and tested an adjustment to the cut with a piece of cardboard before using acrylic, and after some time we finally had the whole set cut out perfectly.
Also caught the sun perfectly aligned with a window while working on this and had to get a picture.
Step 5: Mix in the blocks for attaching to the wall and decorate with LEDS
With the acrylic cut, all that was left was to sand the back side, add some epoxy to hold wooden blocks that offset the sign from the wall, and attach the command strips that would keep the whole thing up to those blocks. Our initial plan was to cut a thinner version of the letters from a sheet of wood that we could glue to the back to have the acrylic protrude from for the LEDs but we learned that the laser cutters couldn’t cut 1/2-inch wood sheets which was the thickness we needed to have the LEDs face out so we ended up just cutting square blocks and gluing them to the back along the letters. After attaching those blocks we then wrapped the strips along the edge so they would make the wall glow without actually being seen.
Now after we had the sign up…it was a nice moment you know…the idea had finally come alive on our wall. But me being the person I am, I knew the sign had so much more potential. My first issue came with the LEDs themselves…something about them being spotty just felt too tacky to me and didn’t match the vision of the sign I had in my mind. To add to that, because we started wrapping the LEDs from the “C” in chocolate, the wire to power them had to come out the side and just looked too obvious and less integrated. And when showing the sign to the rest of the house I accidentally dropped the “est.” which foreshadowed worse to come.
So after it hung up for like a day I was able to convince people that the overly price diffused LED strips would just make the whole thing so much better…and we bought them.
Once they arrived, all that was left was to remove the sign from the wall, replace the LEDs, measure out the cable covers, and put it right back up…right…
Step 6: COMPLETELY OPTIONAL – Accidentally drop the sign so part of it shatters forcing you to restart…
Wrong.
So basically once I got help taking the sign off, I started thinking about the best way to hide the wires and found that there was a pipe along the ceiling that I could hide the cables with if we wrapped the LED strip starting from the letter “i” in “City” (this will make more sense in a picture below). So with that, I wanted to measure how long we would need to cut the cable cover to hide the wire from the letter “i” up to the pipe at the ceiling. And of course, the best way to do that would be to put the word “City” back up and measure the distance from the top of the i to the ceiling…
But you see…sometimes I don’t really think things through because when I put the “City” up, I only pressed down on two of the top-most command strips to hold it up because in my head I thought: “Oh I don’t need to press it into all the command strips, this will only take three seconds and I’ll just take it right down”. And of course, gravity wasn’t on my side that day…
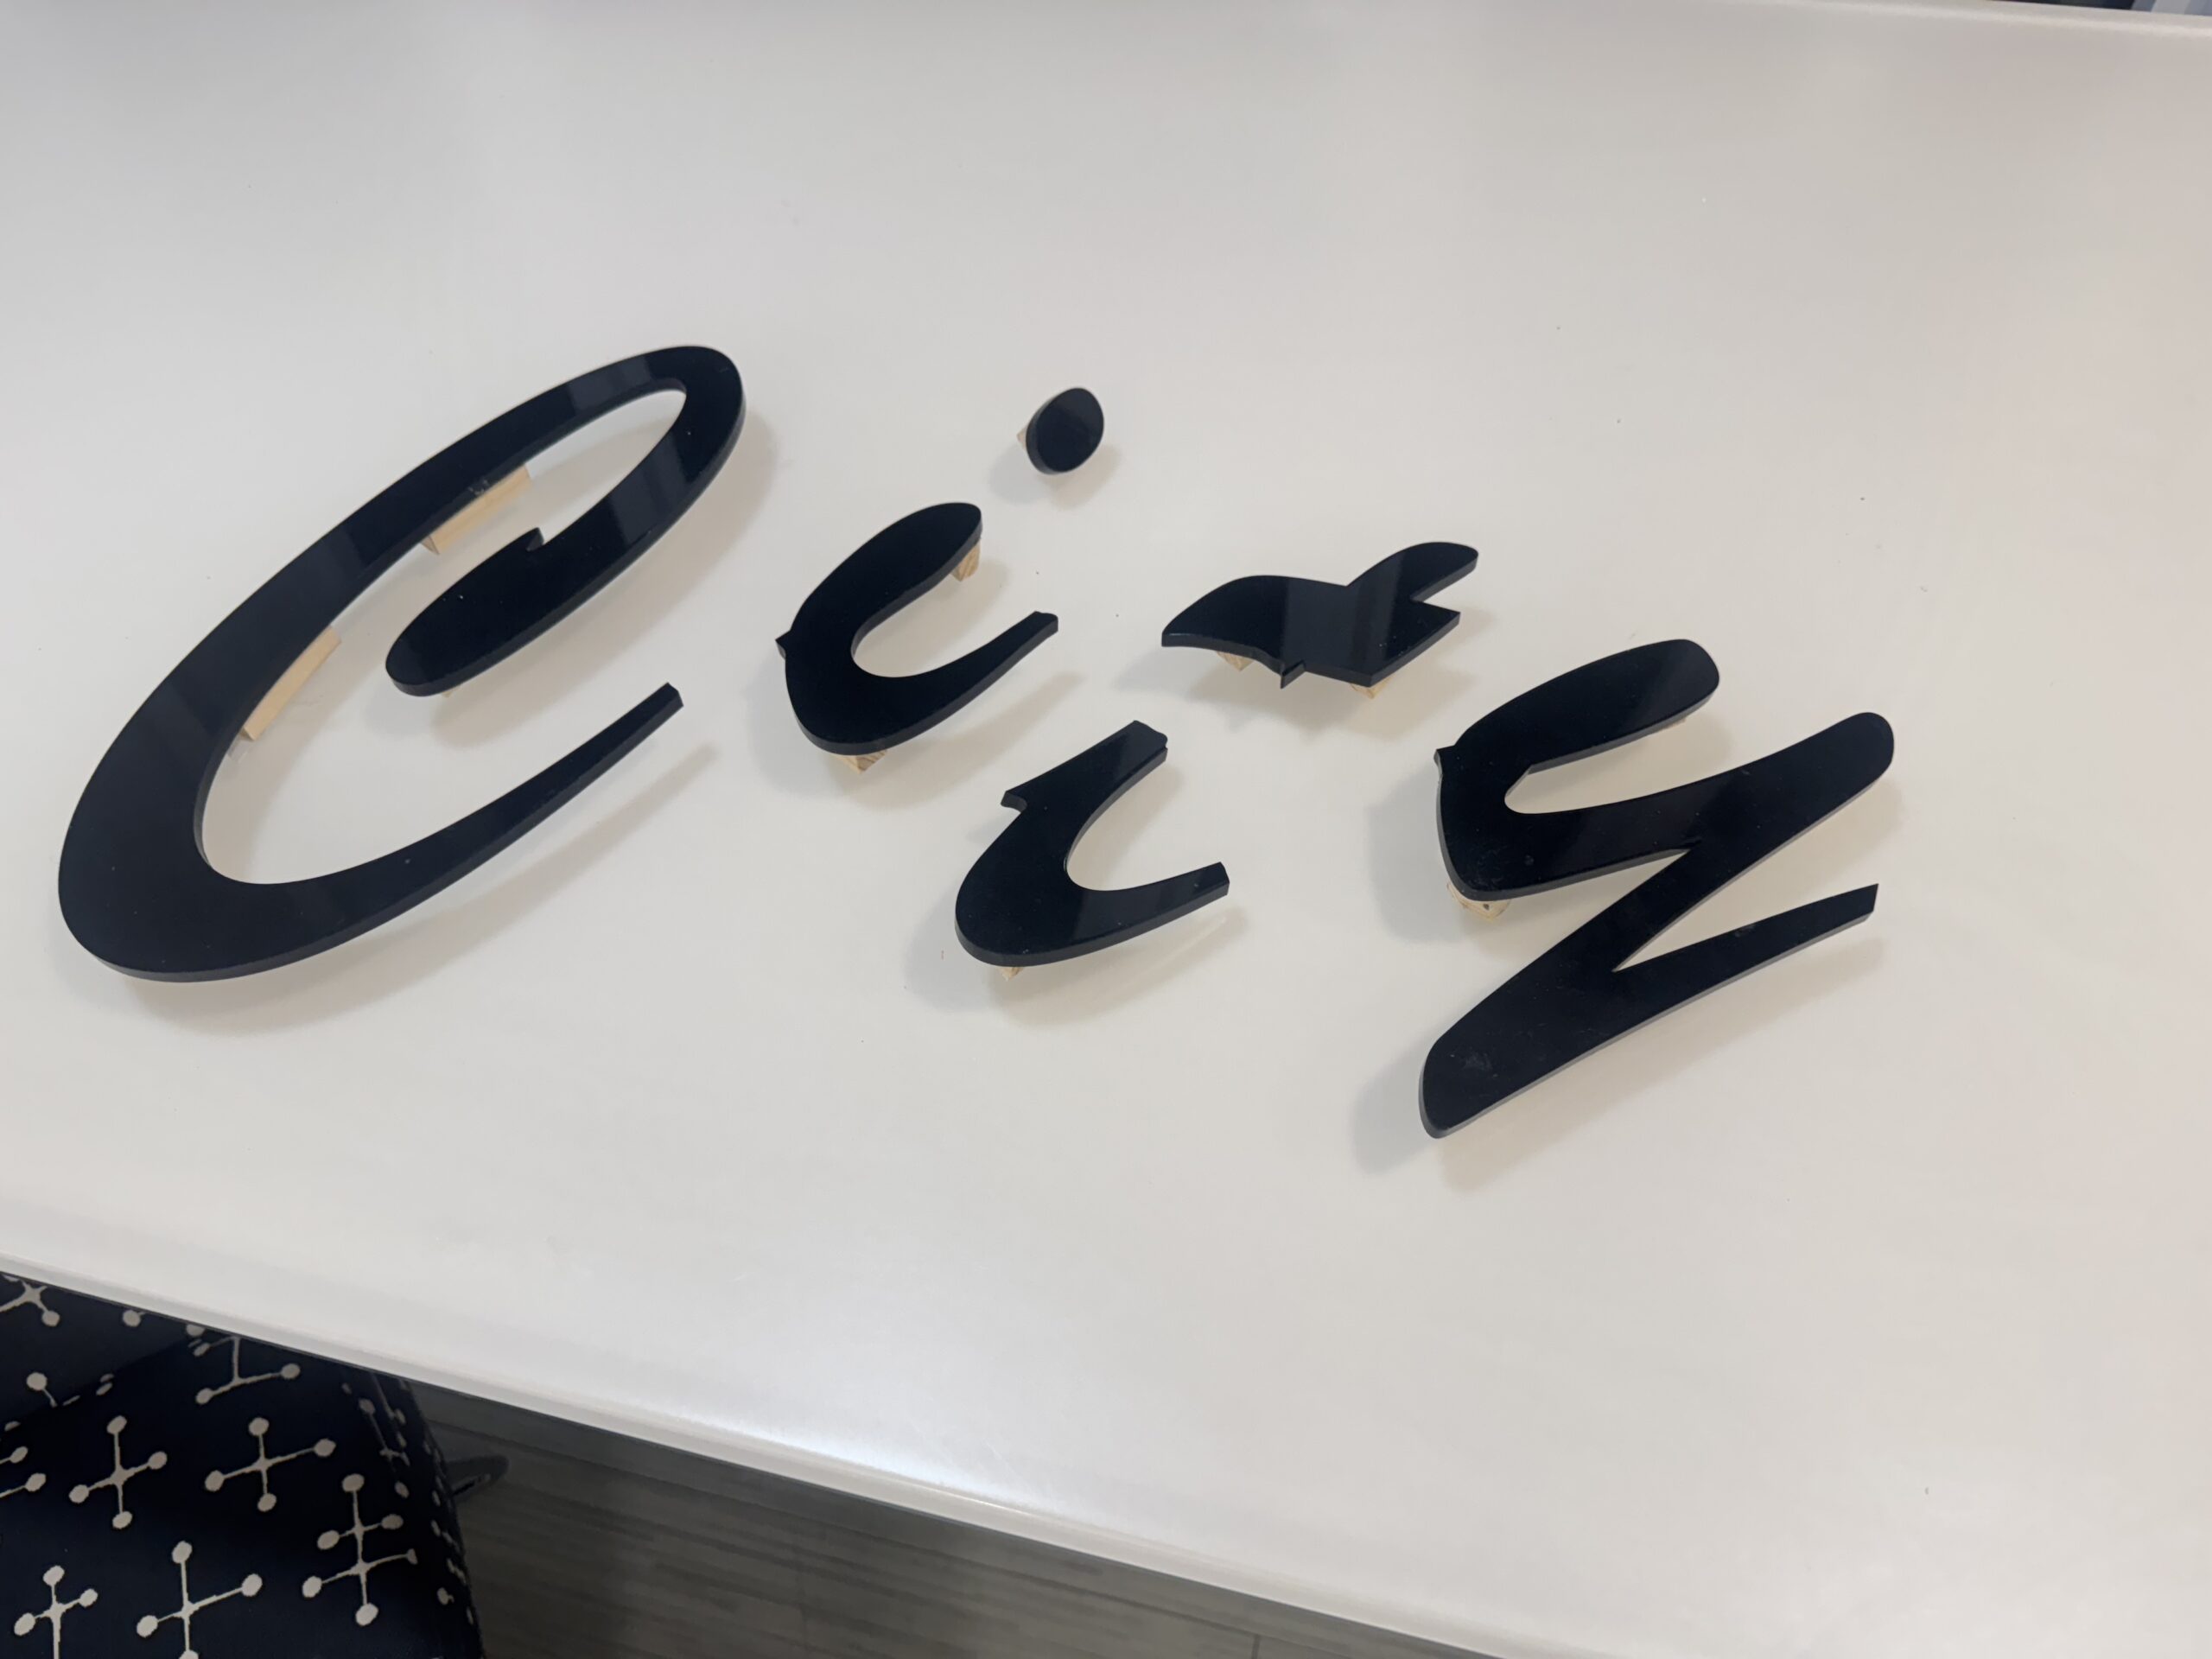
💔
So the City came crumbling down and had to be rebuilt.
So back to EDS I went carrying acrylic sheets to re-laser the City and made another cardboard cutout to test the laser before putting the acrylic in but also realized after making it that I could use that same cardboard to measure the cable cover length the second time without breaking any actual acrylic.
Step 7: Add your newly purchased diffused lights, adjust the wiring, and trust the process
Now was the time. The diffused lights were so much brighter, colorful, and…actually diffused and I couldn’t contain my excitement as I wrapped them for this newer version. The strip was also a lot thicker this time though, so I had to do some weird stuff with pipe cleaners and electrical tape to keep it in place…but you just have to trust the process…
Step 8: Put it up again and enjoy!
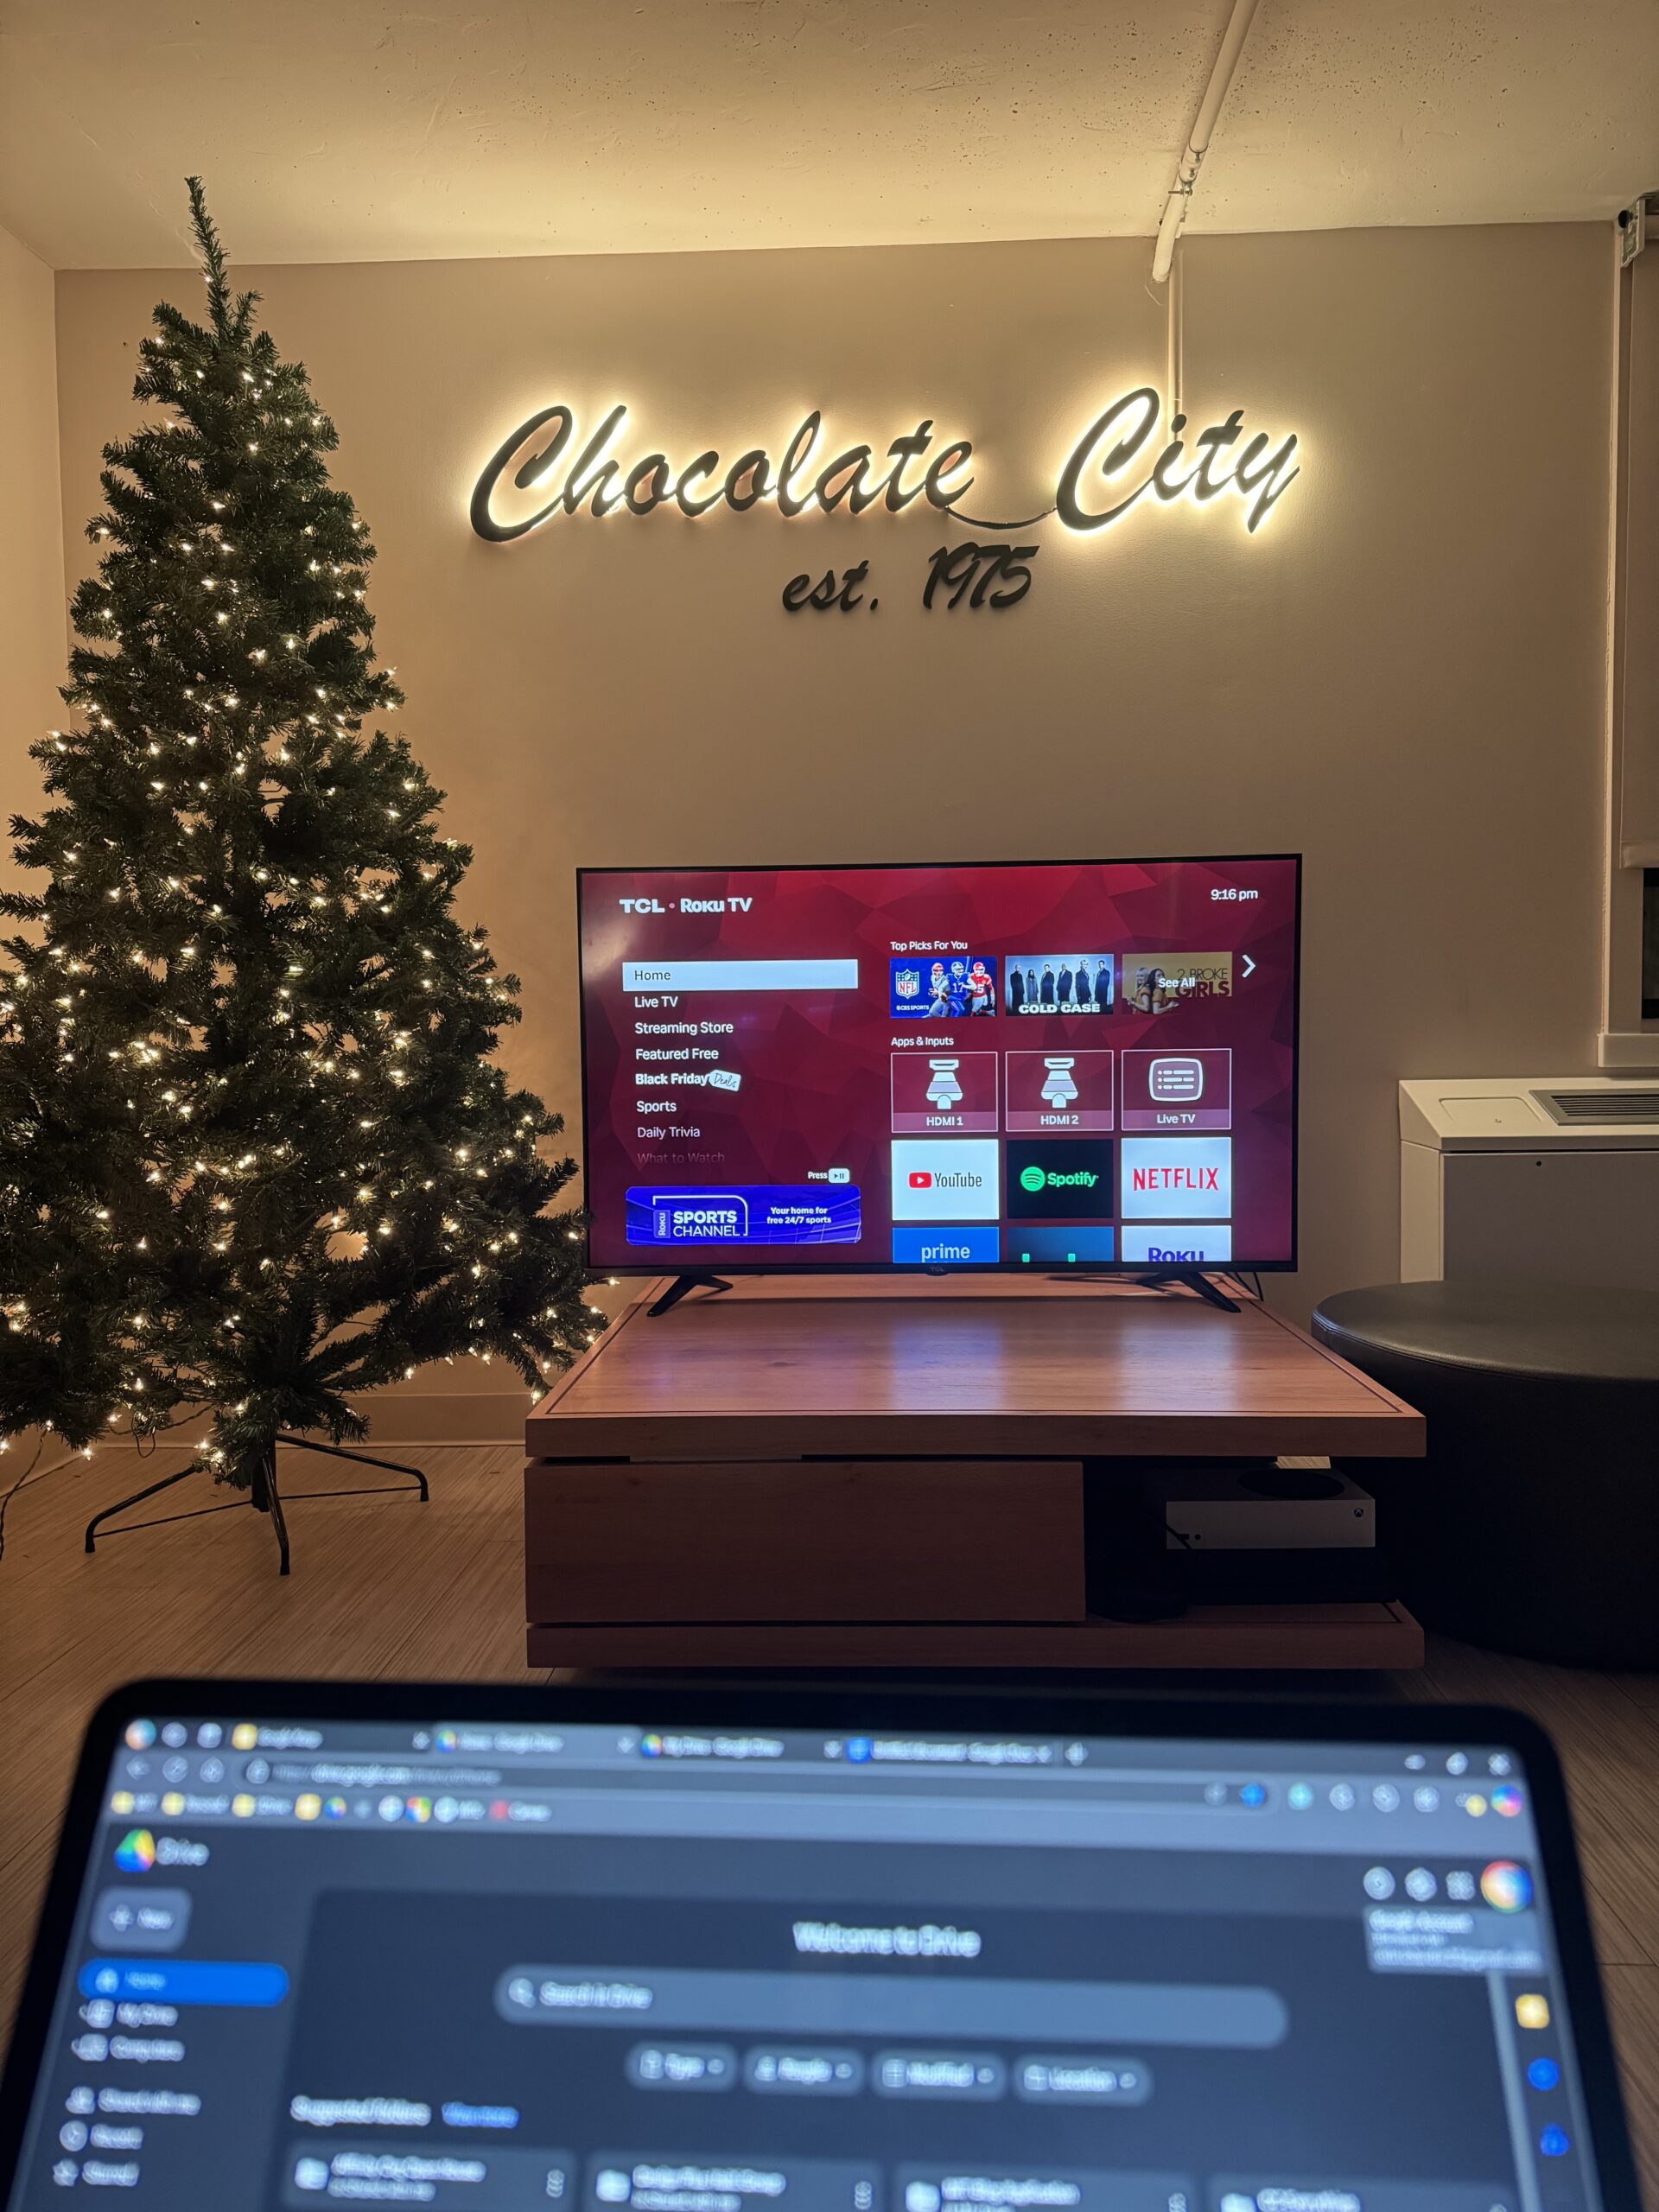
And nothing fully completes your finished acrylic sign more than a Christmas tree for the upcoming holiday season!
And there you have it, your very own acrylic sign! Make sure to store at room temperature and keep away from children.
- I highly recommend learning how to use Blender for everyone because it's 100% free and can really help you create and visualize pretty much whatever you want in 3D regardless of what you're doing back to text ↑
- "I also recommend learning how to use Figma. It's an amazing 2D graphic design app that's like Canva but so much better. It's 100% free and has both an online and desktop version. Trust me. It's the best tool ever. Can do anything from designing posters to presentations to websites on an infinite canvas." back to text ↑
- Cypress Engineering Design Studio which is a maker space here on campus back to text ↑


