
Solar Catsby by Andi Q. '25
Turning my little ray of sunshine into a solar cell
Meet Catsby:
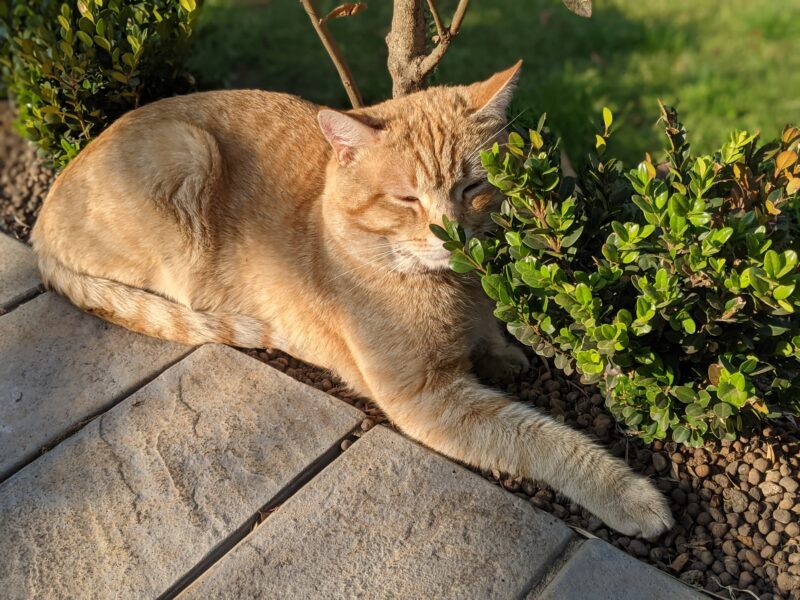
He was a sweet boy who loved food, sleeping in the dirt, and sunbathing. Sadly, he passed away shortly after I moved to MIT. I was devastated, but luckily, I still have many pictures to remind me of him. This semester, I was fortunate enough to take a class at MIT.nano where I immortalized one of those pictures as a solar cell!

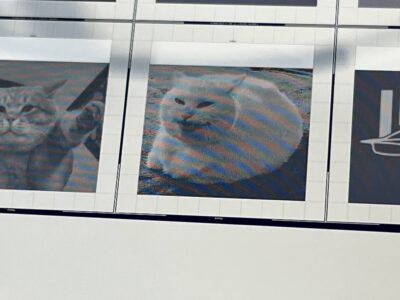
(The cat to the right is a random cat I found online.)
The inspiration
MIT.nano is MIT’s state-of-the-art research facility for nanoscale science and engineering. Built near the end of 2018, it houses the most sophisticated nanofabrication facilities of any university in the world. At the heart of it is a cleanroom with a vast array of advanced (and expensive) machinery used to control and measure material properties down to the nanometer – that’s a billionth of a meter!

Since MIT.nano’s inception, researchers have used the space for all kinds of high-tech research, from paper-thin loudspeakers to new drugs to treat cancer. Almost everything created there is super exciting, so naturally, the MIT.nano staff want students to get excited about it too.
To that end, undergraduates like me get to take classes where we work in the cleanroom to design and fabricate our own nanotechnology. These classes range from 3-hour-long “etch a tiny image onto silicon” seminars (designed to show off the facilities) to semester-long courses where students create novel microelectronic devices using MIT.nano’s equipment.
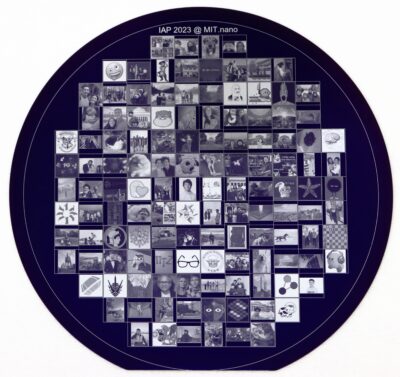
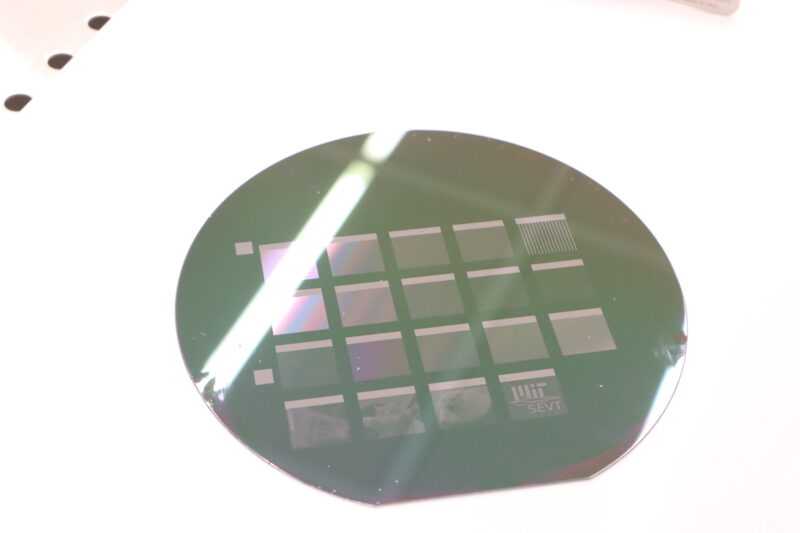
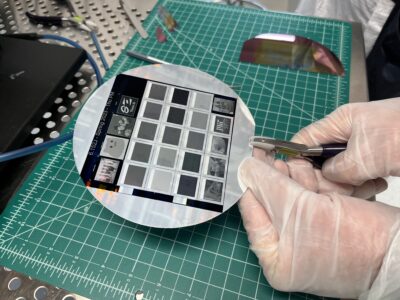
This wafer contains everyone’s submitted pictures from this past IAP’s seminars.
I’m taking one of those classes this semester – 3.155J/6.2600J (micro/nano processing technologies). In lectures, we learn about semiconductors and nanofabrication techniques; in labs, we apply that knowledge and make devices like microfluidic chips, thin-film transistors, and eventually a device that we design.
Without a doubt, 6.2600 is the most magical and exciting class I’ve taken at MIT – and it has only been four weeks! The lectures are fun and engaging01 Shoutout to Jorg’s top-tier memes and Jesús’s wholesome efforts to learn everyone’s name. , the class policies are fair02 We get extra late hours whenever the course staff take too long to grade our homework. , and students can augment lab assignments with their own designs if they put in some extra work.
Our first lab project is fabricating solar cells from scratch, which involves testing fifteen different designs to see which is the most efficient:
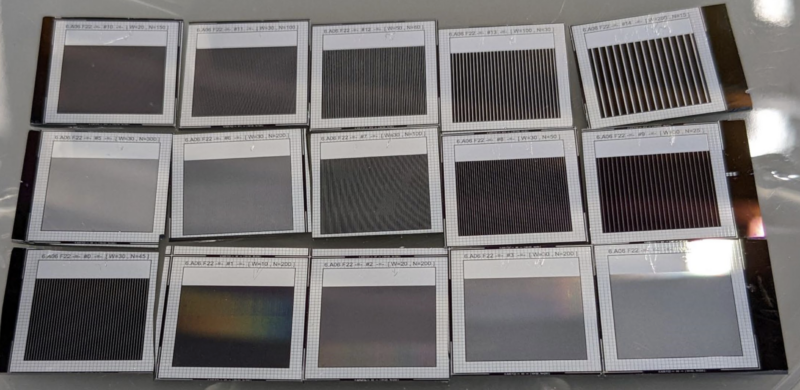
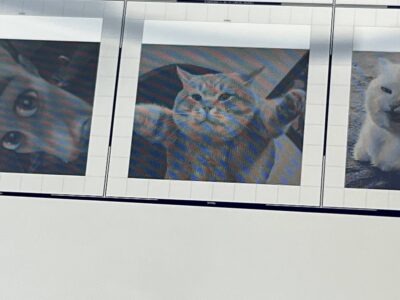
Each silicon wafer can fit 25 solar cells, so we had space left for other designs. The original plan was for students to submit pictures to be etched inside those extra spaces as decorations, but I felt more ambitious – I wanted to take a picture and turn it into a full-on solar cell.
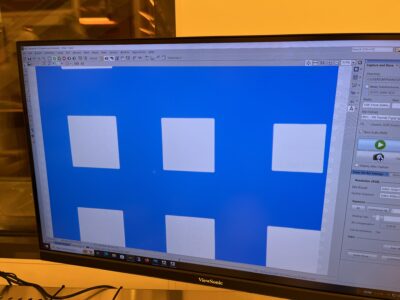
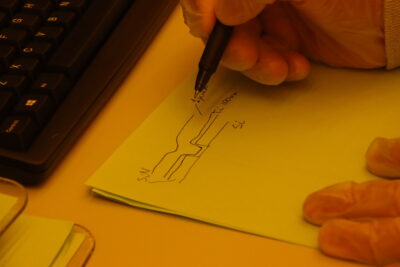
Creating the design
Jorg, the lecturer in charge of our labs, was totally on board with my plan. The only problems were that they had never done something like that before, and I only had two days before the lab to pull it off. Luckily, I had taken one of the IAP seminars a few weeks earlier, so I had a vague notion of how it would work.
The main idea was to use different-sized squares to represent the brightness of each pixel, with large squares being brighter in the final image. It’s pretty much the opposite of halftone dots used to print old newspapers.
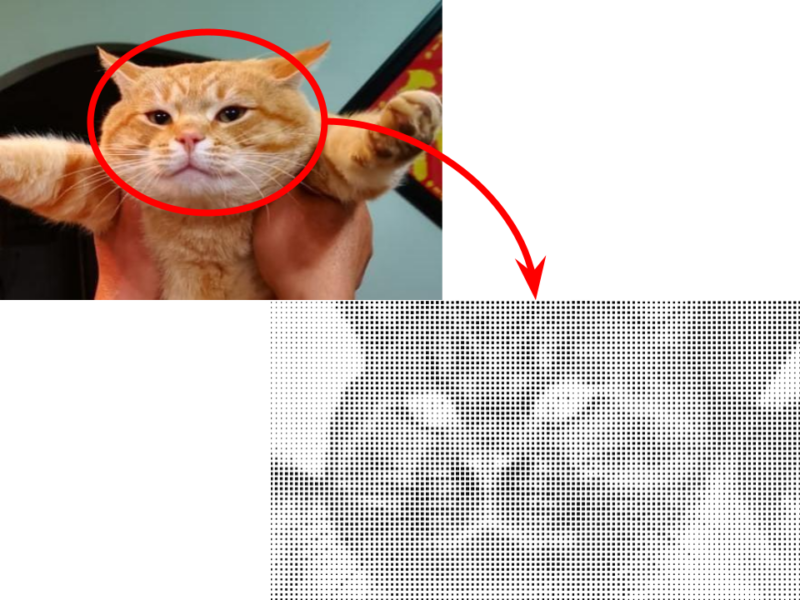
I wanted to expose as much silicon as possible to the sunlight (so the solar cell would be decently efficient), so I also needed to squash the image’s dynamic range03 The difference between the lightest and darkest parts of the image. in half. The resulting images didn’t look too great, but at least they were still recognizable.

Finally, I needed to connect everything to collect the generated electric current. I initially coded something complicated to minimize the amount of excess metal, but after some back-and-forth emailing with Jorg, I settled on simple vertical stripes to collect the current instead.
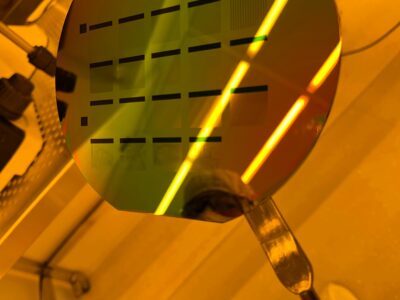
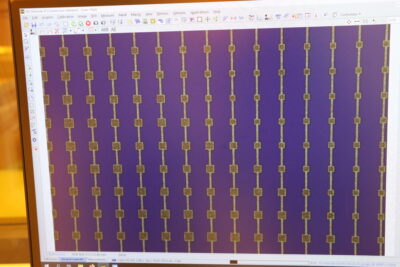
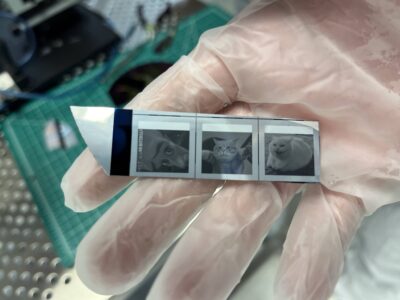
This was the final result:

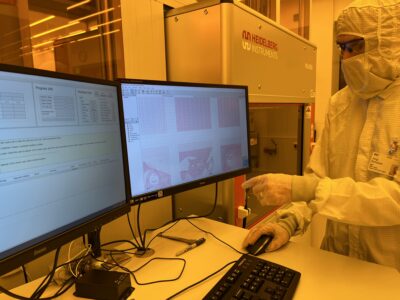
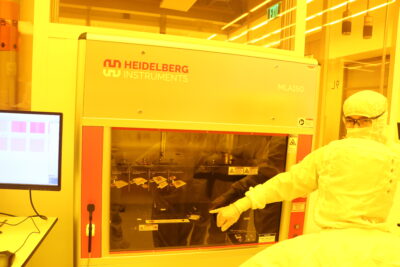
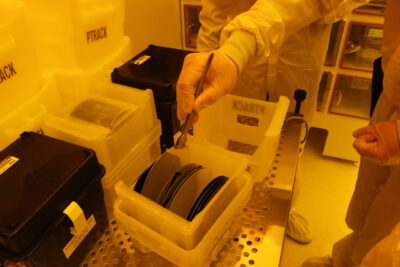
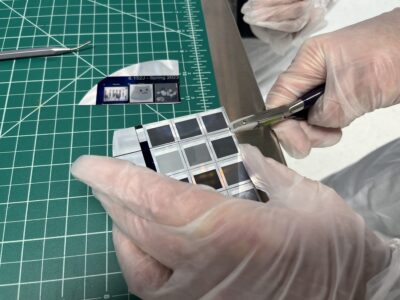
Fabricating the solar cell
Day 1
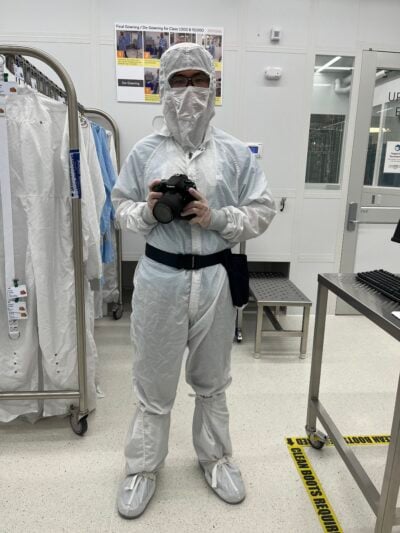
Gowning up to enter the cleanroom.
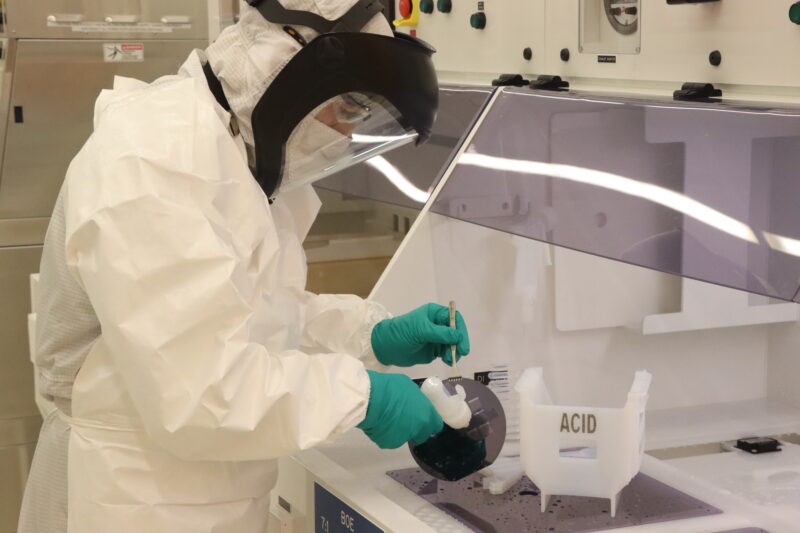
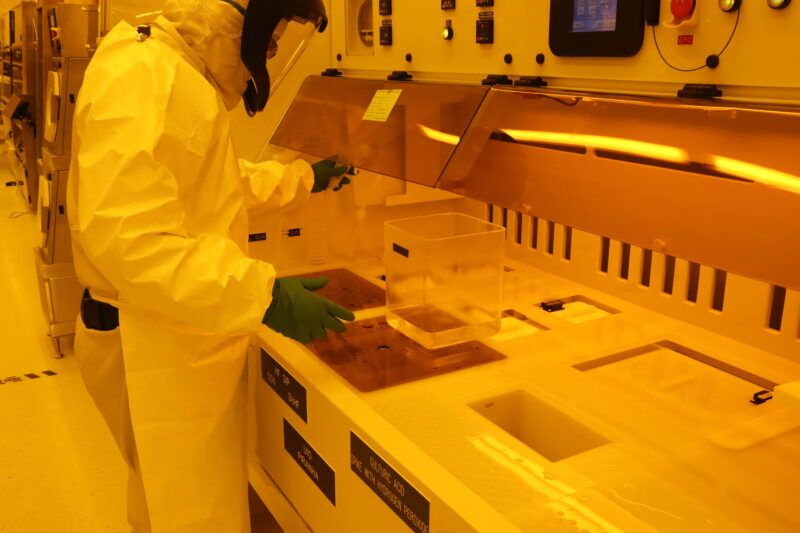
Using hydrofluoric acid (the same stuff Walter White used to dissolve bodies in Breaking Bad) to etch the wafer after patterning.
The results of day 1.
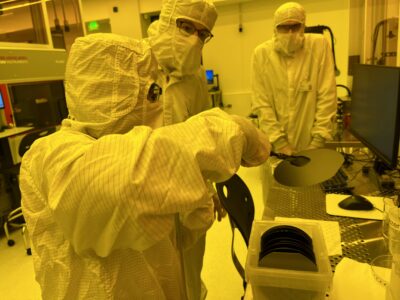
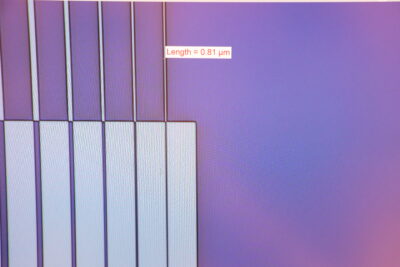
Day 2
Rinse (with acid) and repeat.
Day 3
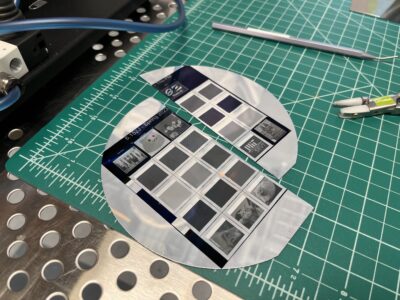
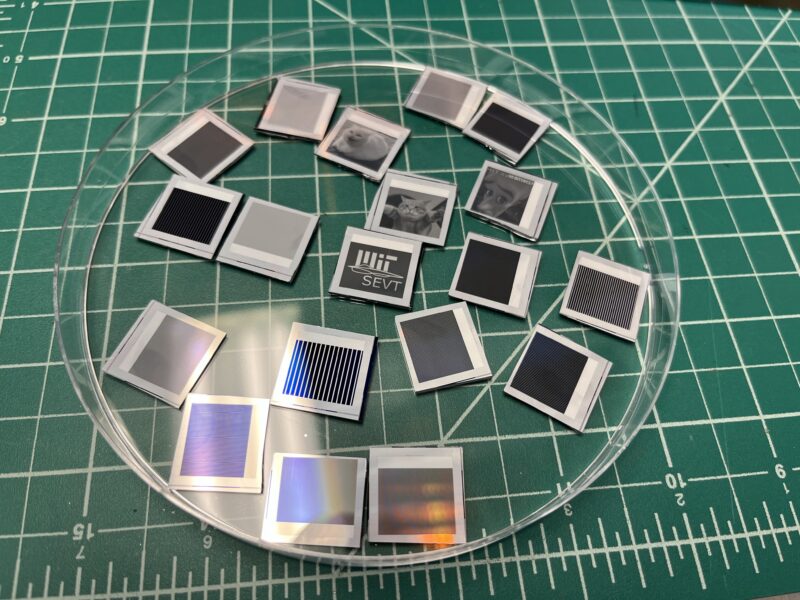
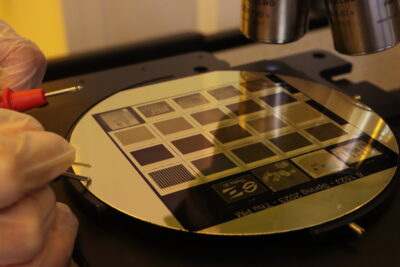
All the solar cells together.


How effective was the final product?
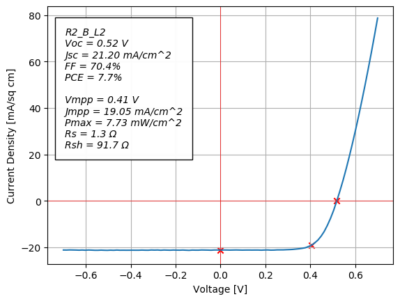
The electrical testing results from day 3 for Catsby’s solar cell.
My four custom solar cells actually ended up performing surprisingly well.
In particular, the Catsby solar cell achieved an efficiency of 7.7%! For reference, the best-performing of the fifteen solar cells we tested had an efficiency of 9.3%.
Out of the four custom solar cells I made, the one with Catsby’s image was also the second most-efficient cell, with the Megamind solar cell narrowly beating it by 0.3% in efficiency.
Of course, these numbers pale in comparison to the best solar cells available today, with some designs achieving efficiencies of over 45%. Despite these high efficiencies though, none of them contain images of Catsby, so we all know who the real winner is here.
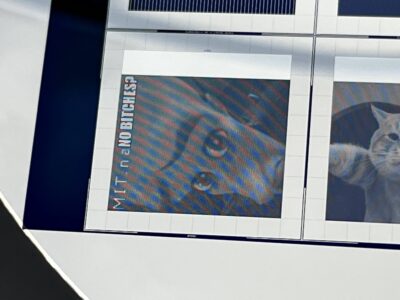
For your enjoyment, here are more pictures of my little ray of sunshine to brighten your day:


- Shoutout to Jorg’s top-tier memes and Jesús’s wholesome efforts to learn everyone’s name. back to text ↑
- We get extra late hours whenever the course staff take too long to grade our homework. back to text ↑
- The difference between the lightest and darkest parts of the image. back to text ↑