
how to become paulie bleeker by Emily P. '28
not even for halloween, just generally
First things first, if you haven’t already seen Juno (2007), please go & do that first.
Ok, so now that we are all on the same page about how awesome this movie is, let’s get started. To become Paulie Bleeker, you will need:
- 1 maroon t-shirt with a dancing elk condors graphic on it, preferably cotton
- 1 pair of yellow running shorts
- yellow headband and wristband
- crew socks
- running shoes
I sourced my t-shirt, shorts, and yellow fabric (which was harvested from a yellow t-shirt) from the local Boomerangs and Central Square Goodwill. 01 quick aside. I love Halloween and I love the spirit of dressing up and I love that costumes can be super creative & high-effort or raunchy or a funny joke or even lazy & boring and it doesn’t matter because at the end of the day, it’s Halloween. However, the overconsumption of Halloween also kind of sucks. There just ends up being so many Amazon packages, so many one-time use purchases that’ll get thrown away the morning of November 1st. I don’t really have a solution, especially because I really do enjoy all-out Halloween costumes, and maybe you can call what I did here still some form of consumption, but I also plan on wearing my Paulie Bleeker shirt, so idk tbh…
how to put a dancing elk condors graphic on a t-shirt
There are a lot of ways to go about putting a graphic on a t-shirt, including but not limited to: screen printing, heat press vinyl, good ol’ fabric paint, embroidery (machine or hand, but you’d be crazy to do the latter for Paulie Bleeker’s shirt), and appliqué. Believe it or not, you can actually do any of the techniques I mentioned above through the MIT Makerspaces, but I decided to go with appliqué because I like the look of it.
Appliqué just means putting smaller pieces of fabric on larger pieces of fabric to make a design. The tricky thing is cutting out the fabric. Serious textile artists who make really intricate designs tend to use electronic fabric cutting machines; last I checked, we don’t have one of these on campus, and I wasn’t planning on spending my weekend precisely trimming out tiny letters and a smug-looking condor. We do, however, have a crap ton of laser cutters, and laser cutters can cut fabric.
We run into problem #2. How to transfer the graphic onto the shirt and get it to stay there? Yes, I can sew it on, but again, I wasn’t planning on spending my weekend precisely sewing on tiny—you get the point. A little concerned about whether I will be able to realize my dream of becoming Paulie Bleeker in time for Halloween, I start digging around the MAD02 <a href="https://mad.mit.edu/">Morningside Academy for Design</a> textile lab and find this mysterious roll of paper labeled “Iron This Side Feather Weight hotfixadhesive.com.” After some googling, I came up with the following game plan.
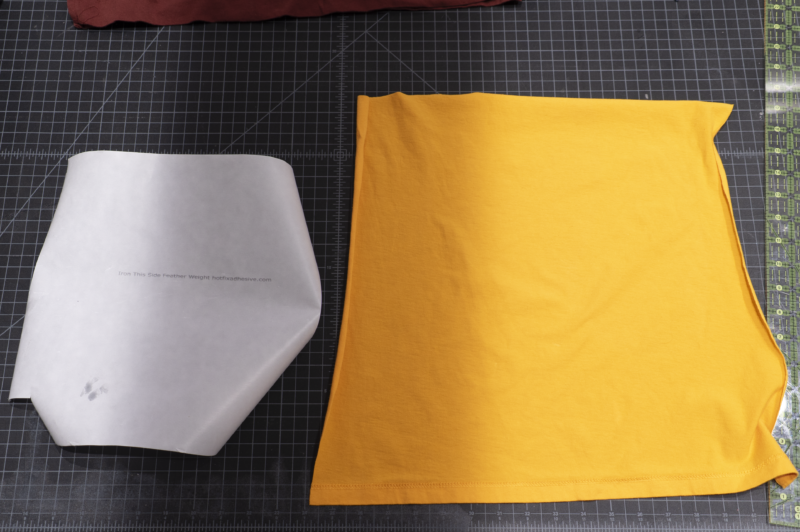
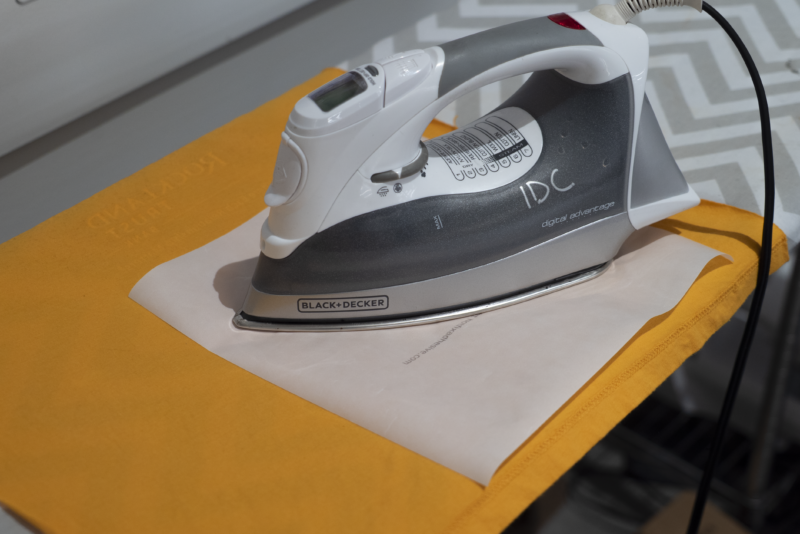
- Cut out feather weight hotfix adhesive to size. My graphic was about 9” x 9”, so I cut out a square about 10” x 10”. Iron onto yellow fabric, trim to size.
- Flip over to the other side of the fabric. Cover with painter’s tape. This will help prevent scorching the cotton, and if you leave a ½” border, will also help secure the piece down on the laser cutter bed.
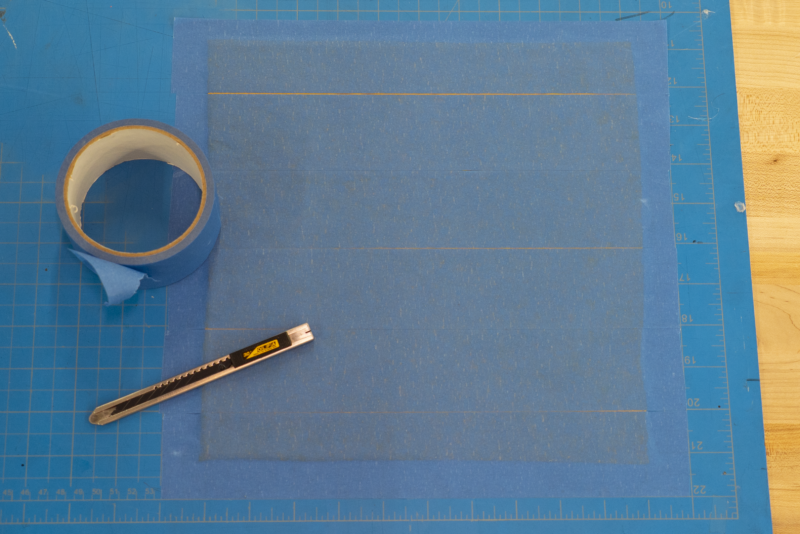
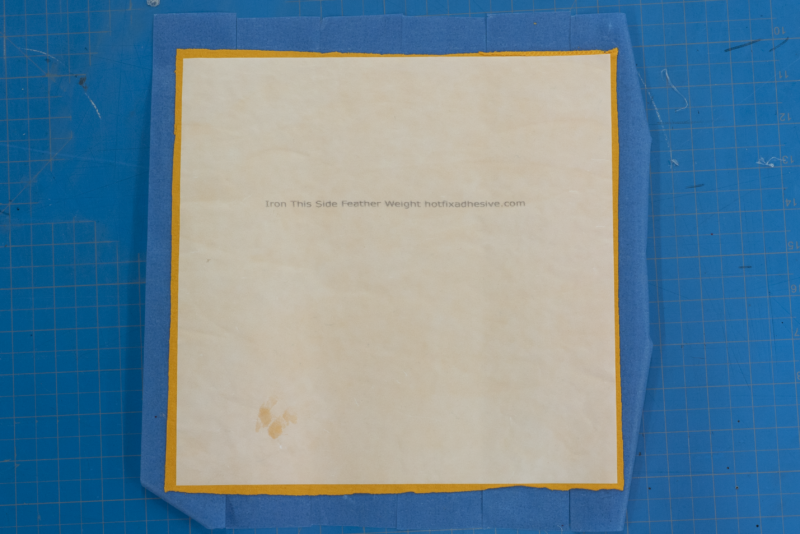
- Place in laser cutter, blue tape side up, hotfix adhesive side down. The fabric should be safely sandwiched between. Import your graphic, double-check the sizing, placement, and cut settings; cross your fingers, curl your toes, hold your breath, and cut!
03
Note that I did a test cut prior to dial in the settings — you’ll have to do this with any fabric you’ve never cut with, just given how differently fabrics of even the same material can respond to the machine. Do not guesstimate your settings for your final cut!
- Marvel at the power of technology.
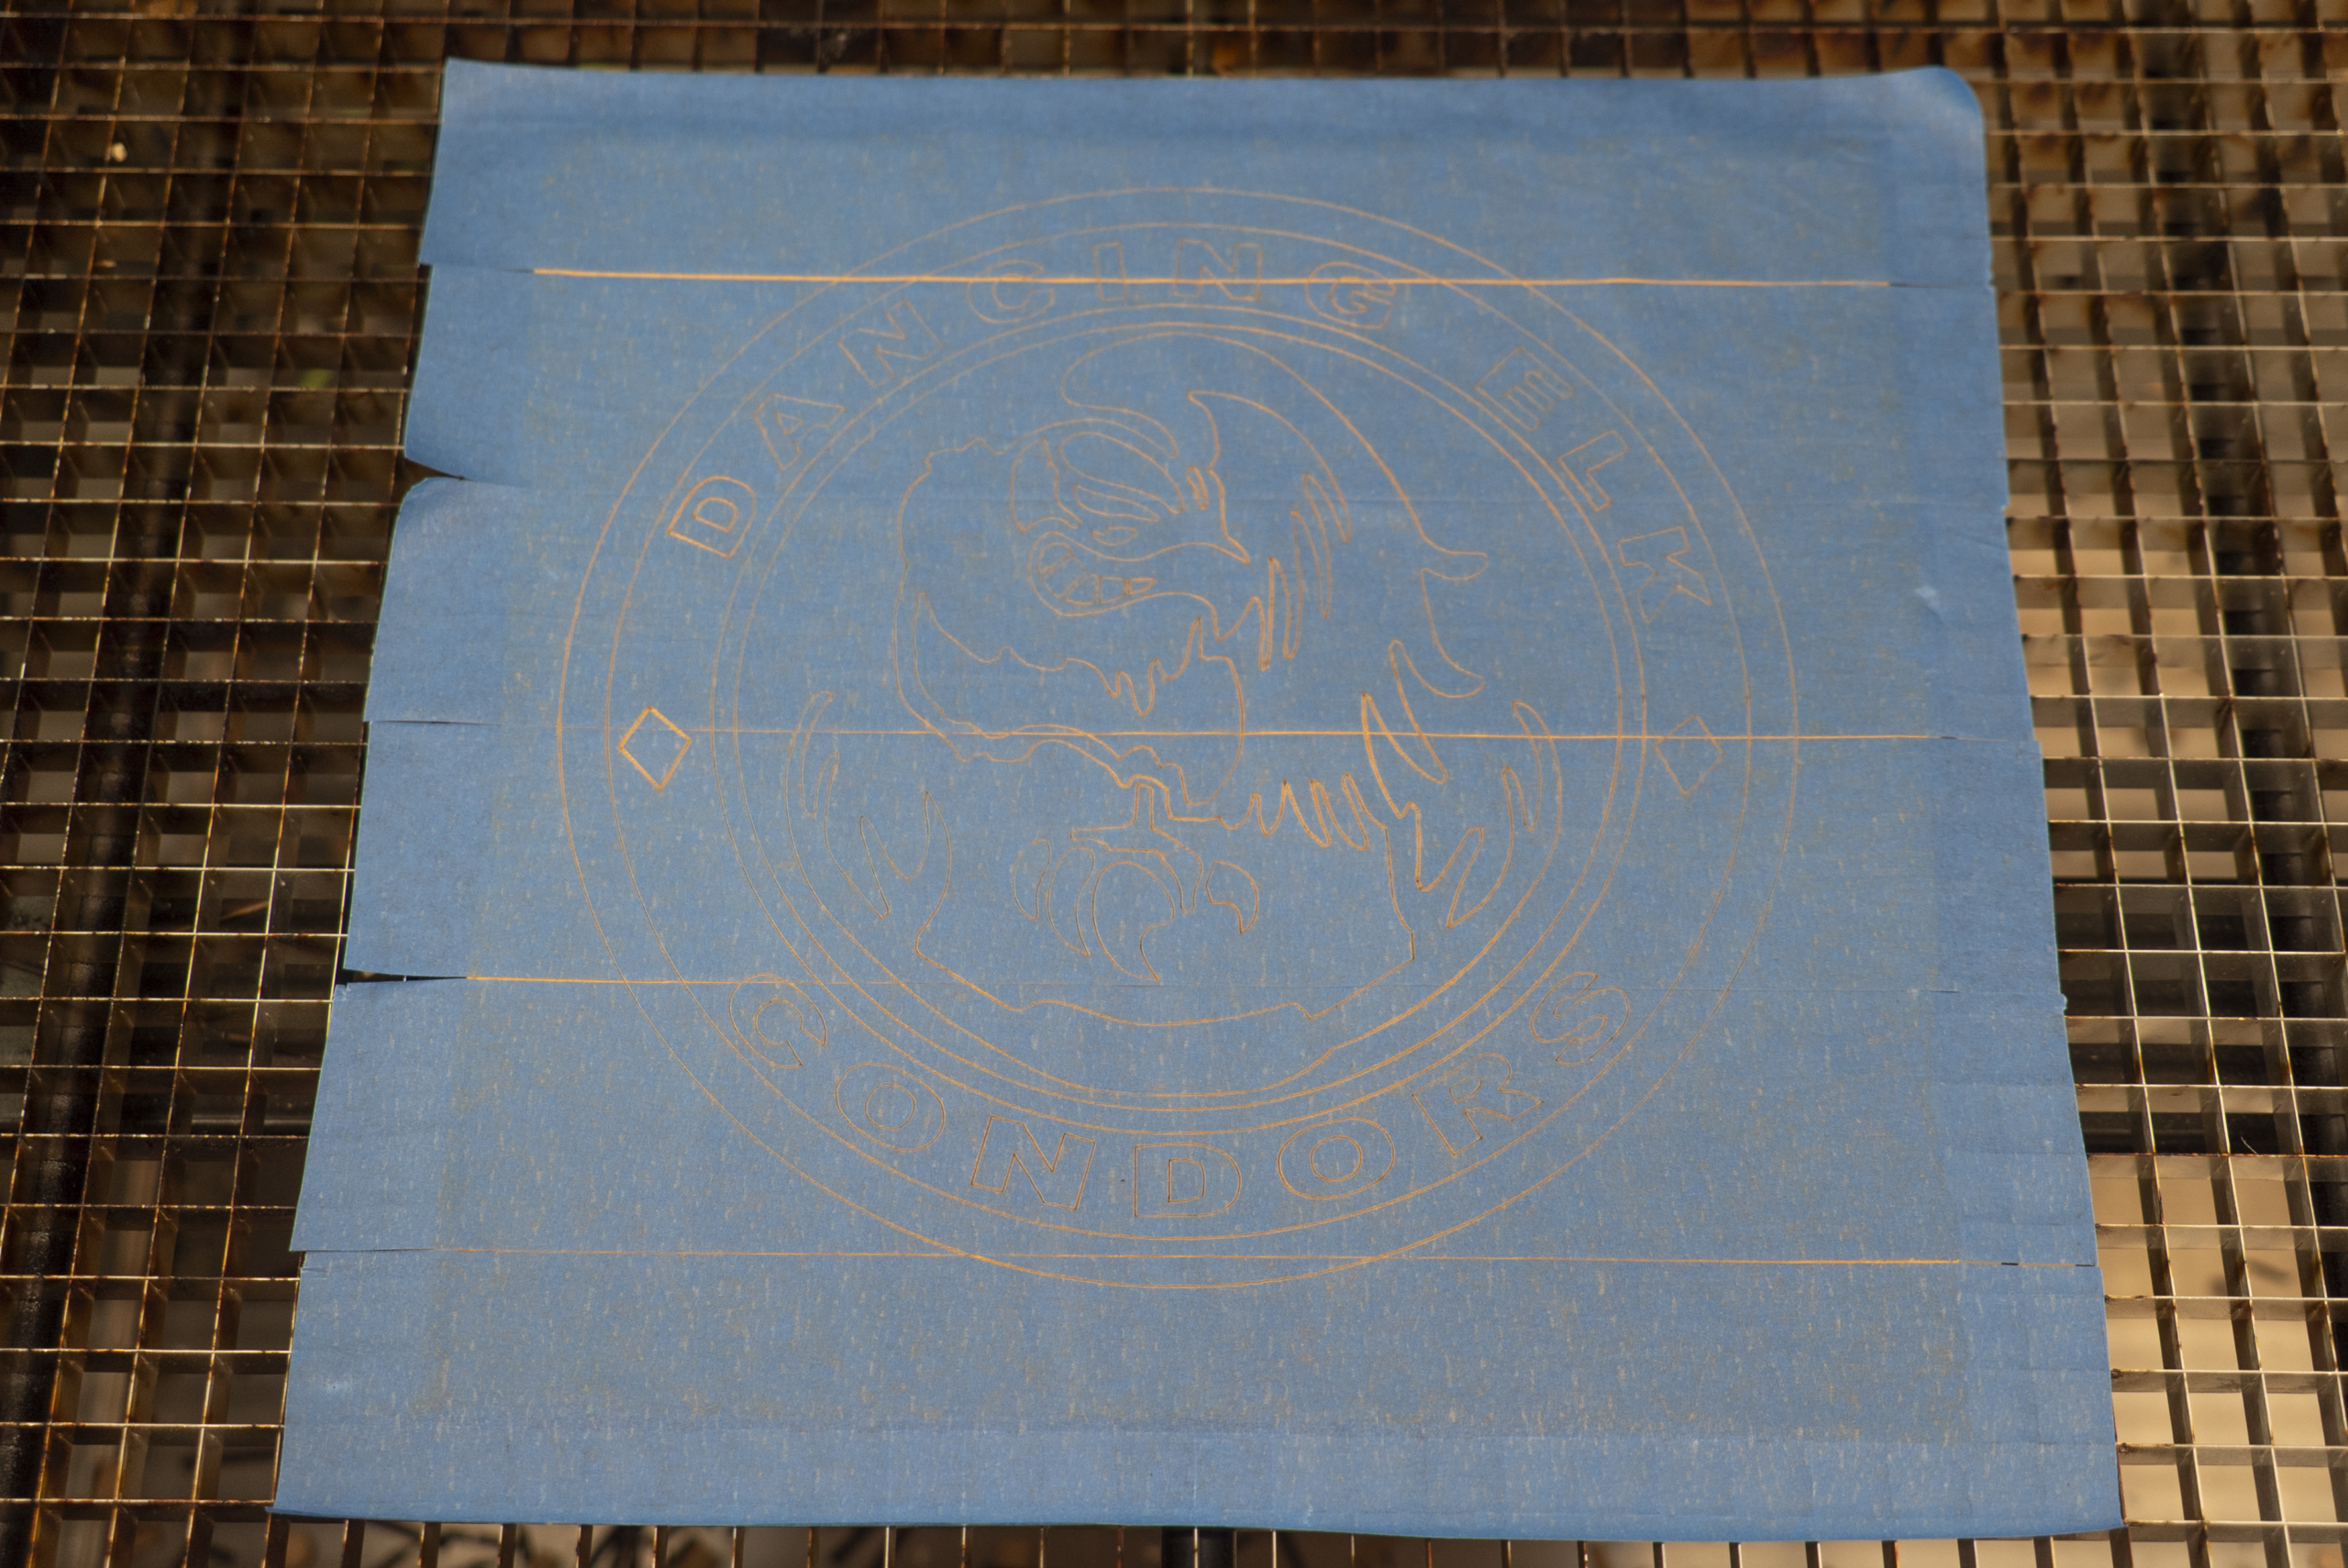
- Carefully remove painter’s tape. You’ll be ironing the fabric, and painter’s tape is a no-no.
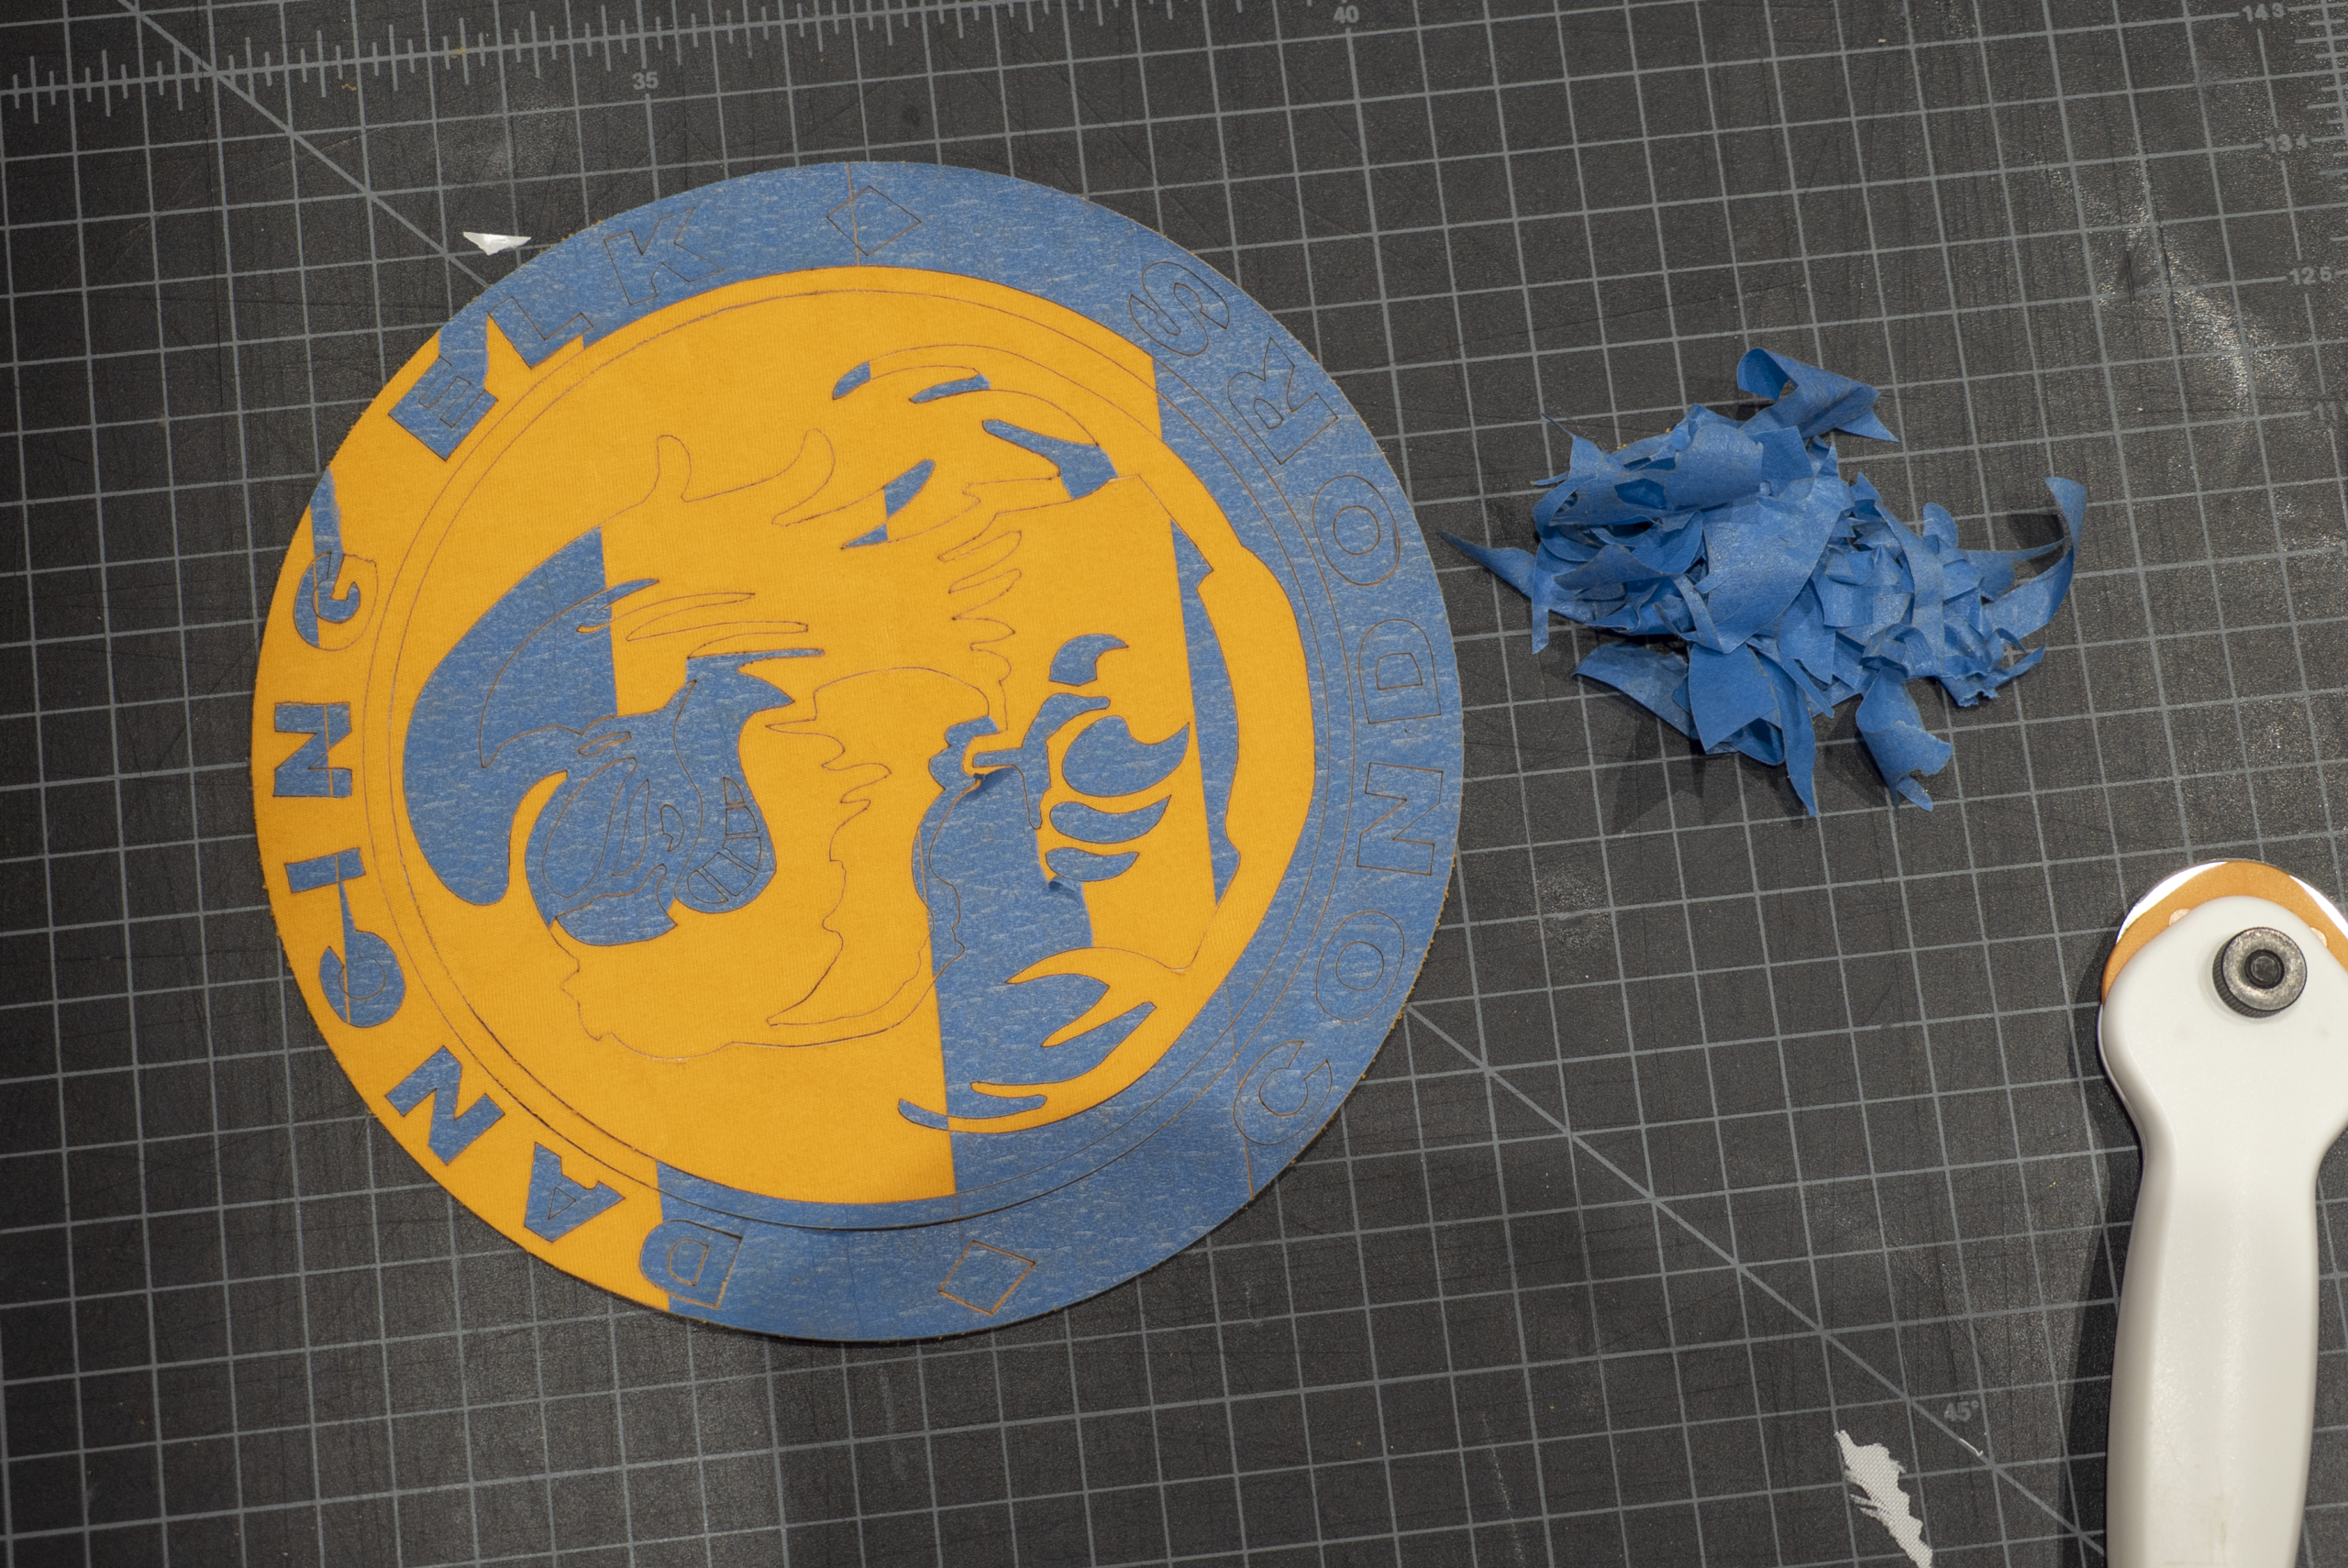
- Flip to the other side, the one with the hotfix adhesive. You want to remove the adhesive paper wherever you want the fabric to stick to your shirt. You could technically just separate the pieces at this point and position them by hand, but I wanted an exact placement of the Dancing Elk Condors graphic to be as Paulie Bleeker as possible, not some foolish doppelganger who got the spacing between the letters wrong.
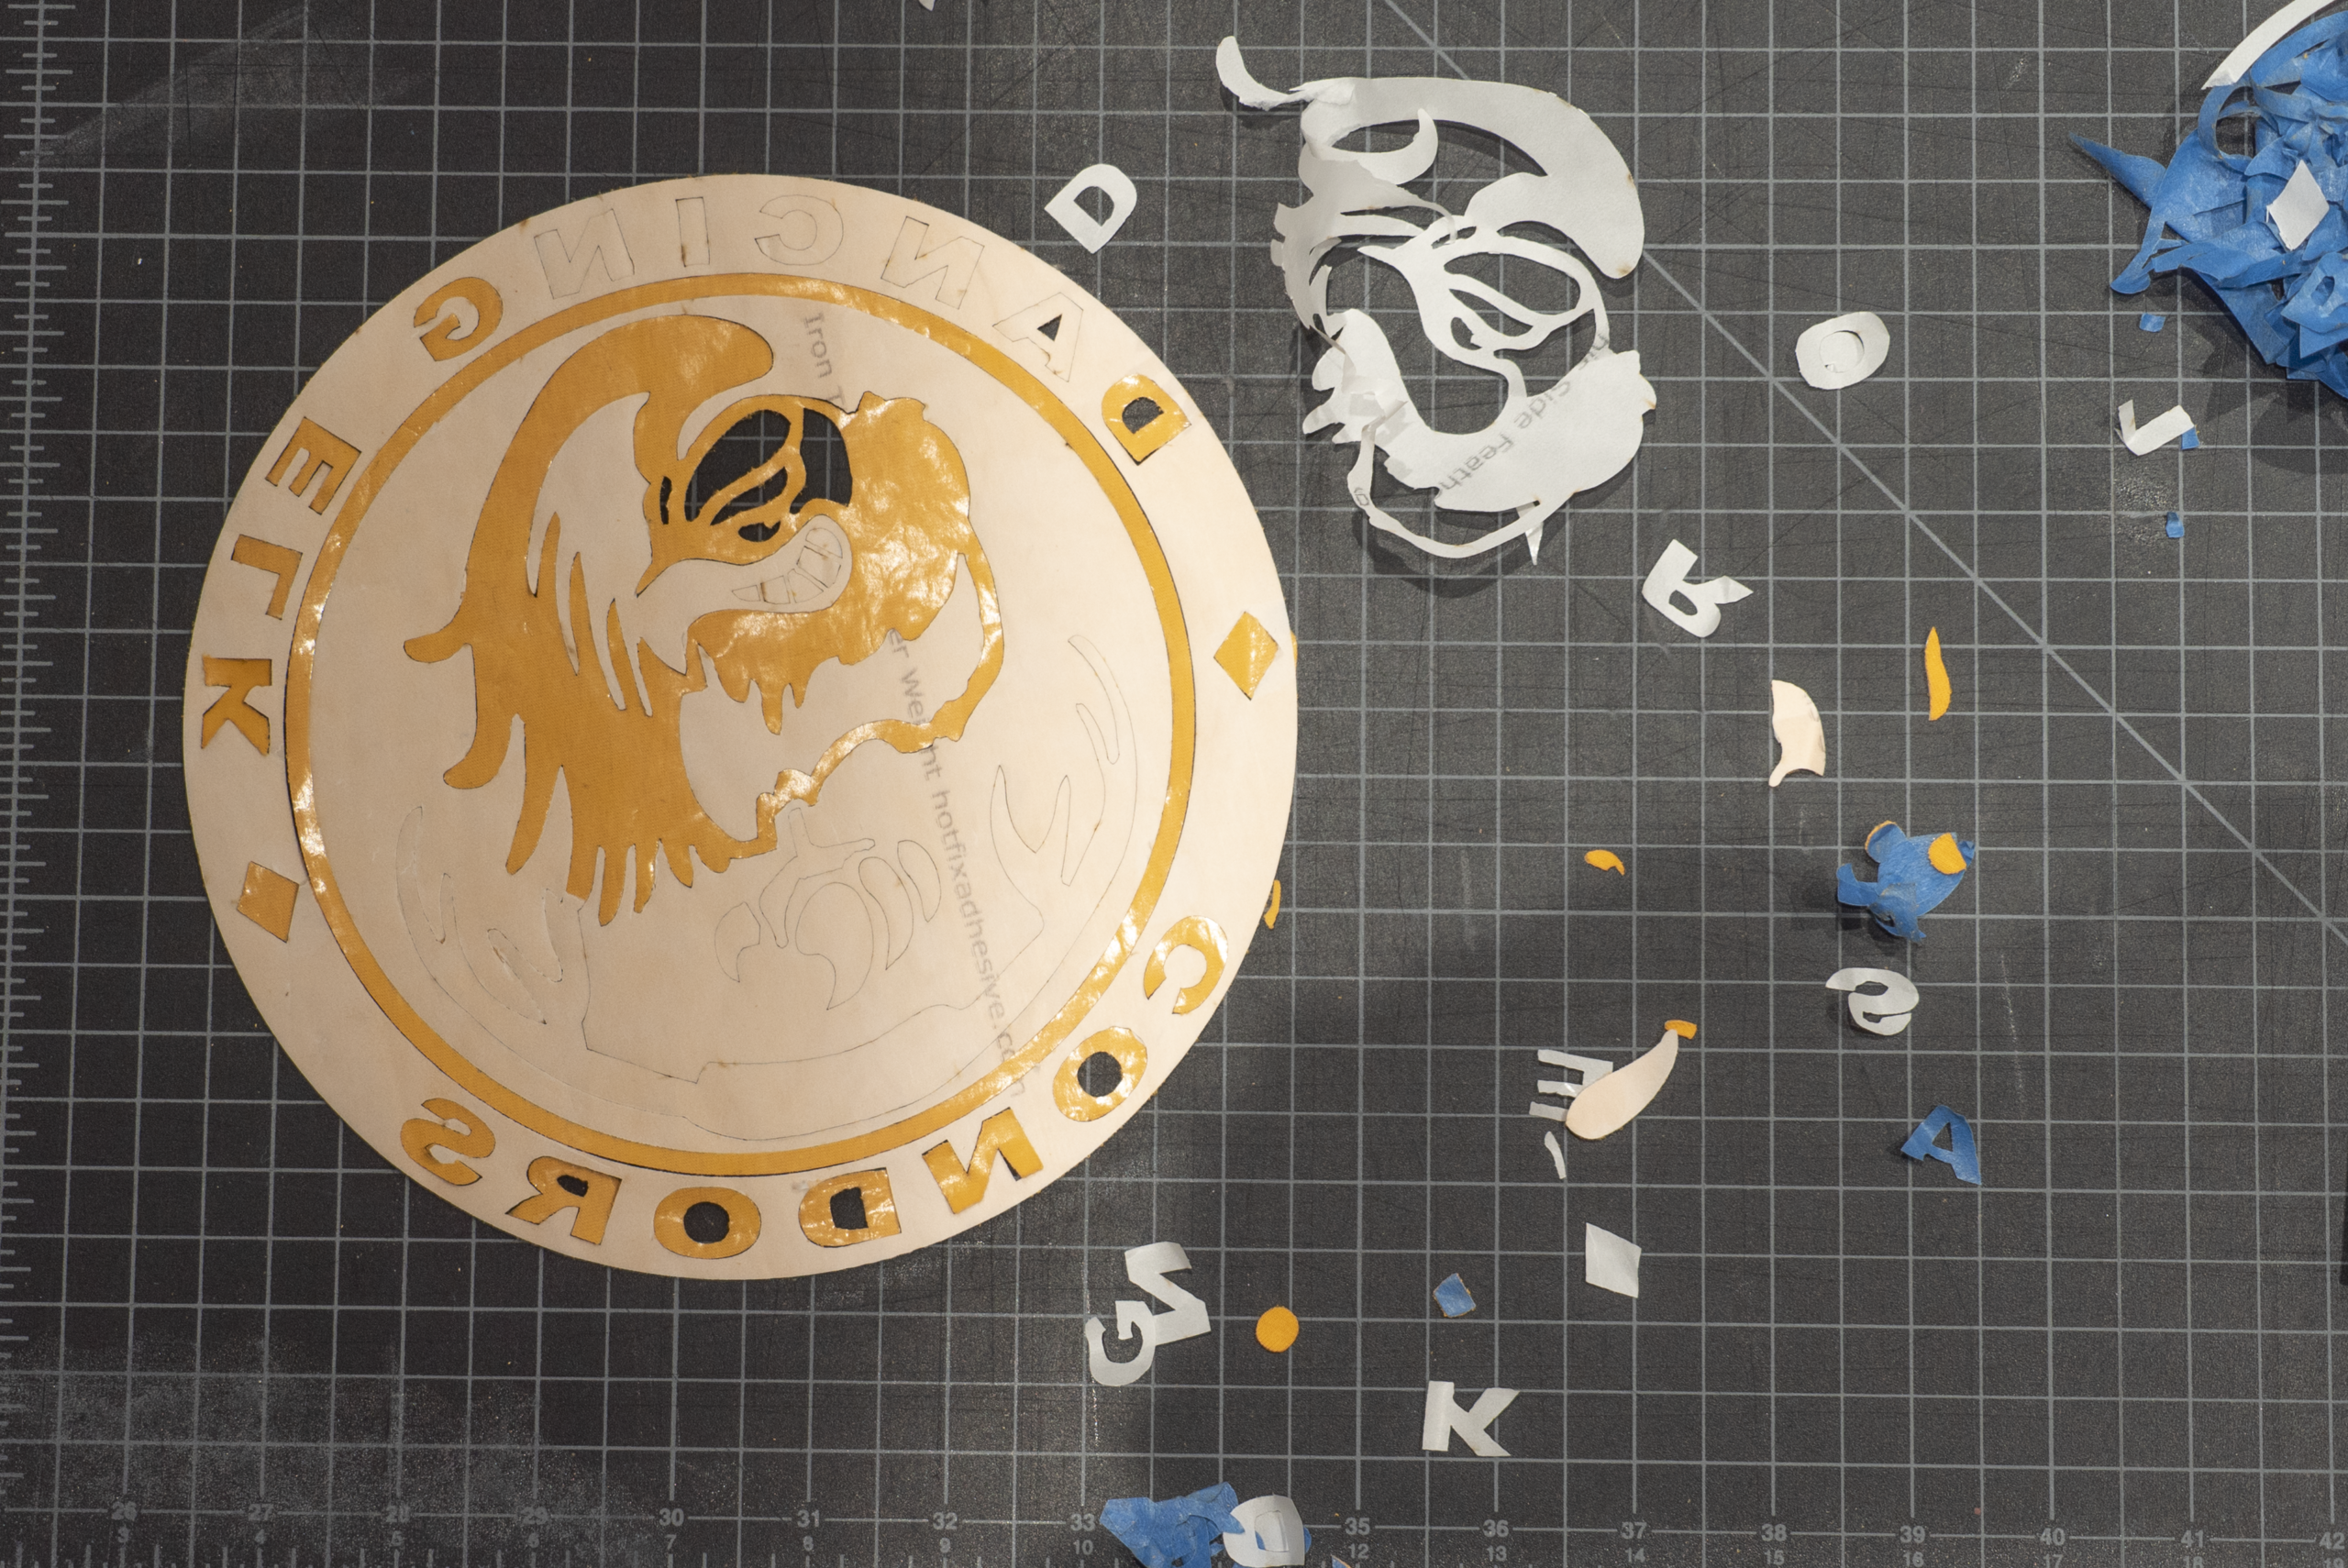
there’s a paper backing and then the adhesive. be careful not to remove the adhesive from the fabric!
- Carefully transfer your graphic to your t-shirt, which should be waiting patiently on the ironing board (good practice to also iron out your maroon shirt before you add the graphic). I slid a piece of paper under my graphic, sandwiched it with another sheet of paper to secure, flipped, and slid the graphic onto my maroon shirt so that the yellow was facing up again and the hotfix adhesive was on the bottom.
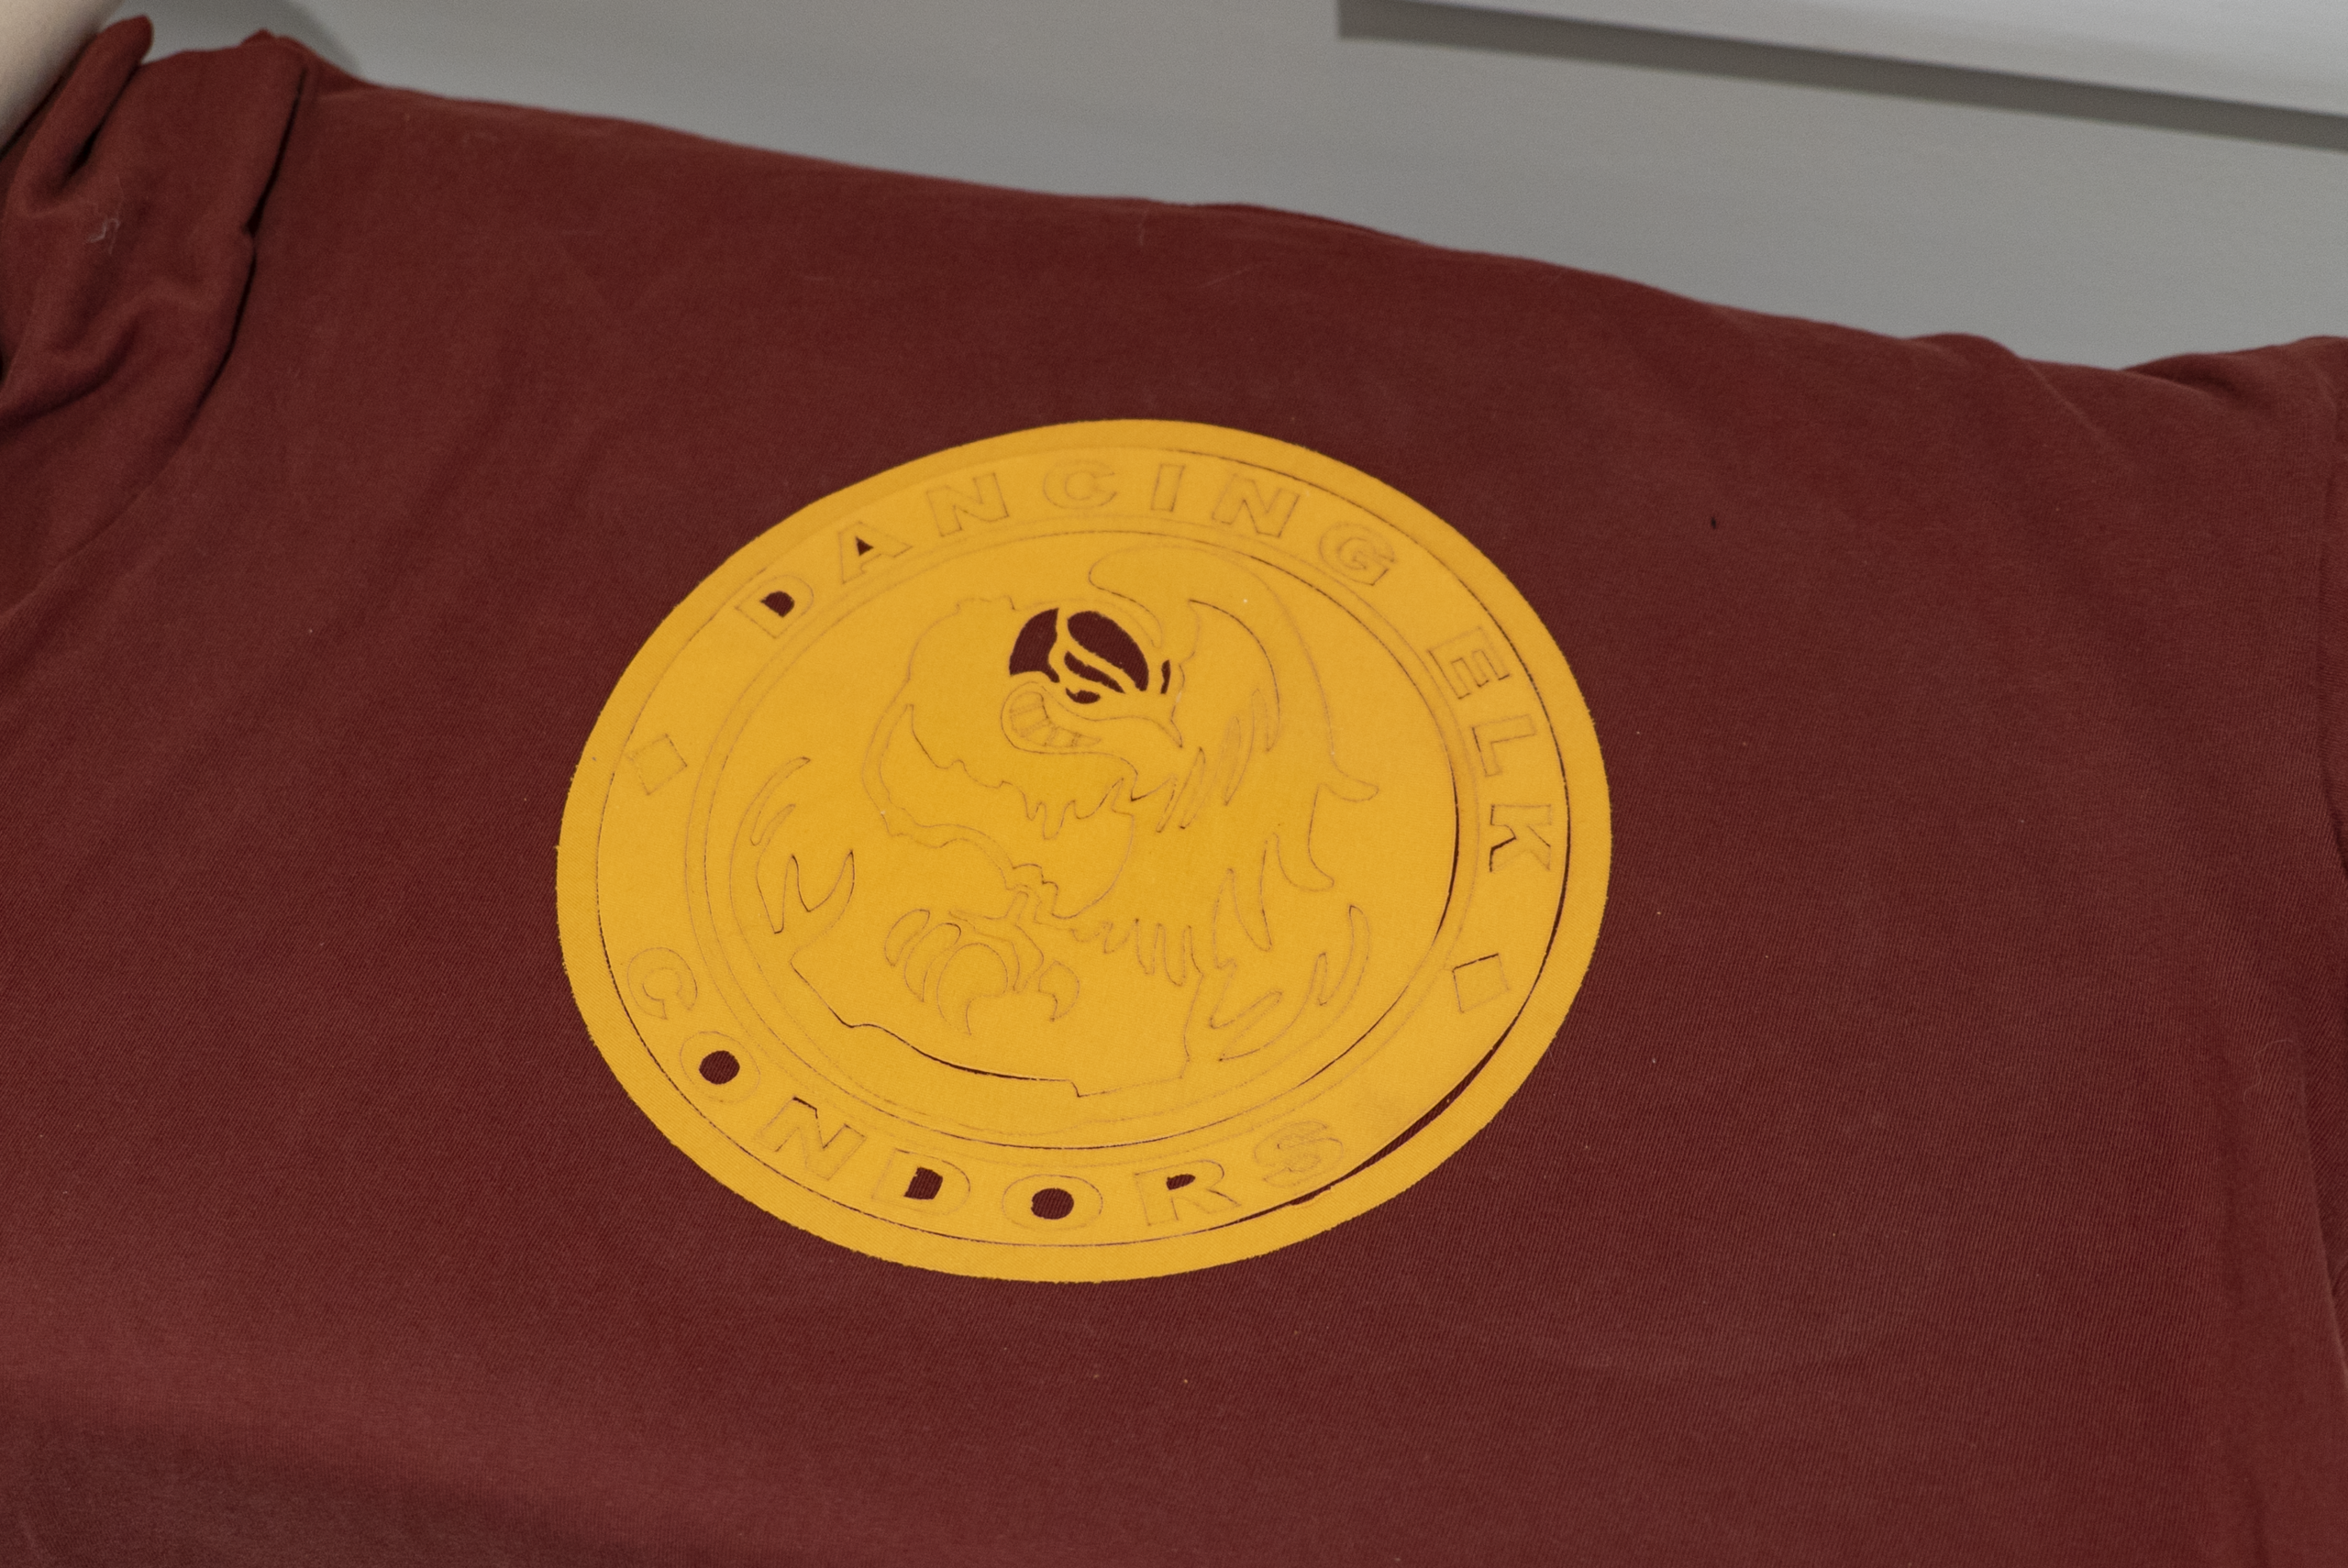
- Iron away. I placed some muslin in between to prevent accidentally burning the cotton, and ironed for a good while to make sure it was really stuck on.
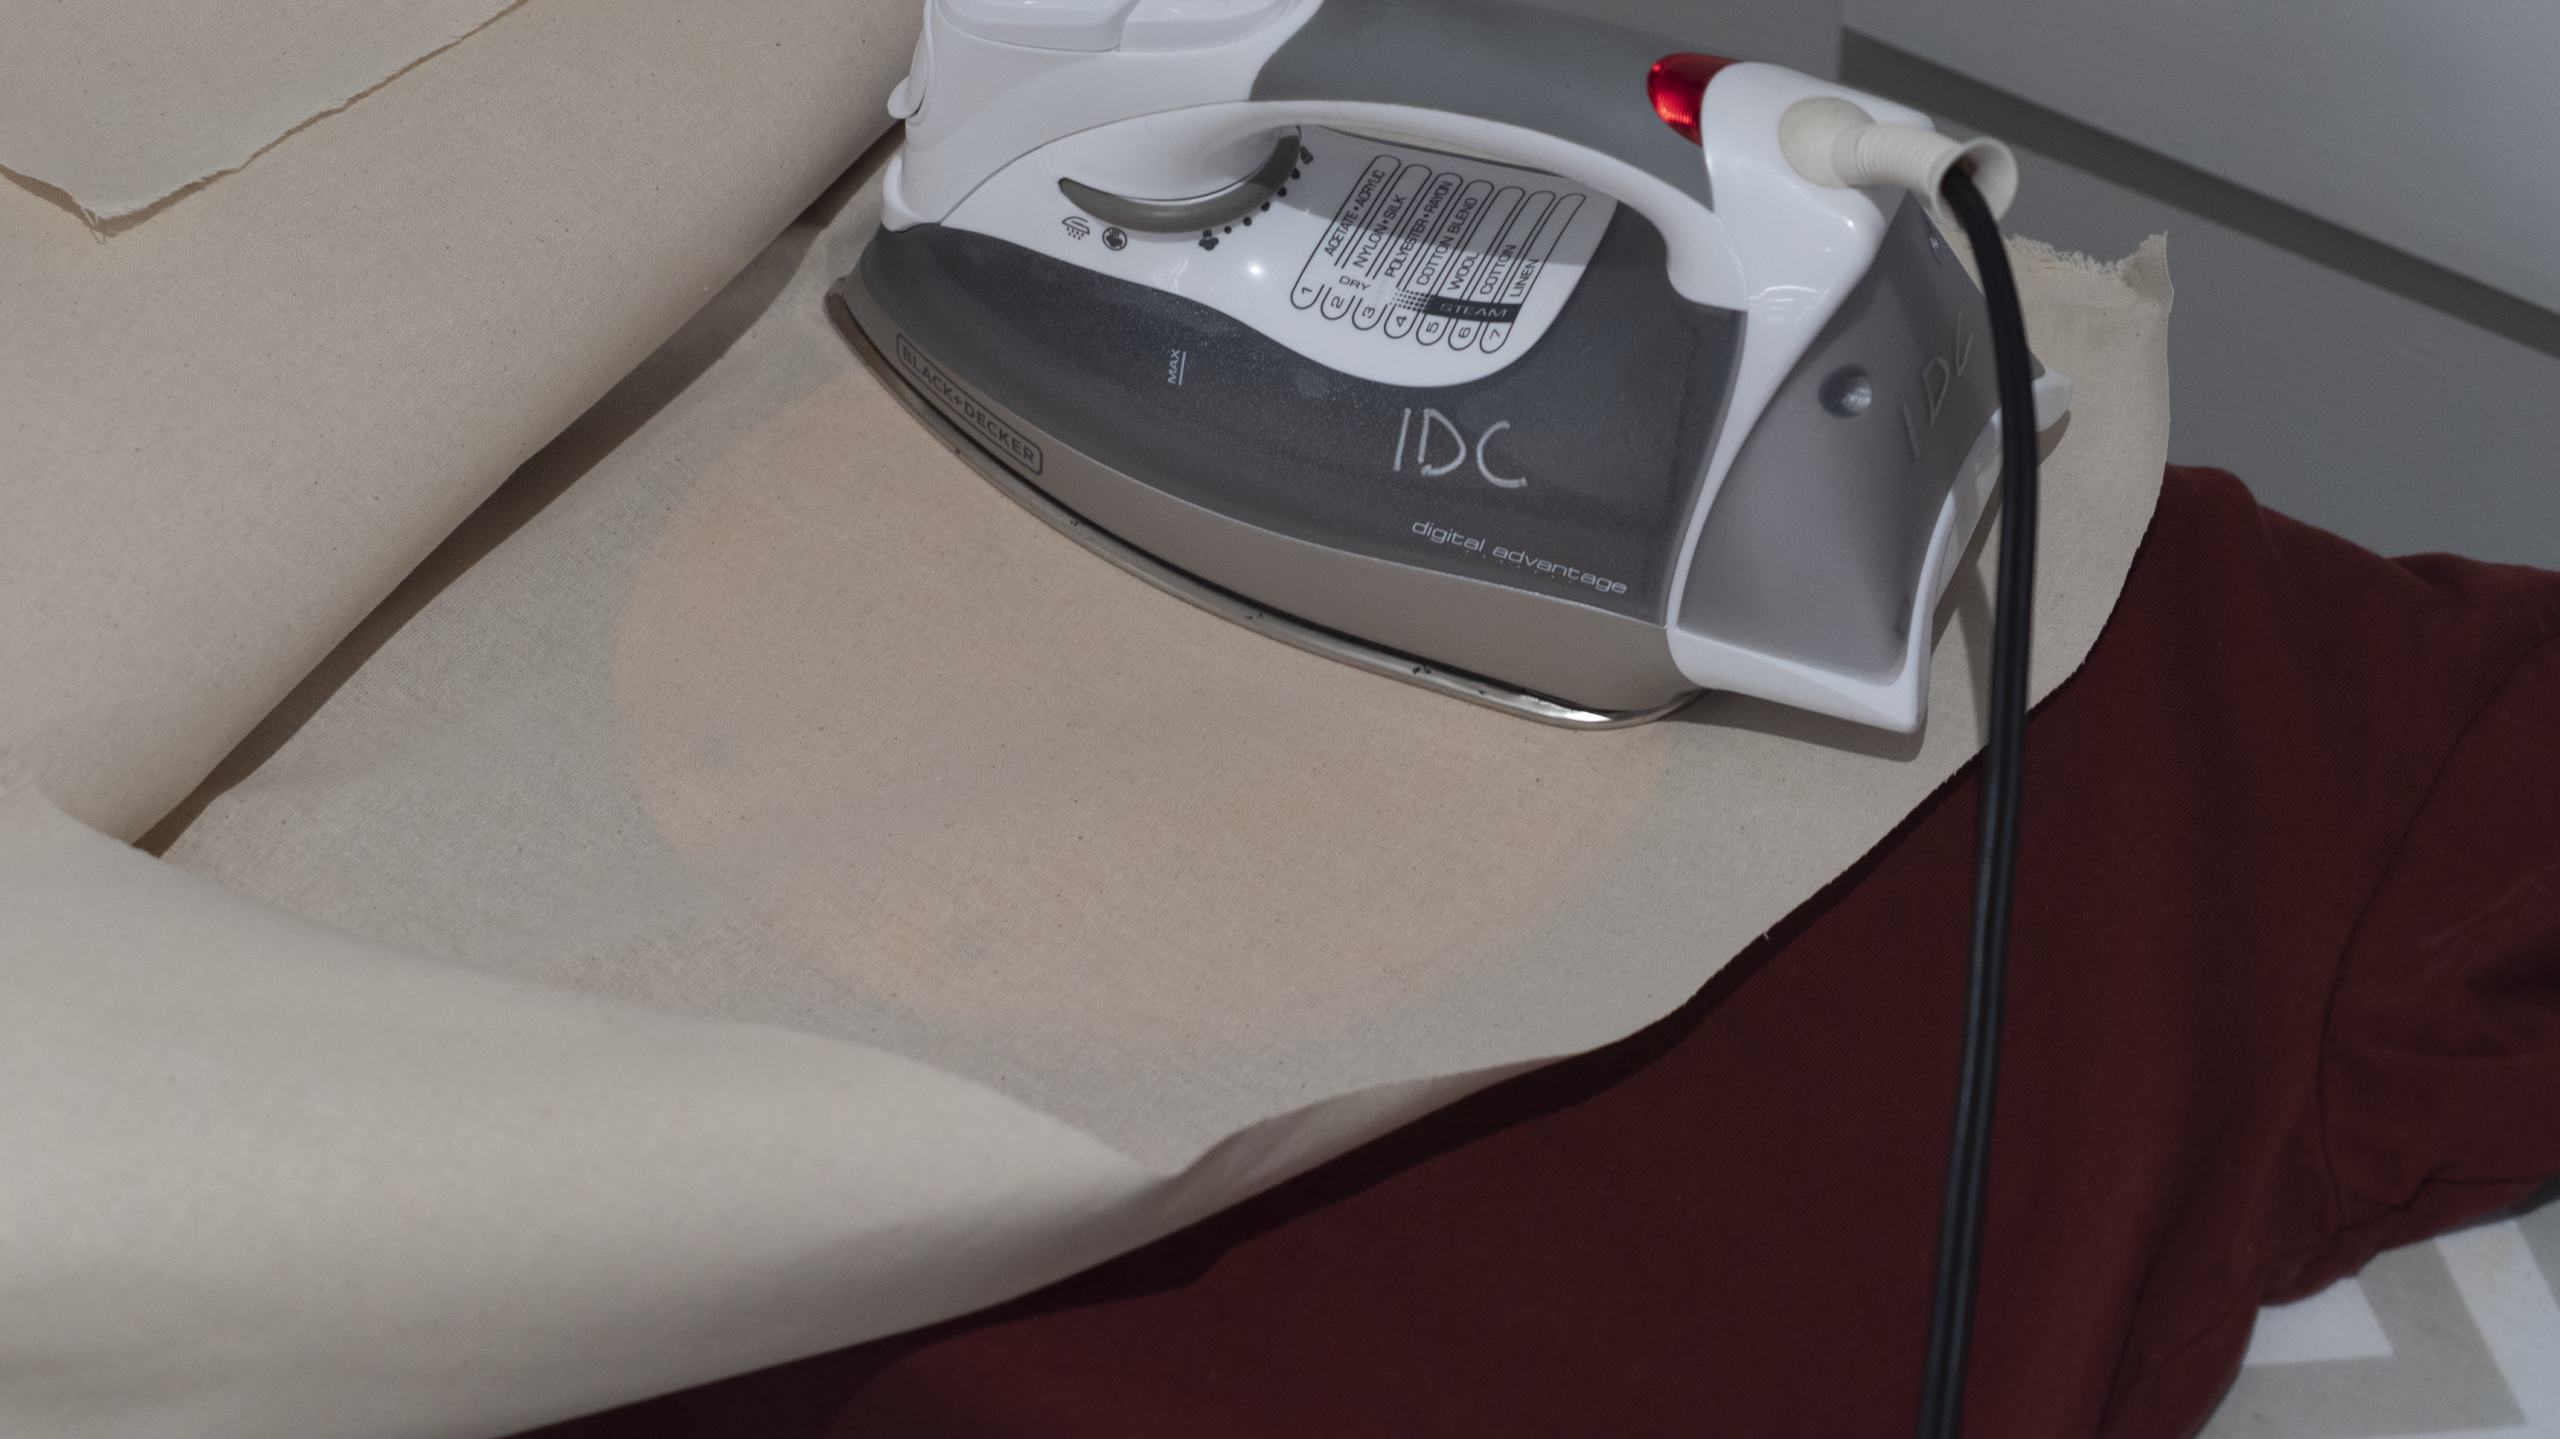


Cross fingers, curl toes, and hold breath. Peel back the negative.


become Paulie Bleeker
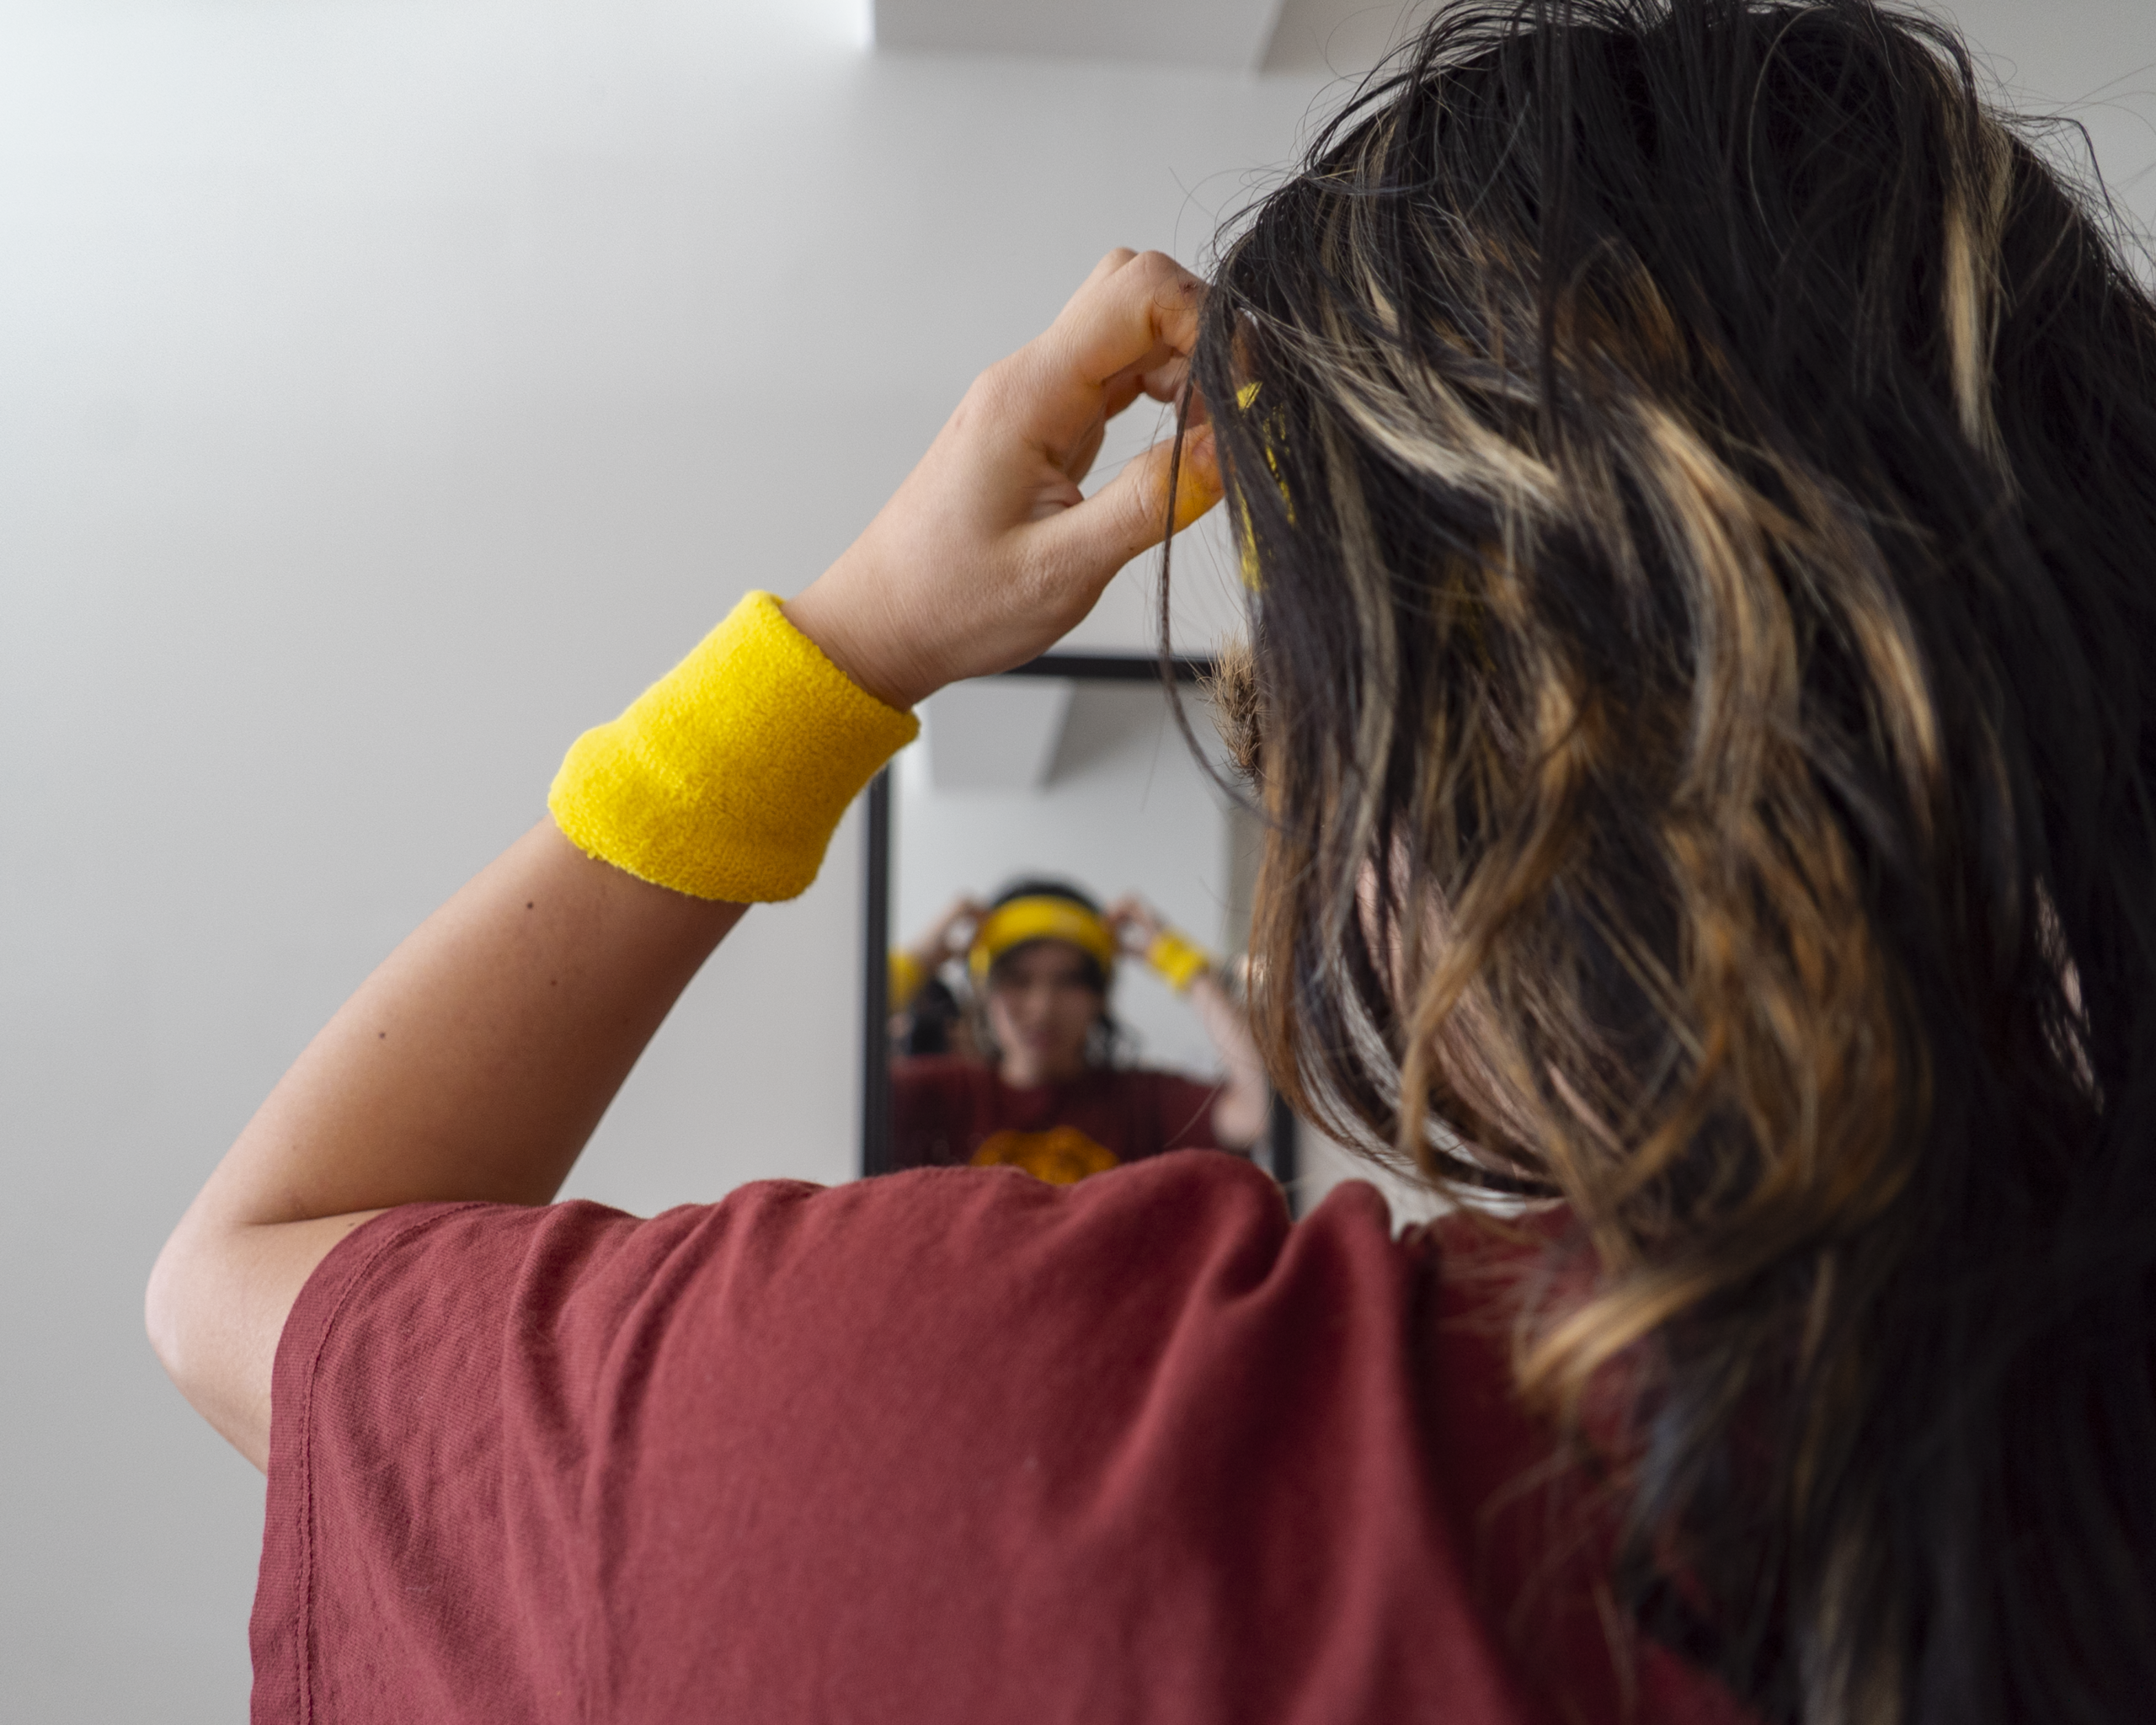
becoming paulie bleeker


- quick aside. I love Halloween and I love the spirit of dressing up and I love that costumes can be super creative & high-effort or raunchy or a funny joke or even lazy & boring and it doesn’t matter because at the end of the day, it’s Halloween. However, the overconsumption of Halloween also kind of sucks. There just ends up being so many Amazon packages, so many one-time use purchases that’ll get thrown away the morning of November 1st. I don’t really have a solution, especially because I really do enjoy all-out Halloween costumes, and maybe you can call what I did here still some form of consumption, but I also plan on wearing my Paulie Bleeker shirt, so idk tbh… back to text ↑
- Morningside Academy for Design back to text ↑
- Note that I did a test cut prior to dial in the settings — you’ll have to do this with any fabric you’ve never cut with, just given how differently fabrics of even the same material can respond to the machine. Do not guesstimate your settings for your final cut! back to text ↑