
How to make a glass pumpkin by Andi Q. '25
In celebration of the 2023 Great Glass Pumpkin Patch
Last Saturday was MIT’s annual Great Glass Pumpkin Patch!
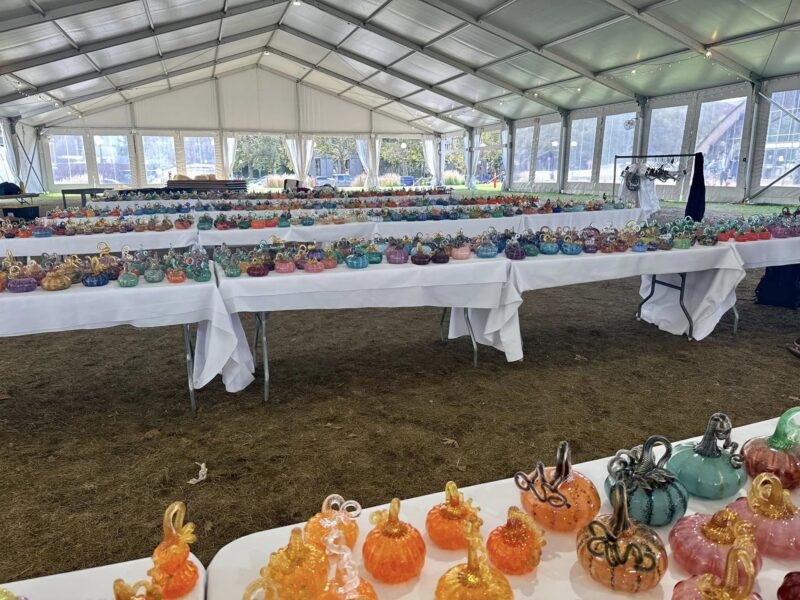
So many pumpkins!
Every year, the MIT Glass Lab sells over two thousand blown glass pumpkins to fund ourselves. The revenue from these pumpkins is a big reason why glassblowing classes at MIT are about ten times cheaper than similar classes anywhere else! If you’ve ever been to the Great Glass Pumpkin Patch before, you’ve probably wondered: How does MIT make so many pumpkins every year? Is it someone’s full-time job to churn out pumpkin after pumpkin non-stop until we have enough to stock the sale?
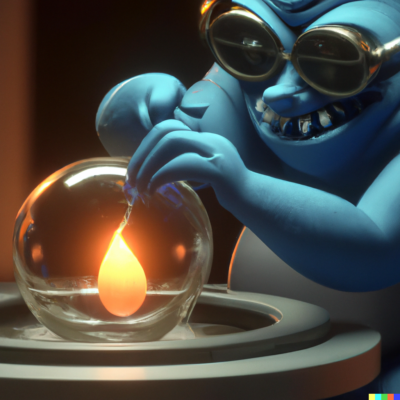
Concept art of a glassblowing gremlin. Thanks, generative AI!
Thankfully, we do not need a pumpkin gremlin to remain operational. Instead, we have “pumpkin crews” – small teams of glassblowers who gather for a few hours a day to make batches of about two dozen01 I may be wrong about this estimate because I’ve never been on a pumpkin crew yet, but this is my impression. pumpkins at a time. And we usually only need to start making pumpkins a few months before the sale.
When I first learned about this fact, it raised more questions than it answered. “Two dozen pumpkins in just a few hours? How is that humanly possible? The pumpkins are so intricate – surely it should take an entire day to make just a single pumpkin?”
As it turns out, making a glass pumpkin is a surprisingly straightforward 9-step process. As MIT Admissions’ resident glassblower (now that Shuli is no longer with us02 They graduated last semester :( ), let me tell you about it! After all, I’ve made… counts on fingers… two whole glass pumpkins before – I’m basically an expert now!
- First, you’ll want to gather some hot glass onto a blowpipe. Immediately after gathering, smooth out the blob of glass with a tool called a “block” and blow a small bubble into it.
- While the glass is still hot, gather another layer of glass. And let’s make the pumpkin colourful! Roll the new layer of glass in some purple glass dust (called “frit”). While we’re here, let’s also add some white speckles.
- Smooth out the blob of glass with the block again, and blow the bubble bigger. Keep blowing until there’s about an inch of glass between the tip of the bubble and the outside of the glass.
- Roll the blob on a stainless steel table (called a “marver”) until it becomes cylindrical.
- Heat the glass back up (the marver cools it down a lot) and dip it into a star-shaped glass mold (called an “optic mold”). Push down gently, blow the glass, and then stop and let it hang for about 2 seconds.
- We’re almost there! Now, heat the glass back up again and start blowing. While you’re blowing, push on the tip of the glass with—
Oh. Huh. The glass just burst open. That has never happened to me before…
…
OH!
The frit should go on the FIRST layer of clear glass, not the second! And I guess white and purple glass expand at different rates when heated. Oops…
Anyway, let’s start over.
…
- Ok, we’re back where we first left off. As I said, blow the glass while pushing the tip with glassblowing jacks.
- Before the glass cools down too much, squeeze it near the end of the pipe with the jacks, and then pull it hard away from you.
- Push the tip of the glass a bit more to shape the glass more like a pumpkin.
- Time to make a stem! Get an assistant to gather a small blob of glass and shape it in a tiny optic mold. Then—
Oh no, we were slightly too slow. The glass has cooled down too much and fallen off the blowpipe! The third time’s the charm, I guess.
…
- Make a stem and attach it to your pumpkin. Et voilà – you’re done!
Super simple, straightforward 24-step process!
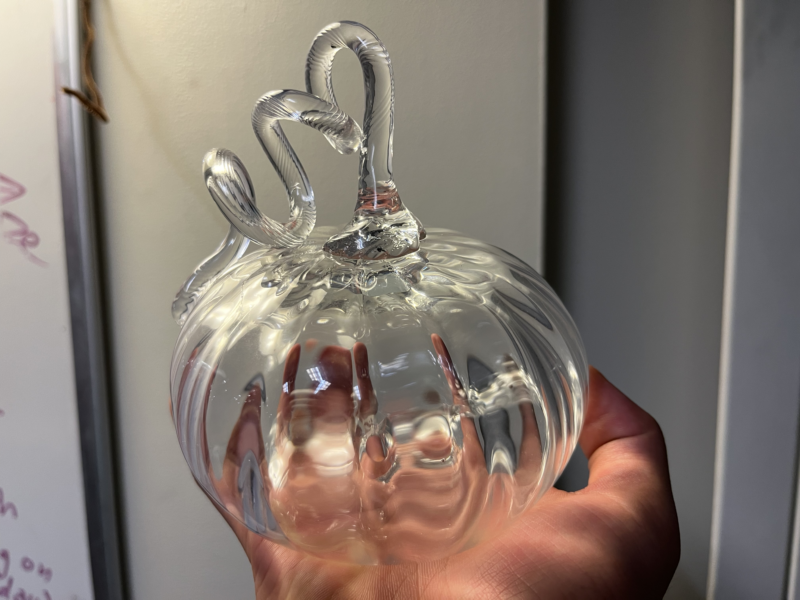
My (semi-successful) pumpkin after all this! (I gave up on using colour because it was too hard…)
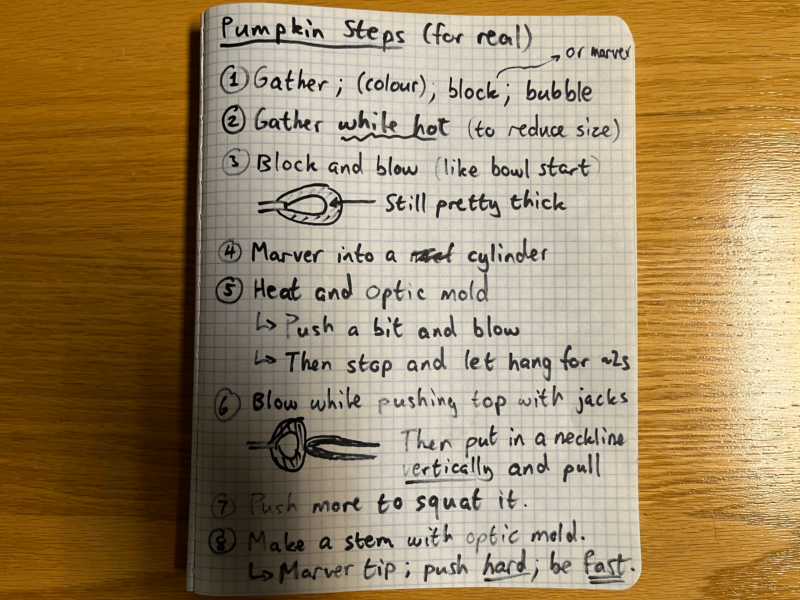
Glass pumpkin instructions, but for real this time. In theory, pretty simple. In theory.
As you can imagine, the professional glassblowers at MIT do not need multiple attempts over 24 steps to make a single pumpkin. Some are so good that they don’t even need to look at the glass actively while making pumpkins! (It’s super mesmerizing to watch the pumpkin crews work their magic because they’re so efficient – I’d highly recommend doing so if you’re around the lab.)
This semester, I’m lucky enough to take the intermediate glassblowing class at MIT. I’m super excited to continue honing my glassblowing skills (and hopefully join a pumpkin crew myself soon)!
- I may be wrong about this estimate because I’ve never been on a pumpkin crew yet, but this is my impression. back to text ↑
- They graduated last semester :( back to text ↑