
the children yearn for the snow quarry by Allison E. '27
120 bricks, 80 man hours, 3 tons of snow, 2 forts, and a partridge in a pear tree
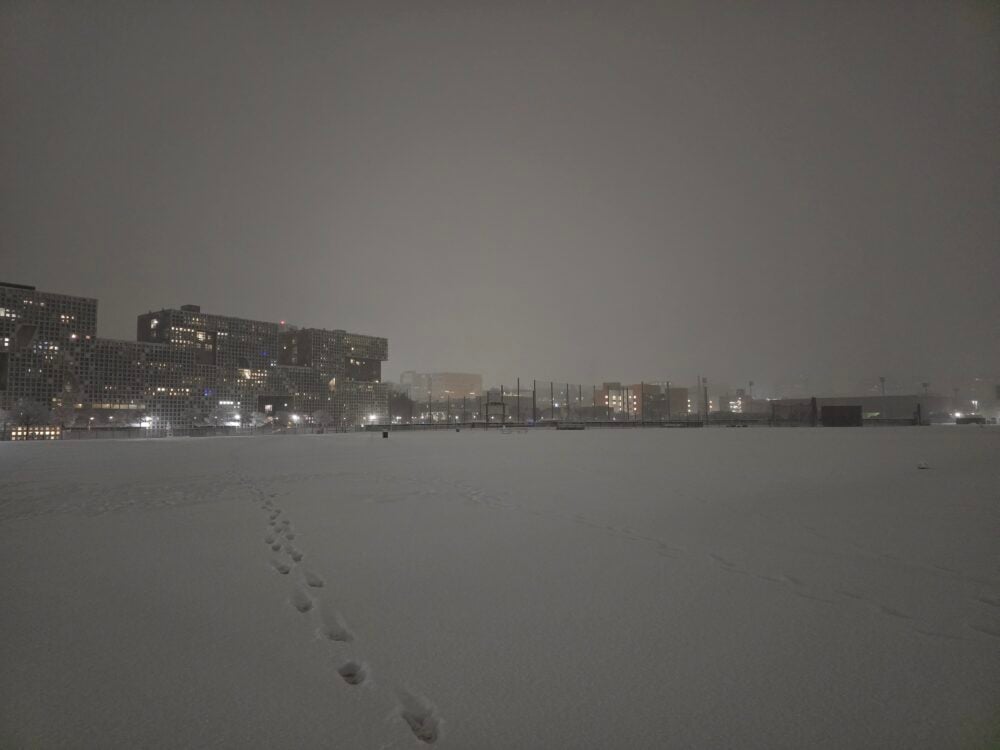
It is 12 am on the second weekend of IAP. Snow has been falling for almost four hours, and there’s almost three inches on the ground. This can only mean one thing–IT’S TIME TO BUILD A SNOW FORT!
Part 1: The Midnight Castle
Step 1: Where and when?
Ideally, somewhere with snow on the ground… This is generally an important prerequisite. You also generally want a quarry at least as big as a tennis court, with snow at least three inches deep. At MIT, we’re blessed with Briggs Field, a massive recreational field just outside most of our dorms, and a premier location for any snow shenanigans.
When? It’s important to build your fort before temperatures drop below 25F/-4C. If it gets too cold, the snow will lose the stickiness to form blocks, and also you’ll suffer more. With a cold front rolling in soon, this unfortunately means 12 am on a Monday morning…
Step 2: Assemble the materials
- 1 large storage box borrowed your roommate (thanks Miranda!)
- 5 trash bags stolen from the dorms
- 6 laborers unburdened by the demands of classes
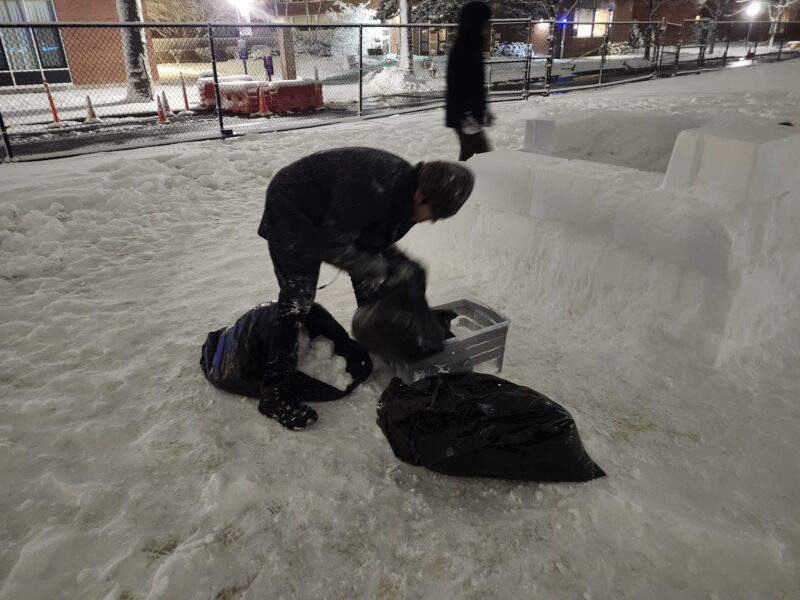
Step 3: Begin construction
There are generally three useful roles in large-brick-snow-fort-construction:
First, there’s the snow gatherers. Take the trash bags to fill with snow and begin excavating as quickly as possible. Also, try to avoid scooping too deep in the snow–you might end up with large amounts of goose poop mixed in.
Second, there’s the snow packers. They take the snow bags, dump them in the box, and compact it into a brick shape (this is more laborious than you’d think).
Finally, there’s the snow detailers. They help place the finished bricks and fill in any gaps with fresh snow.


Step 4: Get more trash bags
Apparently these break *a lot* 😭
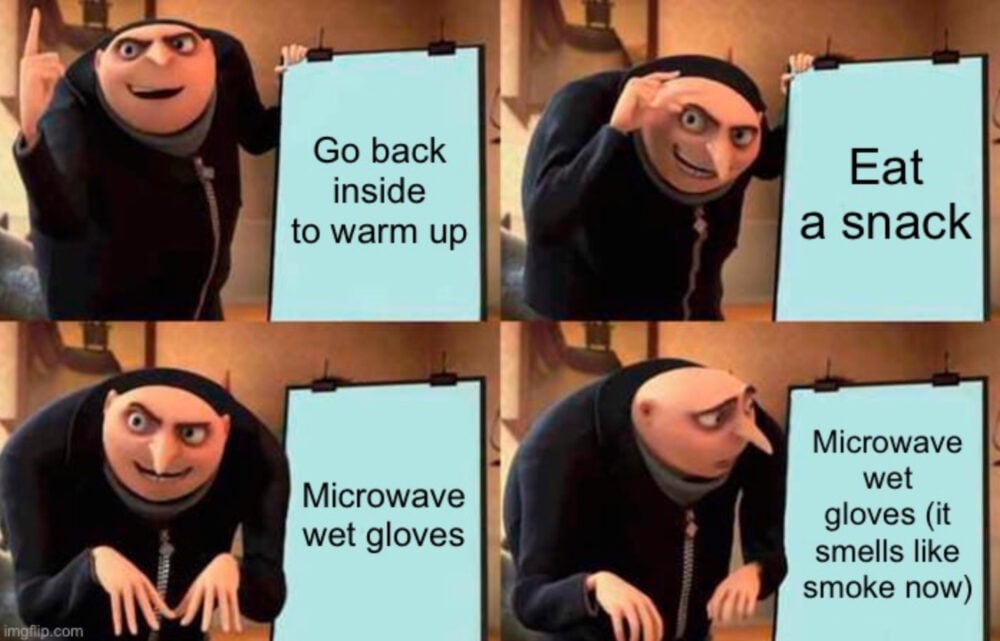
Step 5: 🎶Take a break!🎶
Listen to crab rave on repeat for an hour. Lie in the snow and make a snow angel. Throw snowballs at each other. And most importantly, go inside occasionally to avoid frostbite.
(true story)
Step 6: Recruit more compatriots
Harass your friends until they come outside to join you (yes, all your friends are awake at 2:00 am).
Step 7: Accidentally break your roommate’s box
Uh… oops… sorry Miranda 😭
Step 8: Fix your roommate’s box
Duct tape is magic!
Step 9: Continue laboring
Step 10: Continue laboring
Step 11: It’s 4:00 am now
Step 12: Consider giving up
Step 13: Continue laboring
Step 14: PLACE THE LAST BRICK!!
Step 15: CELEBRATE!!
Ideally with a nice sunrise and a large quantity of food (thank you food delivery services 🙏).


Step 16: Recover.
Sleep. Wake up. Limp around for two days straight. If you’re weak like me, five hours of manual labor really does a number on one’s body 😭.
Part 2: Igloo?!?!
The IAP snow fort took around 1,200 kg of snow, 40 man-hours, and a great deal of suffering. In particular, the bricks were inefficiently large, which both required too much snow and too much packing effort. Surely there’s a quicker way to do this.
Step 1: Scheme
ojas: *sends video explaining how to make an igloo using hardware store buckets*
ojas: the bucket packing strat is kinda insane
allison: i can … possibly borrow buckets from scioly?
ojas: why have i made a desmos for this 😭
ojas: https://www.desmos.com/calculator/gsjhlejfuj
evelyn: why desmos TT
benson: this guy dropped course 2 and lost all CAD ability /j
ojas: however the space that can be sat in will be a circle of diameter 1.4 m, conservatively
ojas: this is [the sitting height of] 50th percentile of uk men, which i think we are all under01 we are in fact all this short , + 20cm of clearance

I love this school.
Anyways, this time, snow isn’t expected to accumulate until well into the AM, so this project (luckily) can be a daytime affair. It can also be built outside of the dorm Burton-Conner instead of Next House, so that hopefully more passers-by get to enjoy it.
Step 2: Acquire supplies
- 6 Home Depot 5-gallon buckets
stolenborrowed from Science Olympiad - 15 trash bags (since they break so often)
- 1 measuring tape
- As many friends as possible
- Waterproof gloves that do not need to be microwaved
Step 3: Prepare your bodies
Namely, by eating food. Choose a dining hall if you can, where potential recruits can be coerced into joining :)
Step 4: LABOR!
Replacing the single large box with many Home Depot buckets is dually useful. First, since the buckets are smaller, it’s infinitely easier to pack the snow into a structurally sound brick (instead of 2 snow-gatherers and 2 snow-packers taking 4 minutes, it takes one person 30 seconds). Second, parallelization–with 6 buckets, you can make so many bricks at the same time!
With this scheme, bricks can be made extremely quickly, but since the bricks are also smaller and cylindrical (rather than rectangular prism-shaped), assembling the structure takes more work. You can split your workforce into half brick-makers and half assemblers, plus one person to gather loose snow-mortar in trash bags for the assemblers. While assembling, make sure to place bricks at staggered locations, level any inconsistencies across the top of a layer, and fill in the gaps between bricks with well-packed snow-mortar. Bury your measuring tape in the snow and use it to make sure your hemispherical igloo stays hemispherical. Also, leave a gap for an entrance!
Step 5: Distraction and karaoke
AKA lodge your phone in between two bricks, hope it doesn’t get waterlogged, and sing through the entirety of both Frozen movie soundtracks, several classical music pieces, some Christmas songs (even if it’s February), and Never Gonna Give You Up. Only stop when the igloo gets tall enough that you find out how sound-insulating snow is, and the music isn’t audible anymore.
Step 6: Curve the walls :O
Now that your first few layers are done, remember that the igloo is hemispherical, and you have to curve the walls inwards. This gets a bit tricky, and one person will need to manually support the bricks while someone else thoroughly mortars them to prevent collapse. This requires significantly more assembly labor, so you can shift brick-makers to assembly jobs.
Step 7: Recruit passers-by
People will stop by to ask what you’re doing and marvel at your creation. Coerce Invite them to join in!
Step 8: Continue laboring
Step 9: Take breaks in shifts
Step 10: Continue laboring
Step 11: Build an entrance arch!
Once your entrance gap is comfortably tall enough, close the top of the gap with an arch. You’ll need several people to hold everything in place while it’s being sealed. A bottle of water poured over the top can be helpful for extra strength, though!
Step 12: Uh oh the sun is setting
Step 13: Uh oh people have to leave
Step 14: Take a collective break
And also eat through Ojas’s entire jug of H-Mart jellies.
Step 15: Get back to work
So, it turns out it’s very possible to make an igloo too large. By the time you get to about the end (when the curve is strong), you might need several layers of bricks practically floating in the air. Snow is… not particularly conducive to this. You can try to build support pillars (stacks of bricks) for these layers, which helps a bit, but eventually you’ll reach the limit.
Step 16: Acquire blankets
Or curtains. Or both. Drape the blankets over the hole in the igloo’s ceiling and tack it down using more packed snow.
Step 17: ITS AN IGLOO
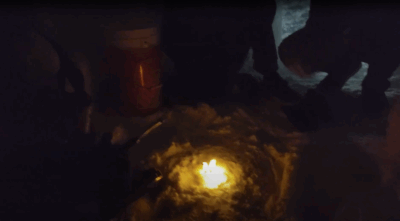
YOU HAVE AN IGLOO (ish) !!!! Go inside and bask in the glory of your achievement!! Lie down in the middle of it, use the buckets (or bricks) as chairs, take pictures, set some paper on fire… So much fun to be had!
heehee
Step 18: Turn off your timelapse
A timelapse of the construction, for your viewing pleasure :D
Part 3: GO FORTH AND BUILD!!
Have fun!
- we are in fact all this short back to text ↑