
1 Fish, 2 Fish, a Lot of Fish, and a Snail by Richard O. '28
Putting a Big Box of Water on my Dresser
So last semester I had a radical idea to get a pet aquatic turtle. I don’t even remember what sparked my interest in wanting to get one (it was likely from remembering the one we had in my 7th grade science teacher’s classroom), but I knew I wanted one in my dorm. After doing a little research, however, I discovered that a pet turtle would require a lot more water than I was willing to actually have sitting on my desk( and more than what MIT policies would allow01 As it turns out, MIT housing policies allow you to have up to a 20 gallon fish tank inside of your dorm room ). So of course, I realized I could just go for the next best thing (and probably the more realistic) and put together a fish tank. So during the summer, I spent some time researching and actually putting together an aquarium so here’s an outline of the whole process:
Phase 1: Plan it All Out
So all throughout the summer I probably spent several hours watching videos about freshwater tanks, aquascaping, and fish care while building a very long amazon cart of materials to build my tank. My initial idea was to use me and my roommate’s bookshelves as desk extenders in between our two desks (see image below) and use the aquarium as a divider between us and then add a floating light above it. After I got back to campus though, I realized that the shape of our room wouldn’t actually let us do the thing with the bookshelves at all so I ended up putting it on my main dresser instead and it honestly kind of worked out better that way.


Phase 2: Plan It All Out Again But This Time Remember That Aquariums Are Expensive
So during the summer I was really ambitious and wanted to get a large 20 gallon saltwater tank with a clownfish and Blue Tang that I would call Nemo and Dory respectively in addition to some other saltwater creatures. But then I learned that saltwater maintenance is scary and costly. And then learned that 20 gallon tanks are actually really huge and would require a lot of cleaning time and decorations to make it look appealing. So I eventually settled for a 16 gallon freshwater system that I could populate with tetras and a snail which was a lot more reasonable. Maybe one day in the future I’ll live out my saltwater Nemo aquarium dream but for now I’ll stick with freshwater. Anyways, here’s all the things I planned to order:
Main Materials
- 16 Gallon Rimless Landen Tank (11x11x17in)
- 4 Pack of XL Landen Driftwood
- Generic Aquarium Slate Rocks
- 2 10lbs bags of black diamond bio substrate
- 2 10lbs bags of black diamond aquarium sand
- Aquarium Hairgrass Seeds
- Aquarium Carpet Grass Seeds
- Hygger Backpack Filter
- Black Aquarium Vinyl
- Set of Aquascaping tools
- API water conditioners and plant nutrients
- Water Test Strips
- Food for the little guys
Live Plants
- Salvinia minima
- Java Ferns
- Vallisneria Grass
My YouTube watch history from one of the days I spent binge watching aquascaping channels to learn about home aquariums
Phase 3: Add to Cart, Order, Order, Add to Cart, Order, Add to Cart, Add to Cart, Order…
So as I got closer to moving in, I started to order all my materials so they would arrive to campus by the time I got there…and I think the New House desk workers were a little sick of the pile of packages I caused in our mailroom…


Phase 4: Aquascaping? Kind of? and Plants🌱
So the Instagram Reels and YouTube videos I watched of aquascaping made the process seem a lot simpler than it actually was. Took me forever to nudge the slates of rocks into the sand in a way I liked and then I had a trouble getting the conditions right to get the floor seeds to sprout…but after a week, things in the tank started to actually look like an aquarium. So then it was time to actually assemble the water filter which I recruited help from my roommate from last year for. It was kind of like building legos except the legos weren’t legos and the tutorial video was more confusing than lego instructions.


Phase 5: Lights, Water, Action
Once everything in the tank was put together it was finally time to add water which required me to lay some plastic wrap on the sand to prevent it from dispersing into the tank. But of course, this step wasn’t easy either because as I started pouring, the large piece of driftwood I had began to float out of the gravel it was buried under since I hadn’t weighed it down (like almost every tutorial I watched warned me about). So obviouslyyyy the best solution was to go down to the river and grab a large rock by the shore, wash it, boil it for a while to get rid of anything it may have been carrying, and wedge it between two of the driftwood branches…and it worked.
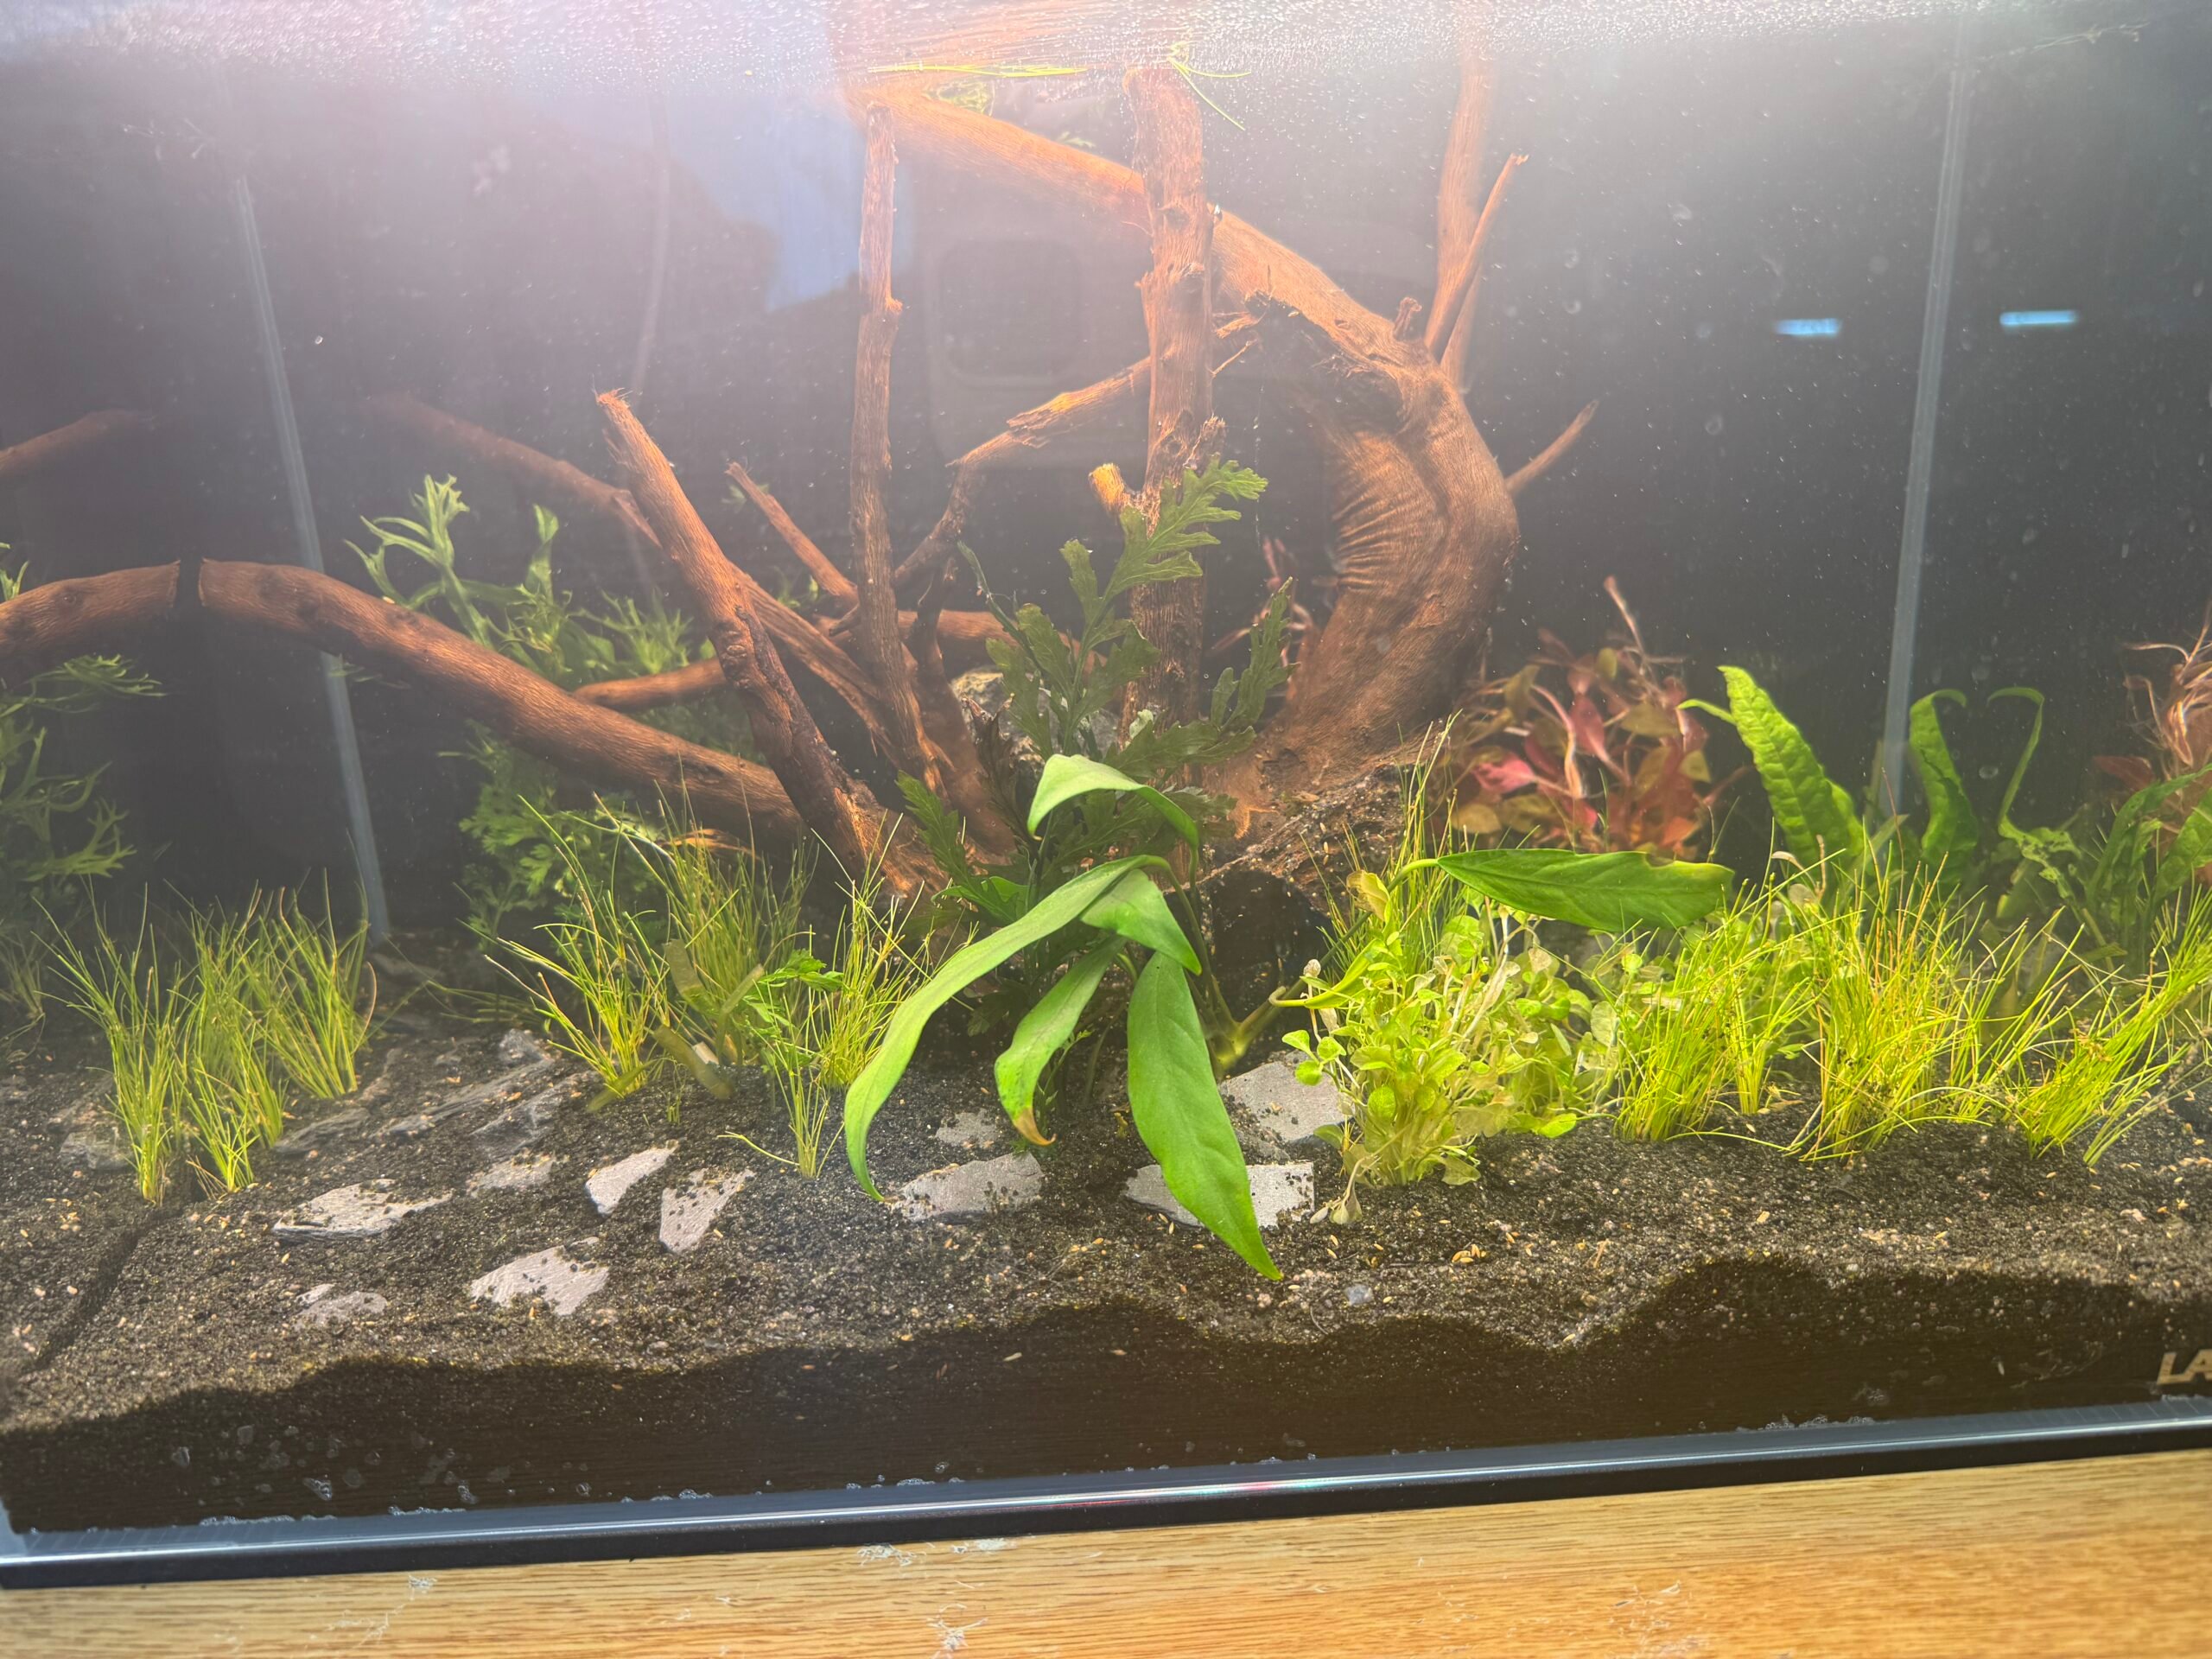
Final look after adding water and the rock to hold the driftwood down.
I also decided that I wanted to be different and instead of having a standing aquarium light, I wanted to build a floating one that was entirely suspended from the ceiling…because why not. So I headed to the metropolis makerspace and threw some quick sketches of a frame on a white board and then cut some scrap wood in the shop to make the whole frame. Afterwards, I wrapped the edges in some white gaffers tape and added a white foam board on the top to make it look a little nicer before screwing in some light panels that I repurposed from an older vertical farming project I worked on back in high school. All that was left was to screw in the suspension cables, adjust them to the right height, run the wire for light panels across my ceiling and behind my taller wardrobe, add a smart plug that would control the lights on a timer, and in the end, the whole thing turned out better than I expected. Also, don’t ask how I actually attached the suspension cables to the ceiling… just know that it’s really secure…


Final Setup before adding the fish and hiding the wires!


Phase 6: Welcome the newcomers
So the whole setup process probably took me like 3 weeks and then when classes started I had to wait another 2 weeks until I could get a free weekend to take the T to the nearest Pet Smart. In total I got 7 neon tetras as well as 1 black, 1 yellow, and 1 white guppy. Once we got home, I then took some time to acclimate them to their new tank before welcoming them inside. Also added in my little snail that’s always hiding somewhere on the driftwood so you sadly can’t see him in the photos. But overall I had a lot of fun putting together the tank and now I can use staring at my fish as another procrastination method when I don’t wanna do a pset.
Also haven’t gotten to naming them all yet so I’ll take any suggestions in the comments! (The rest of the bloggers have made me consider naming all the tetras after Aiden… so we’ll see what I decide on)


- As it turns out, MIT housing policies allow you to have up to a 20 gallon fish tank inside of your dorm room back to text ↑