How To Make Mediocre Furniture by Shuli J. '22, MEng '23
well, maybe i'll let you be the quality judge
for my grandmother, who loved to hear, and tell others, about my mediocre furniture
Part I
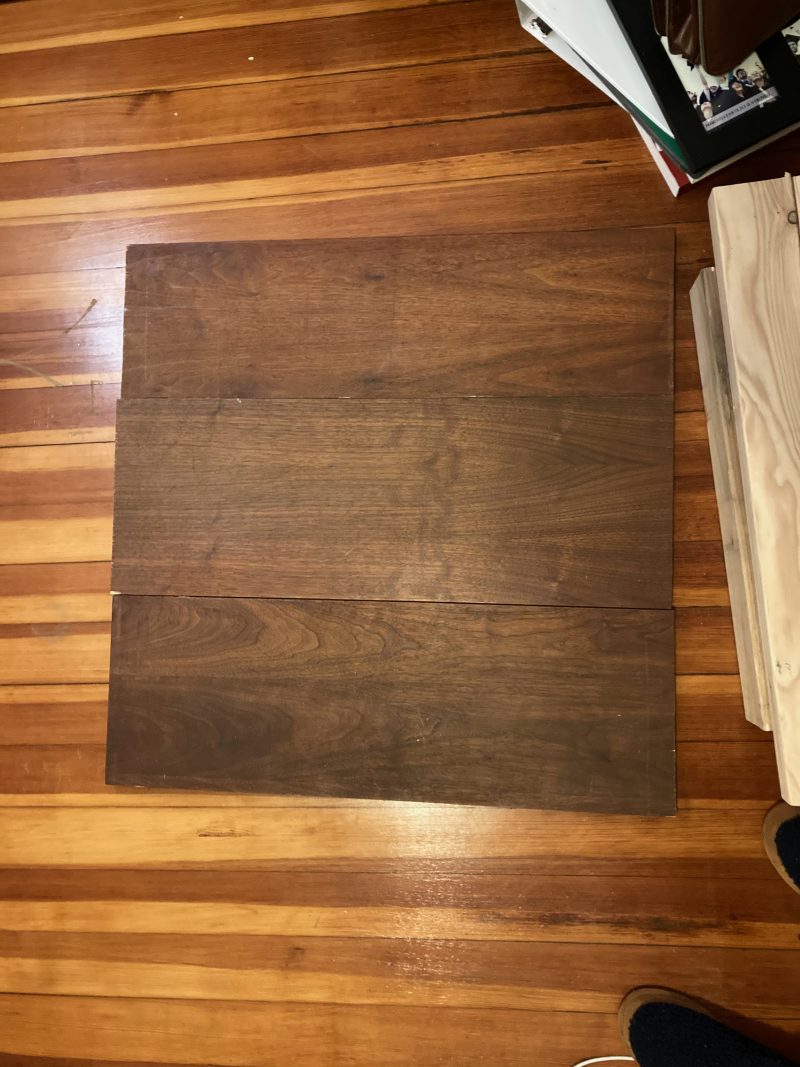
After I built my loft in sophomore fall, I was left with some extra wood stain, varnish, and desire to build things. So naturally I started dreaming about all the awesome custom furniture I could make for my room. When I came across some quite pretty, and free, shelf wood,01 MIT has a big free stuff culture. Offices or people who are getting rid of things will just leave them in the hallways to be taken. And we students do so, very eagerly. I decided to start with a coffee table. I planned out the shape and size over IAP and bought all the additional wood I would need in February. Then it was March, and we all know what happened in March 😬 So all of that beautiful wood sat in my closet, in my room in East Campus, while I did zoom school from my parents’ house in Canada.
In September, I moved back to Boston to live in an apartment with some EC friends, who all lived on slugfest in the Before Times. We got a U-haul to get all of our stuff back from EC (a complicated process involving coordinating truck reservation times, EC pickup times, and Massachusetts travel and quarantine restrictions, and that kept me up for at least two weeks in advance worrying about it). As we all worked together to bring our furniture and belongings out of our rooms, I started carrying down my wood. My roommates were like “omg wtf? why do you have that? why are you keeping it?” I was like, listen, you choose to live with a Putzen,02 One person who lives on Putz is a Putzen. Two or more people who live on Putz are also Putzen. this is what you get.
I carefully brought all the wood to our new apartment and carried it up two flights of stairs to my closet. It had waited six months for me in a closet on campus; now it would wait another six months in this closet just a couple miles away. After the loft, I learned my lesson about trying to get projects done during the semester. It may be possible, but it would take a greater man than I, or at least one with fewer extracurricular responsibilities. So it wasn’t until this IAP that I could finally get around to this coffee table that I’d first dreamed of more than a year ago.
I had a pretty good plan all set up, mostly based around learning from mistakes I had made with the loft. I knew that I should keep my plans simple, because even the simplest things can go wrong much more easily than you’d expect. I knew I should plan for some inaccuracies, because as an amateur, my cuts rarely come out just right. And I knew that when I put it together, despite all of that, something would still go wrong, and I had to be OK with that.
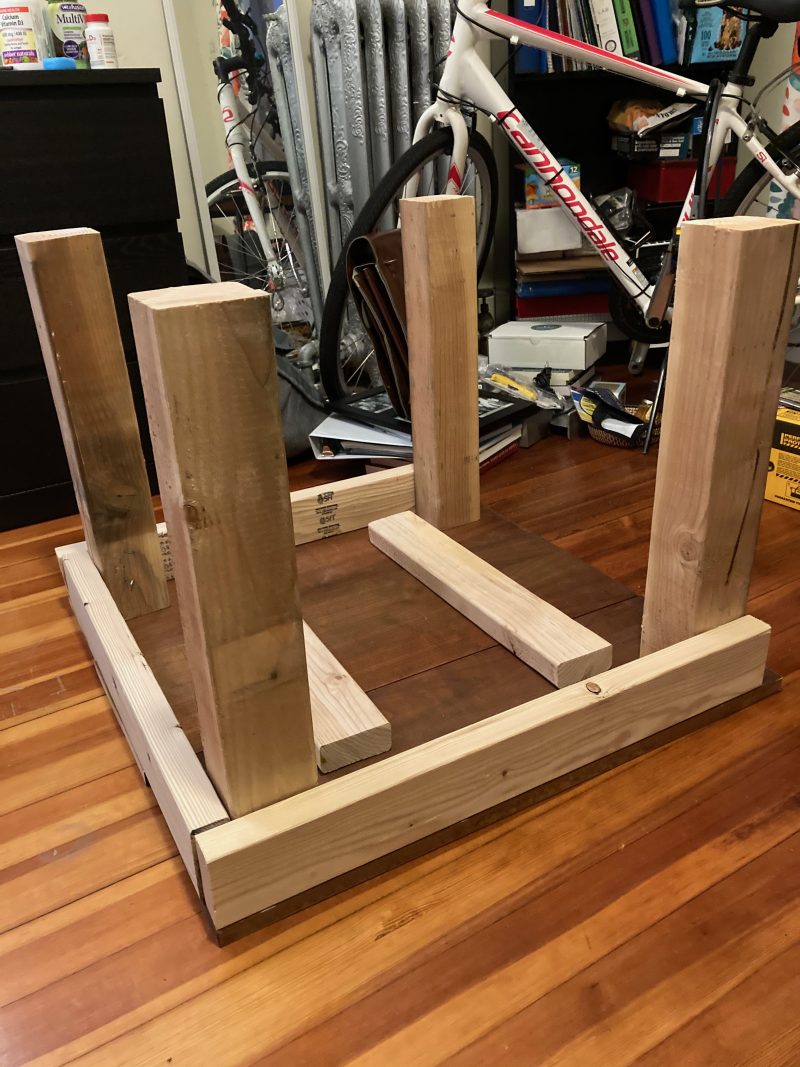
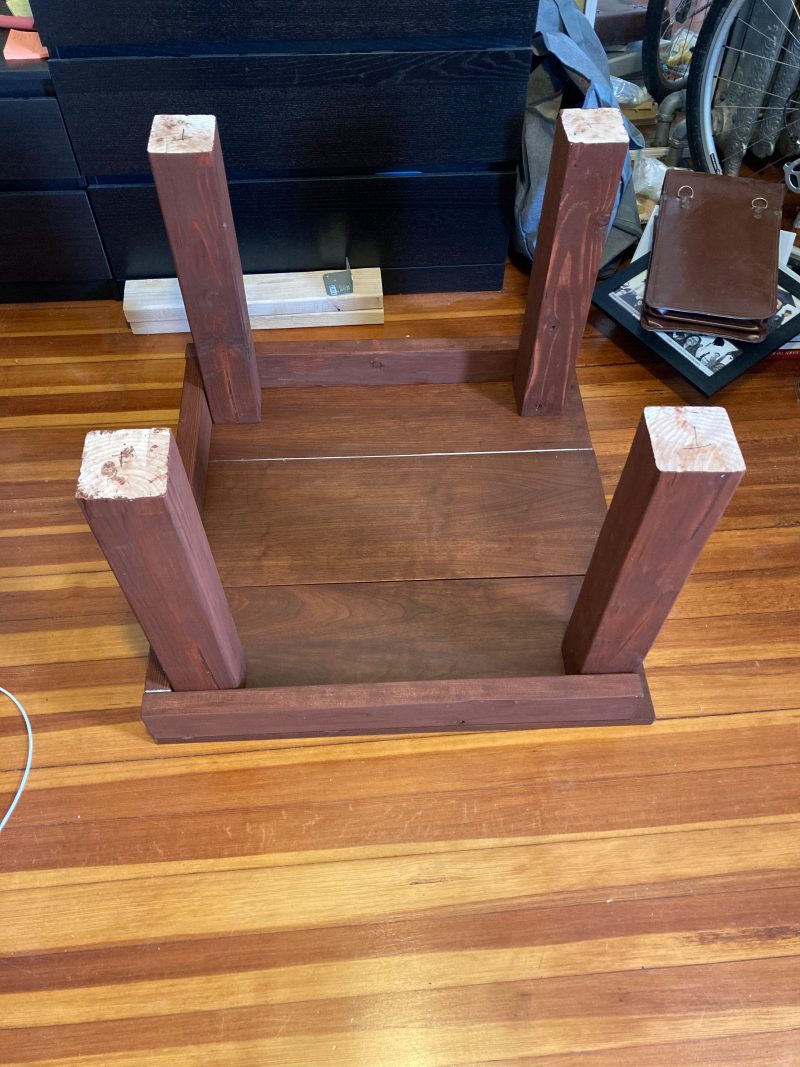
So, I kept it simple. I would have four study legs, made out of 4x4s, the classic EC loft pillar material. I would have the tabletop, made from my three beautiful shelves. To keep the shelf pieces together, I would connect them underneath with 2x2s. The only thing I wasn’t certain about was adding additional support. If I only attached the legs directly to the top, they would be wobbly (especially because making the bottoms of the legs perfectly flat requires non-amateur cutting skills). To fix this issue in lofts, we usually add triangular supports. But the table was so small that those supports would look comical on it. Plus, I wanted to be able to use the empty space underneath the table, and the supports would block access to that space. So instead I went with another set of 2x2s, parallel to the floor and connecting the legs. It wouldn’t be as sturdy as triangles, but hopefully it would be enough.
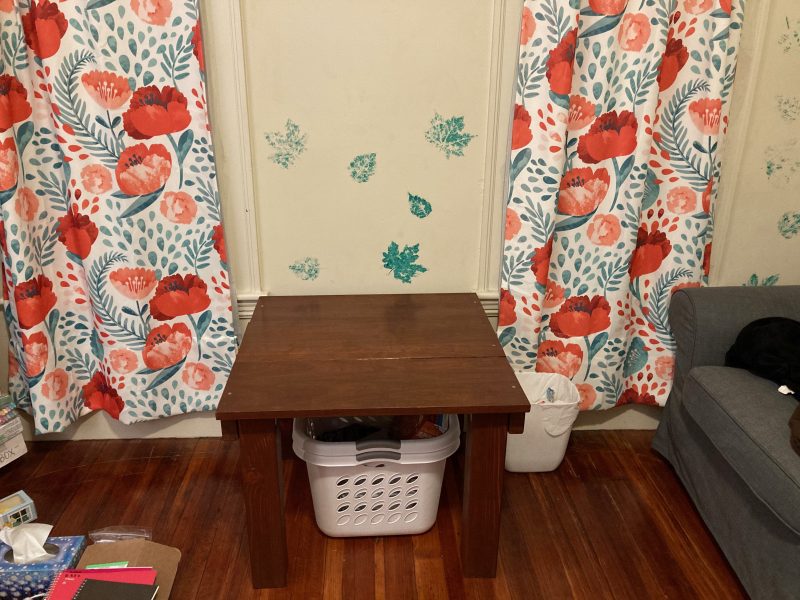
The absolute best part of making your own furniture is that you get to make it yours. I designed the table so that if put next to my couch, it would be at perfect armrest height. Its width would be exactly the width of the space between my two windows. Its height would be just high enough to allow me to slide my laundry baskets underneath it, to put them away when they weren’t being used and free up more floor space. Even now, these little things that make it mine delight me. (I guess this is why rich people buy everything custom.)
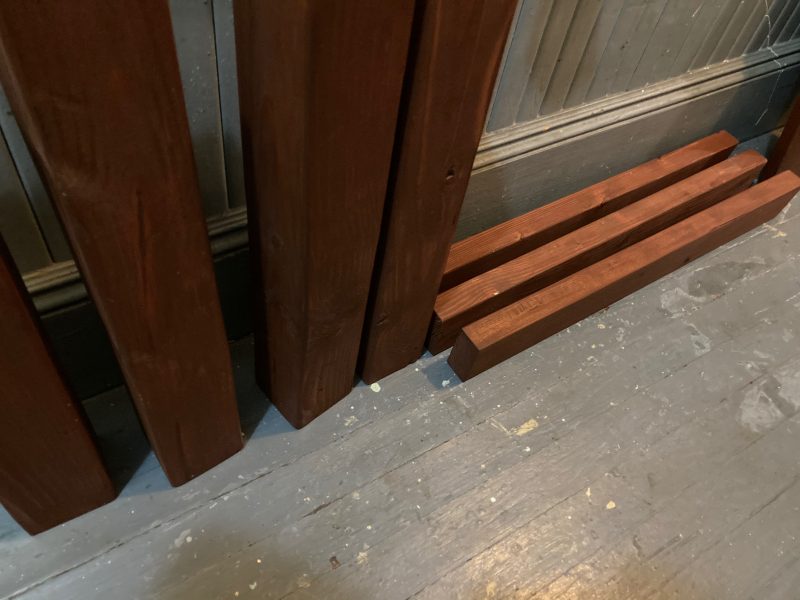
After working on my loft, the actual construction process was a breeze. Once you cut, sand, stain, and varnish an entire loft’s worth of wood, one coffee table seems like it takes no time at all in comparison. Plus, I already knew all the little ways not to screw up (like making sure the varnish doesn’t pool along the bottom of the wood you’re varnishing and dry in a yucky clump, and not hitting yourself in the bare skin with the orbital sander and starting to bleed. Okay, so maybe that one isn’t so little.) so the process was also less stressful and more fun. It only took me about a week of 1-2 hours of work each afternoon: I spent one day cutting,03 Since I don't have any of my own tools and usually just use the ones in EC's basement, I had to ask a friend with tools to do this for me. Thank you Shophaus!!! one sanding, one staining, and three days varnishing. Before I knew it I was ready to put it all together!
Another big lesson I learned from my loft is that if you put different sections of your project together separately, when you bring them together you find that they don’t actually fit. So, instead of attaching each leg one at a time, and having the last one turn out not to touch the ground, I knew that I wanted to put the whole thing together at once. I recruited some of my excellent roommates (who additionally had to put up with many loud sounds from me using power tools, and also me not shutting up about my project) to help me hold it together. I got the entire table set up and then I just drilled it all together!
One of the best moments was right at the end. I had it all, it looked great, all four legs touched the ground. The only thing I hadn’t done was add a few extra screws that I suspected it would need for stability. But, it seemed stable enough. I went around the whole table checking all the little bits and pieces, tightening up the screws, sanding down tiny sharp edges, poking it to see if it wobbled — but wait! It had gotten so much more wobbly! I almost panicked, but I sat back and looked at it and I realized that the place where it was wobbling now was exactly the place where I thought the extra screws would be needed. So I put them in, and I poked it again, and it was perfect. Getting that prediction just right was the best feeling.
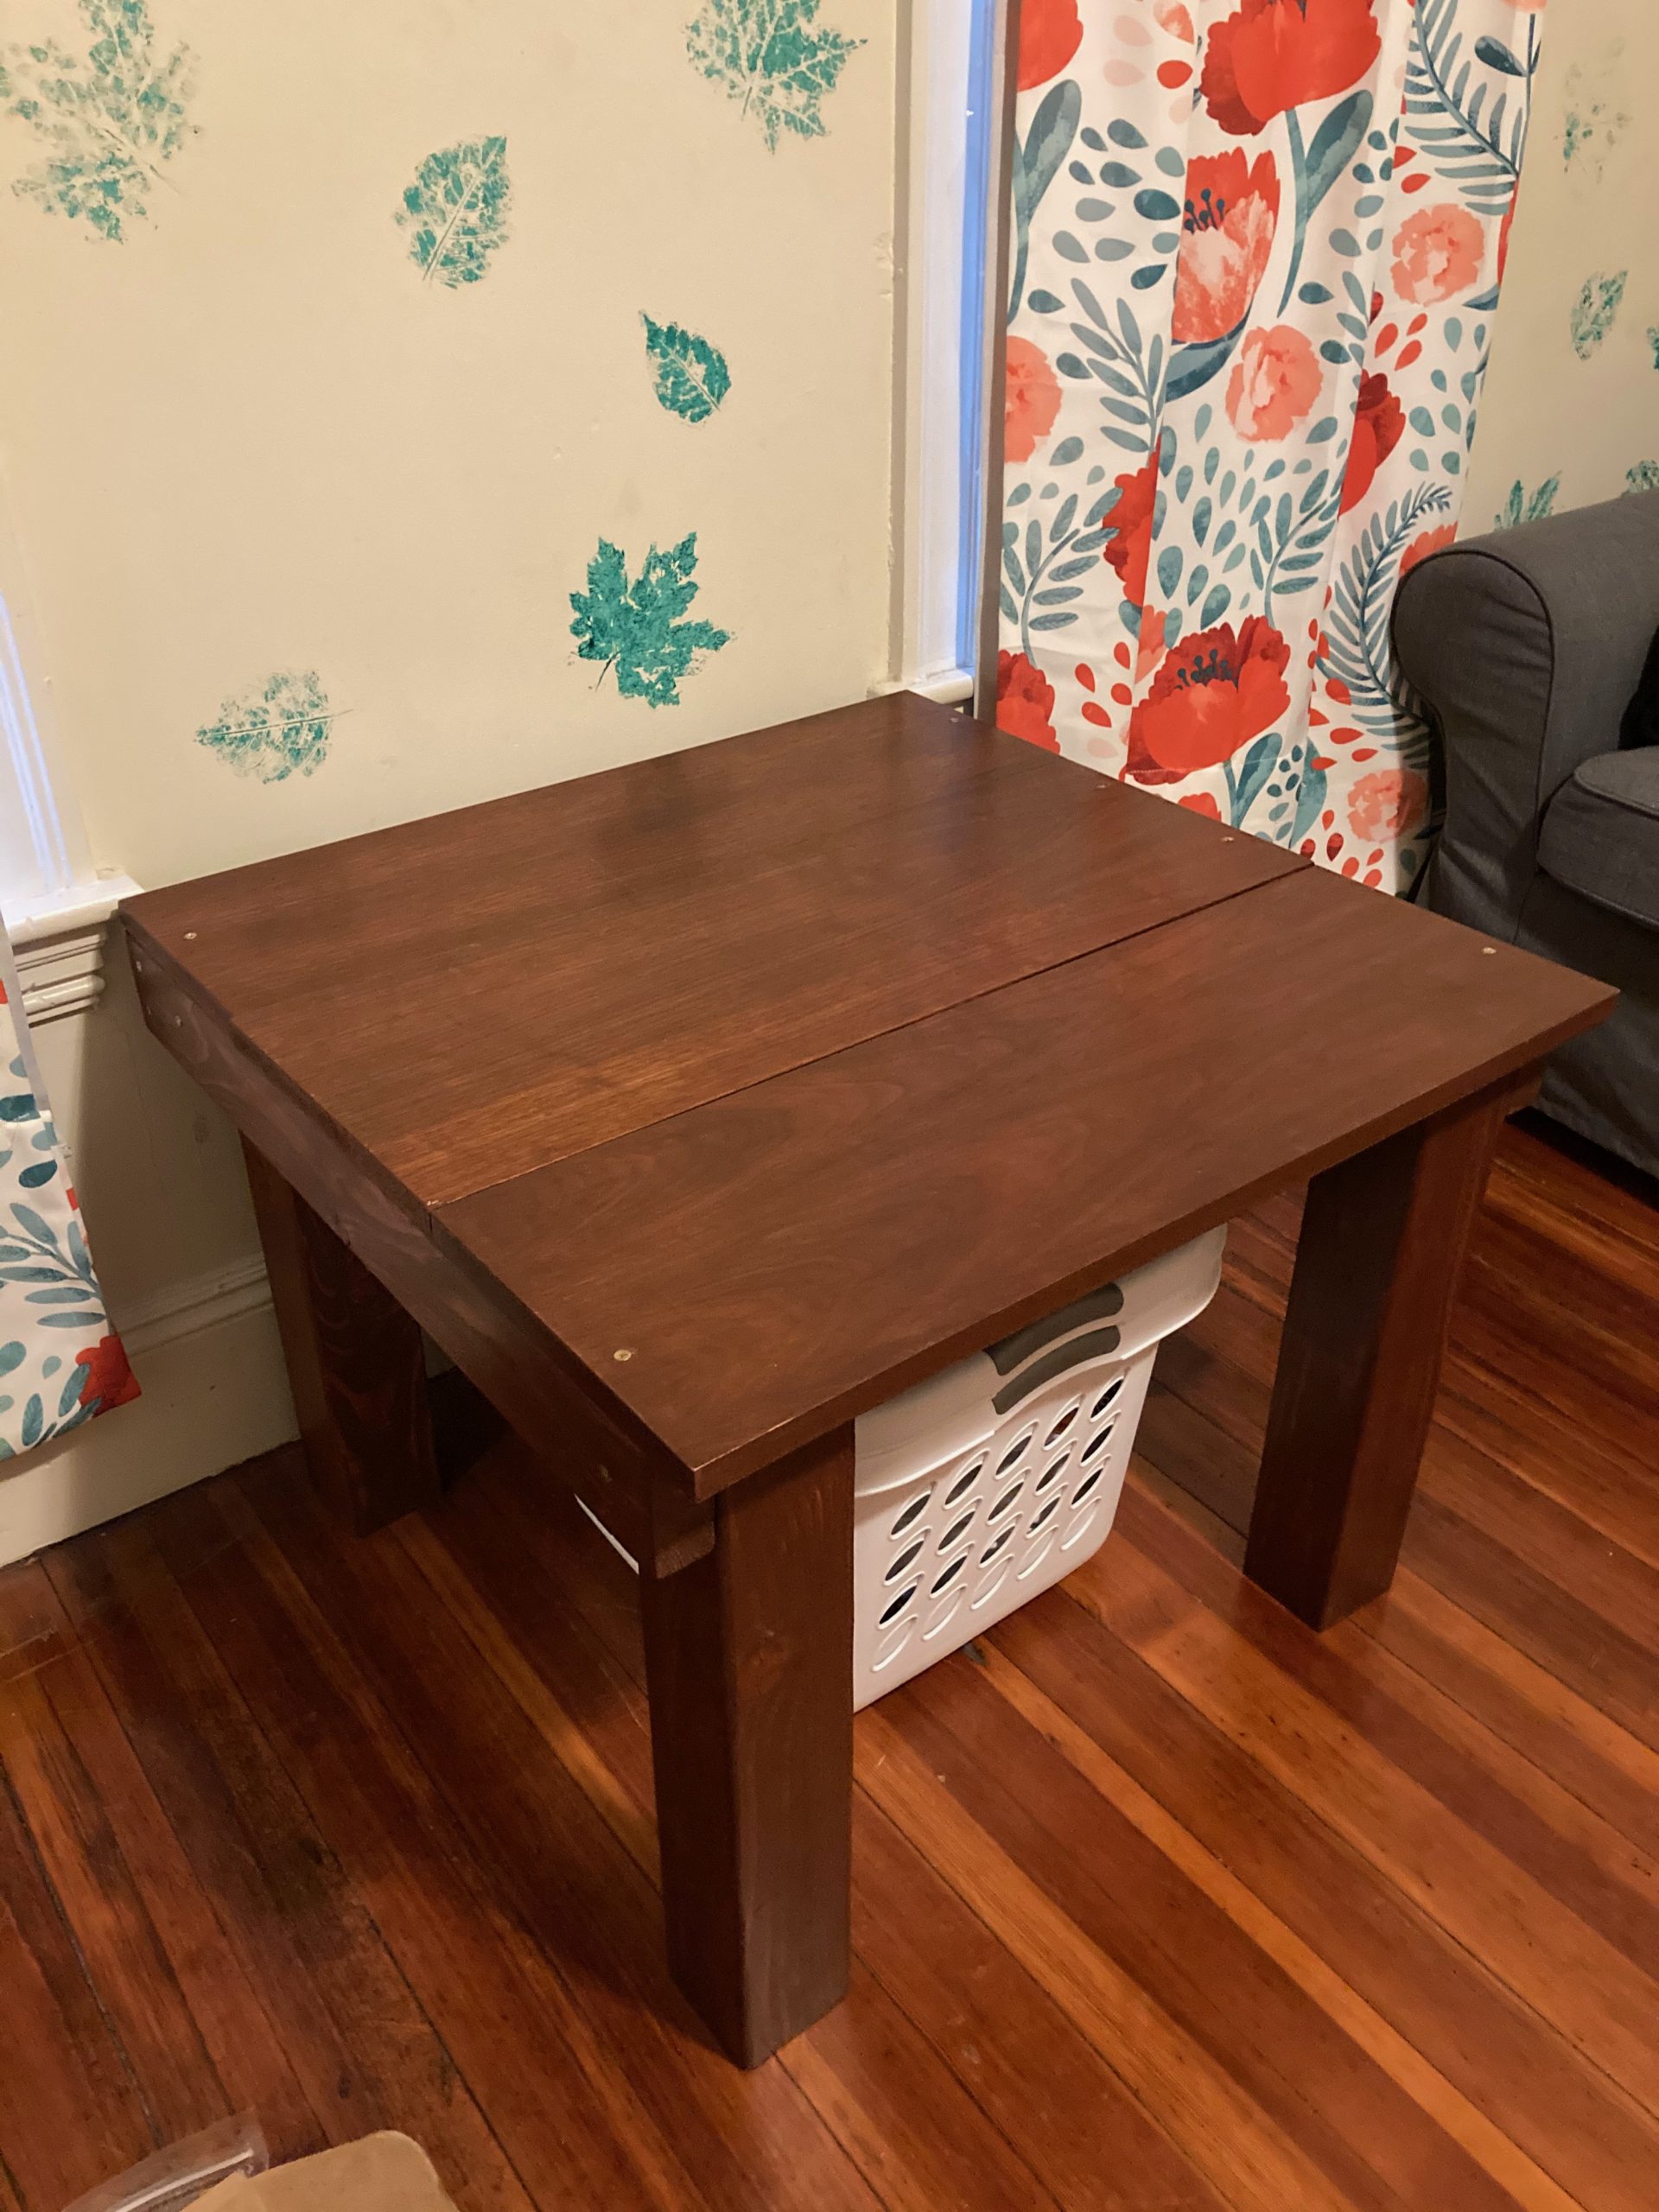
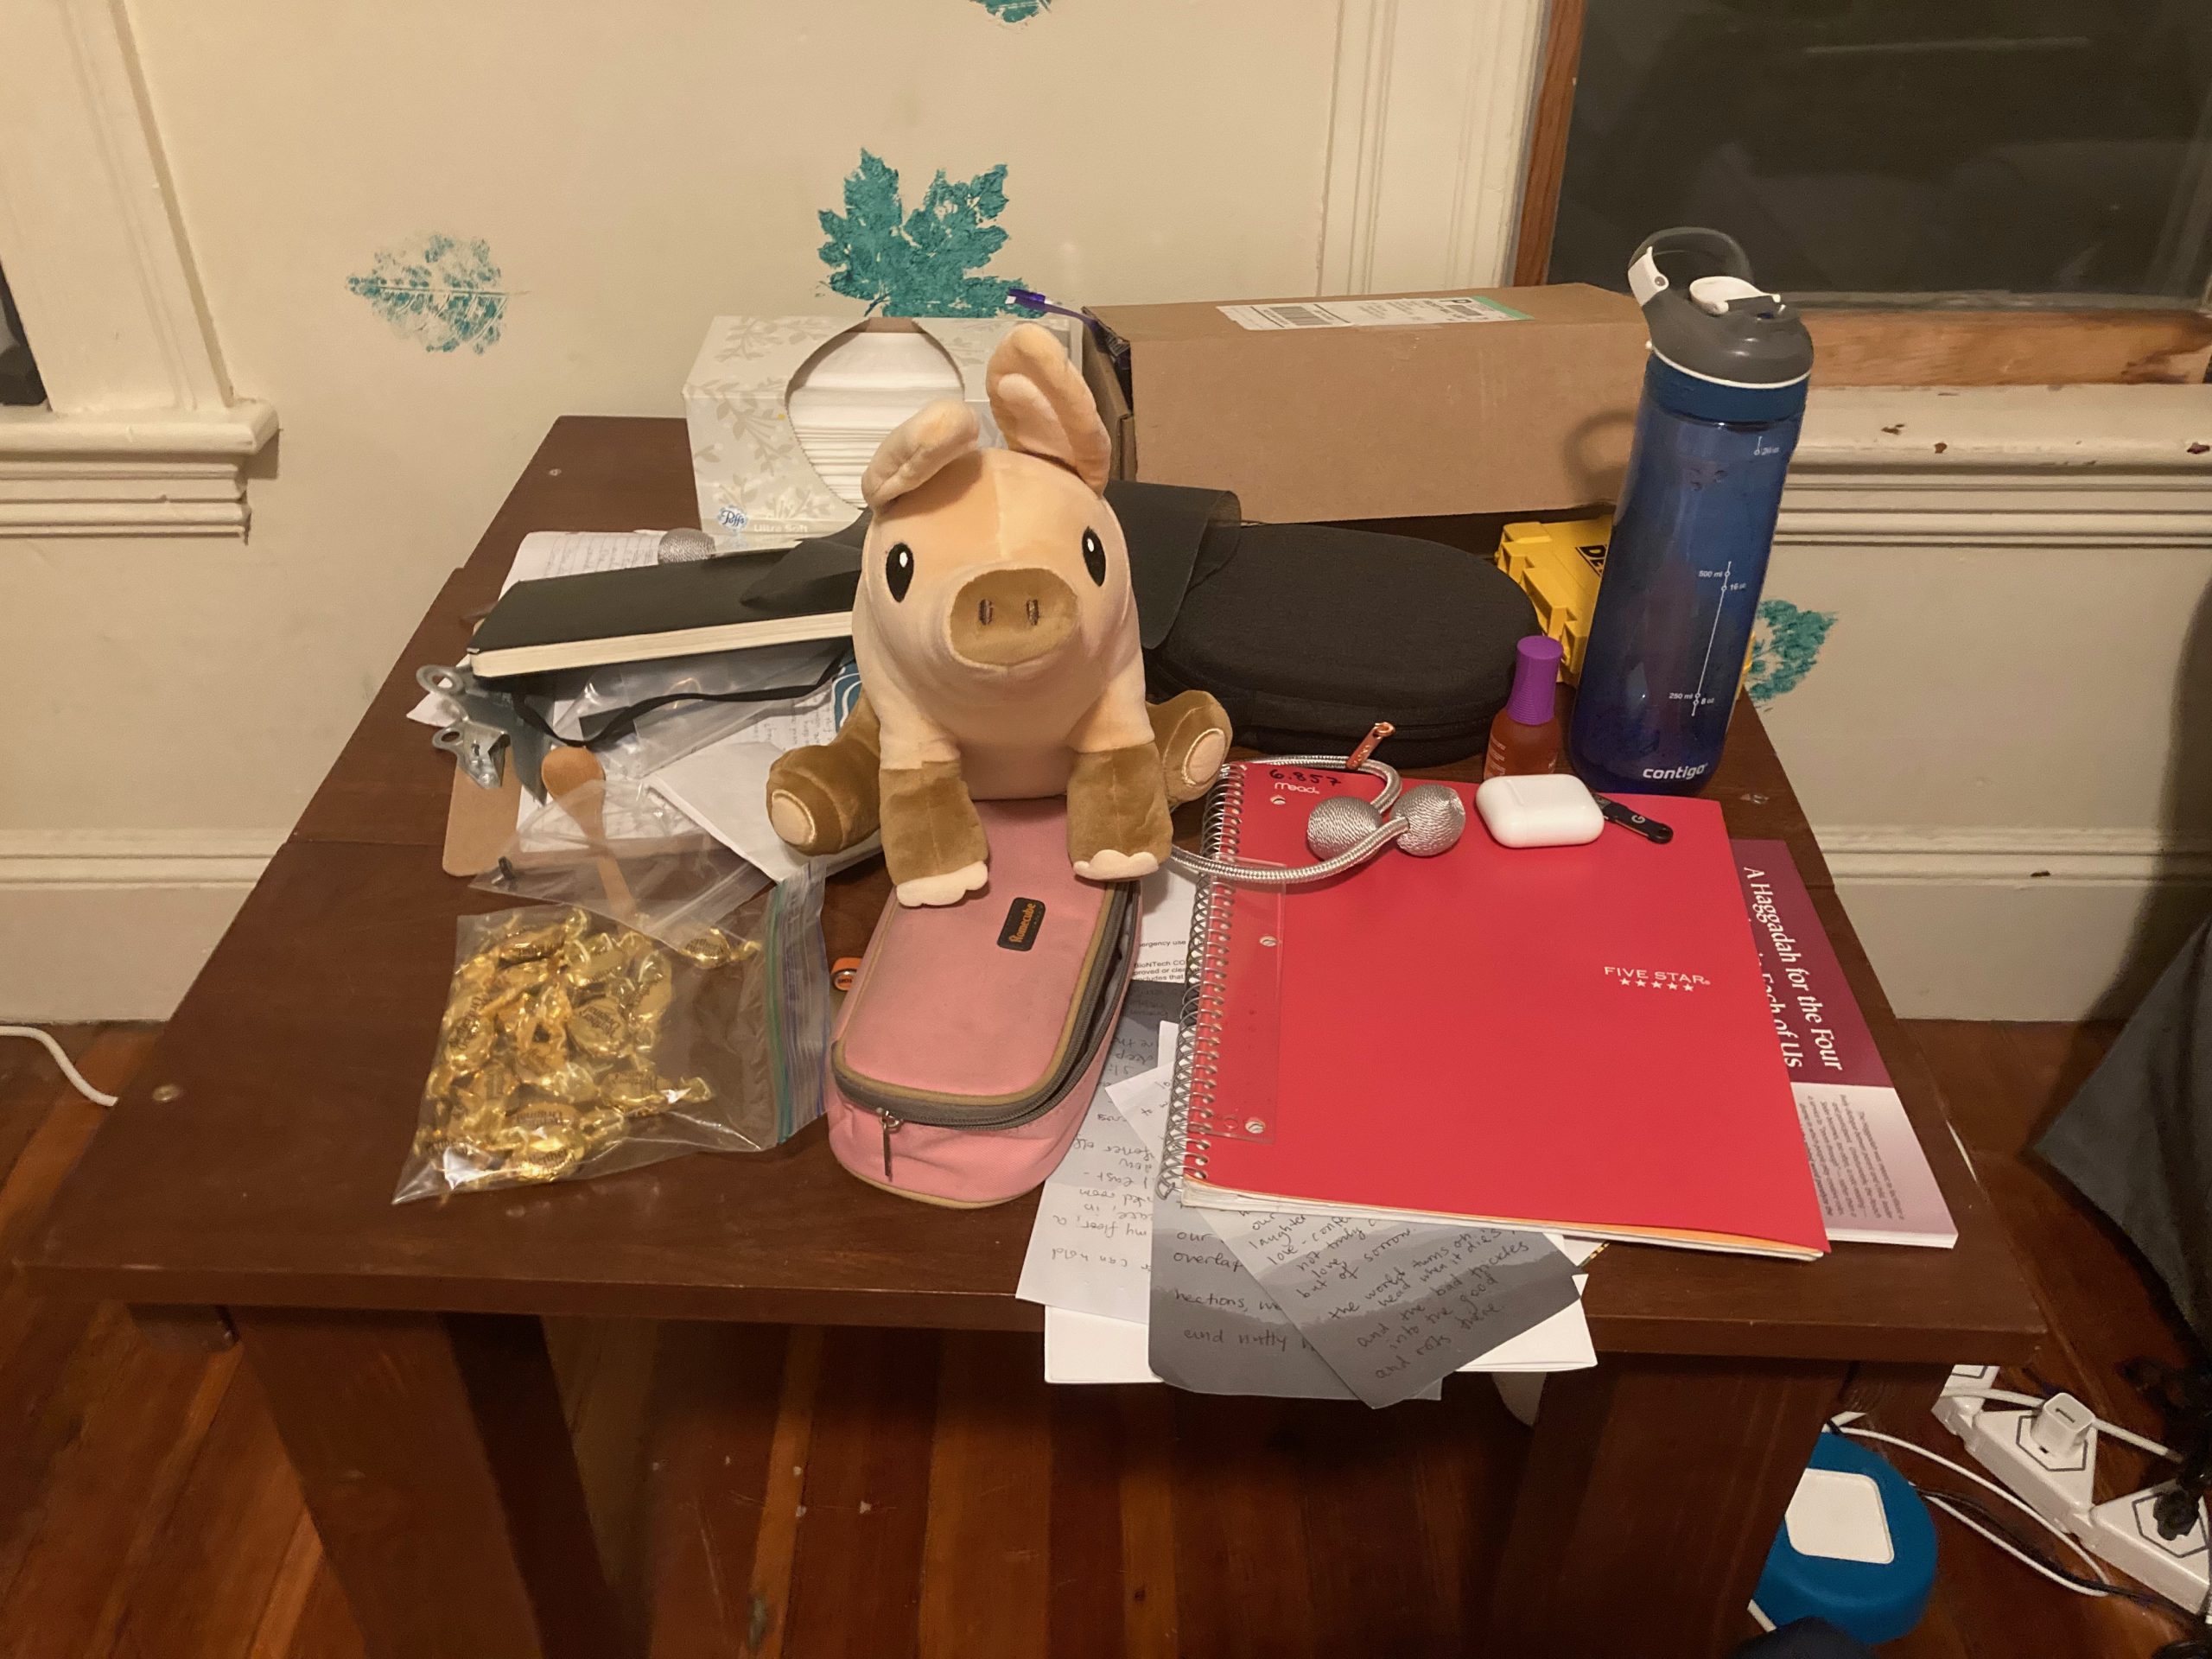
And then, I had a table! And it’s not perfect, of course. One of the boards is slightly offset from the other two, and I made some weird mistake with the varnish on one corner, and I’ve already gotten a scratch on the top. But it’s beautiful, and sturdy, and it’s mine. I made it and now it makes me happy all the time. (Despite the fact that usually I can barely see the top.)
How it looked right after I finished it:
How it looks 99% of the time: (But that’s OK! That’s what tables are for.)
Part II
About one week after I finished the table, still basking in that happiness, ESP started registration for Spark. ESP, the Educational Studies Program, runs different programs every semester where MIT students (or anyone!) can register to teach 7-12th graders about anything their hearts desire. Our amazing CJ has documented his adventures with ESP extensively. Half of my roommates are involved in ESP, so of course, I hear a lot about it. “Hey, you should teach for Spark!” “Have you thought about what you want to teach for Spark?” “Spark teacher registration closes in two days!”
I wasn’t unwilling to be convinced. “Okay, but what would I even teach about?” “Well, what stuff do you know? You could teach Course 6… or something with languages… or your furniture stuff…” And then something clicked. Because of the pandemic, Spark was in a new format this year: usually it’s taught over one weekend, and instead it would be taught over three. This meant that teachers would have time to do more drawn out projects, or things that needed time between classes… oh my god a table would be perfect. I was hooked. They got me. “I’ll think about it,” I said, and then I proceeded to do nothing but think about it. I caught myself, horrifyingly, monologuing in the shower, explaining to imaginary 11-14 year olds the difference between oil-based and water-based stains. I was imagining myself showing them my favorite stain brand and what I would say about it, and I couldn’t stop. Well crap. I’d better teach that class, then.
So the real planning began. I picked a name: How To Make Mediocre Furniture. I picked what we were going to make: a replacement for a makeshift table in the corner of our kitchen which previous renters had left and which was becoming less stable, from an original position of very little stability, with every passing day. I wrote and rewrote the budget request to try to convince ESP to buy me a circular saw (which they did!). I recruited one of my aforementioned ESP-involved roommates to be my second teacher (“you’ll just sit there,” I said, which would turn out to be a complete lie). I was so ready, and soooo nervous.04 If you have read other blogs of mine, you may notice a theme.
And the classes went amazingly, surprisingly, fantastically, jump-around-grinningly well. We had three one-hour classes, so I divided them up into (1) designing, measuring, and cutting (2) sanding, staining, and varnishing and (3) drilling. For each one, I put together some slides to teach the kids about the concepts and basic information. Then, they would watch me do the actual work as I narrated with tips and advice (“so the internet will tell you to do it this way, but that’s kind of hard, so I usually just do it like this and it turns out okay. Just make sure you never do that, because that would actually be dangerous.”)
It turns out that I love teaching when I’m teaching something I know a lot about. My past experiences with teaching have mostly been tutoring, where often, I just learned the subject recently myself, and I’m kind of desperately hoping the student doesn’t ask any question that I don’t know the answer to. This was totally different, because what I was teaching — the art of making mediocre furniture — was essentially a subject I invented on my own. Questions never phased me, because they were always about how or why I’d done something, and, well, I’d already done it. So I’d just tell the students what I did, and what happened, and whether I would recommend doing it again or doing something else instead.
It felt like a dream sometimes — a good one. When I finished class #2 I realized that I had stained an entire block of wood on autopilot while describing in detail how to stain a block of wood, and that I barely remembered any of it. But it felt amazing: to show people what I had learned, and teach it to them too, and pass along every little trick I was so proud of figuring out so that it would come more easily for them than it had for me… And I could tell they were having fun, too. Those kids asked the best questions and they were so observant. (And the class satisfaction survey results were pretty darn good too.) It was a wonderful experience, and one that oddly enough, only a pandemic could have begotten.
There was a lot of bad in this semester for me (like, a lot). But this was something good, for me and for others. Something whose good is permanent now, in my tables that I’ve made and the memories they make me think of when I see them every day. I’m glad that I moved to EC, learned how to use tools, and had the guts to try and complete a big and beautiful project. I’m glad I moved in with my friends, and let them convince me I would love to teach. I don’t think I could have done this anywhere else but at MIT. I’m glad to be here.
- MIT has a big free stuff culture. Offices or people who are getting rid of things will just leave them in the hallways to be taken. And we students do so, very eagerly. back to text ↑
- One person who lives on Putz is a Putzen. Two or more people who live on Putz are also Putzen. back to text ↑
- Since I don't have any of my own tools and usually just use the ones in EC's basement, I had to ask a friend with tools to do this for me. Thank you Shophaus!!! back to text ↑
- If you have read other blogs of mine, you may notice a theme. back to text ↑
