How to Make a Flashlight by Kirsten L. '15
MIT-style that is.
After 8 months, I was finally in. In the Edgerton Center Student Shop training class that is.
Never heard of the Edgerton Center Student Shop?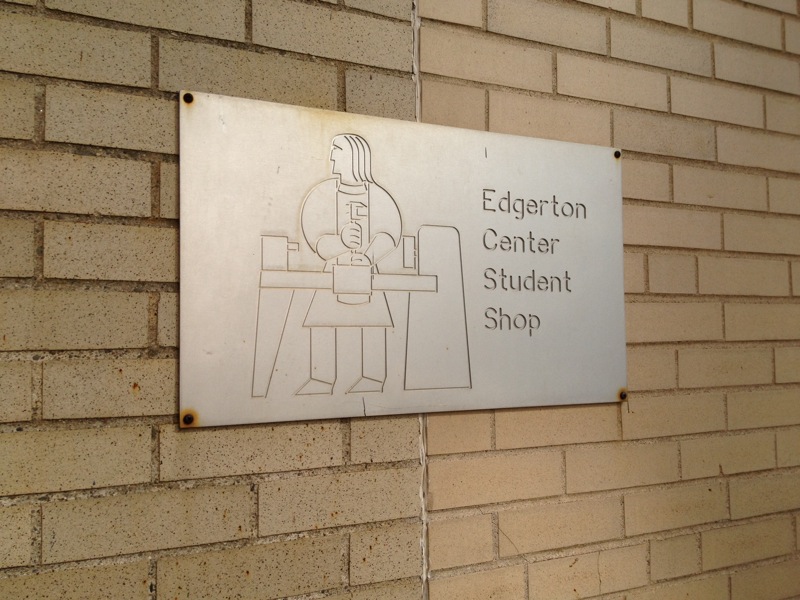
Well, it’s this wonderful machine shop that MIT students can use to make virtually anything their heart desires. It’s amazing.
In case you’re wondering what kind of tools they have, they have mills, lathes, bandsaws, drill presses, and even a 3-D printer! Now that I think about it, I wish I had taken some photos for you guys to see these machines :( But this just means I’ll have to swing by the shop to make something awesome so I can take pictures of the machines (: In the meantime, in order to orient youself to some of the machines I mentioned, you should take a look at the pictures here that Laura ’09 took of the LMP’s machines.
Anywho, as wonderful and free as the Edgerton Shop, the only catch is that you have to get shop trained before you can use the shop. Some of you might be thinking that training is probably awful and really boring. BUT this is MIT we’re talking about. Training’s actually pretty cool! For the Edgerton Shop training, they actually teach you how to make a neat little flash light! I didn’t take picture of the whole process, but I can walk you through some of it.
First, we started out with a little piece of aluminum that we cut from a longer extruded piece of square aluminum bar. We then stuck this piece of aluminum on the mill. A mill is essentially this fancy machine that you can use to make some precise cuts into a piece by using xyz coordinates. However in order to establish your coordinates, you need to edge-find, or determine where the tip of the tool is relative to the edges of your part.
Edge-finding! Woo!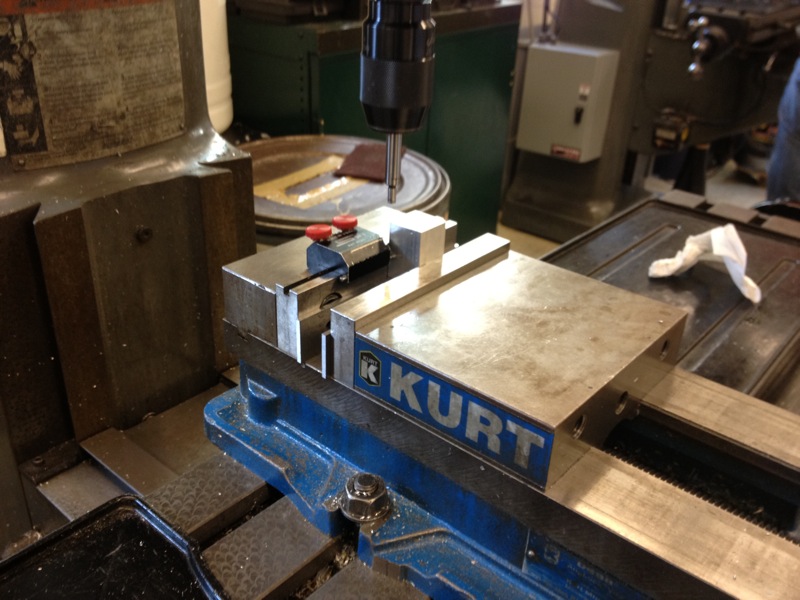
Next, we drilled a couple concentric holes for the lightbulb cavity.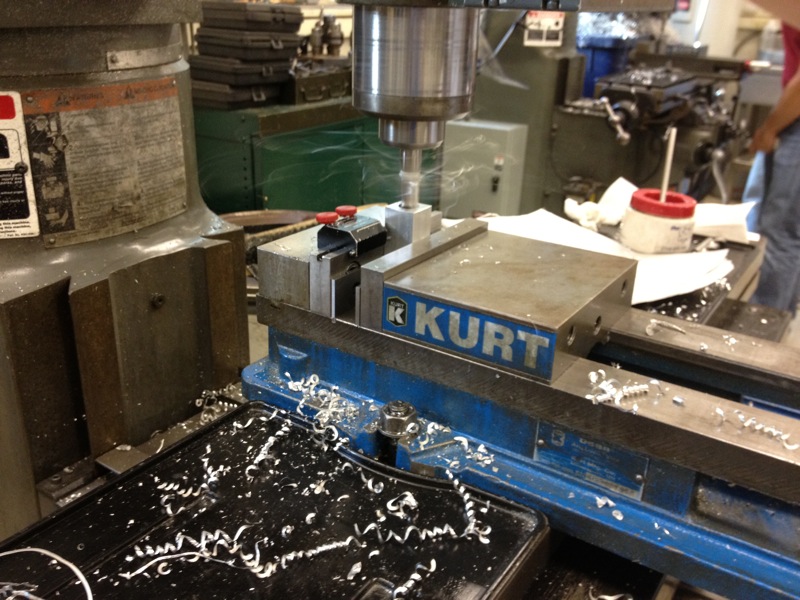
After we drilled the concentric holes of different diameters, we pocketed (made a square shaped hole) on the top of the part so that our plastic lens cover would be flush with the top surface. 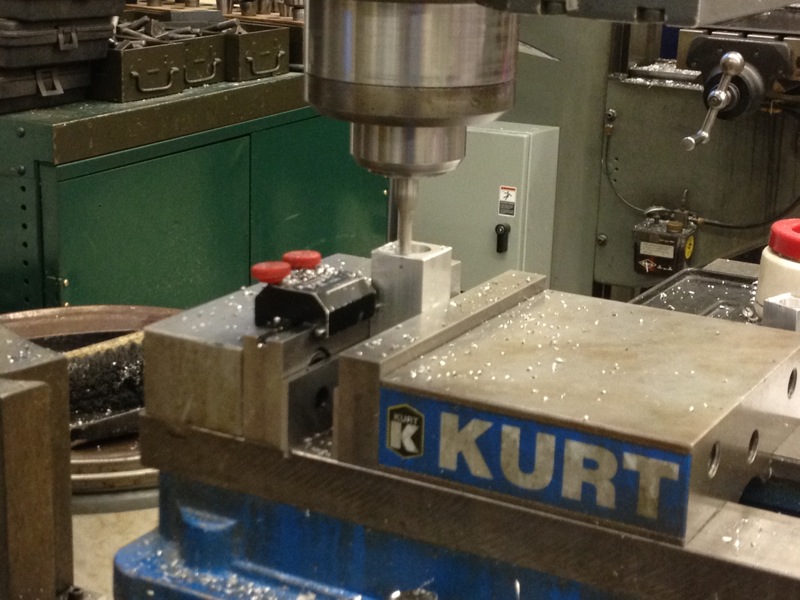
After pocketing, we drilled some holes for the lens cover screws and tapped these holes and the hole for the base of the flashlight (although I didn’t photograph these parts). Once we finished these parts, we moved over to the lathe. A lathe is a machine which rotates a part and allows you to make a cut around the axis of rotation of the part. Check it out below!
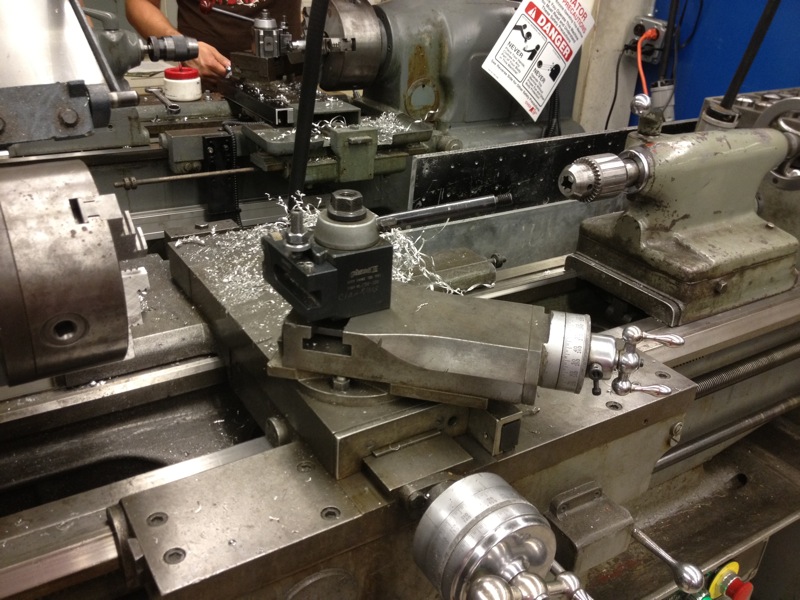
Again, I failed and forgot to take photos… but essentially on the lathe, we turned (this is the term for what you do on the lathe) down an aluminum rod to a smaller diameter, added threads using a die, drilled the hole for the battery, and added a “grip” using a knurling tool.
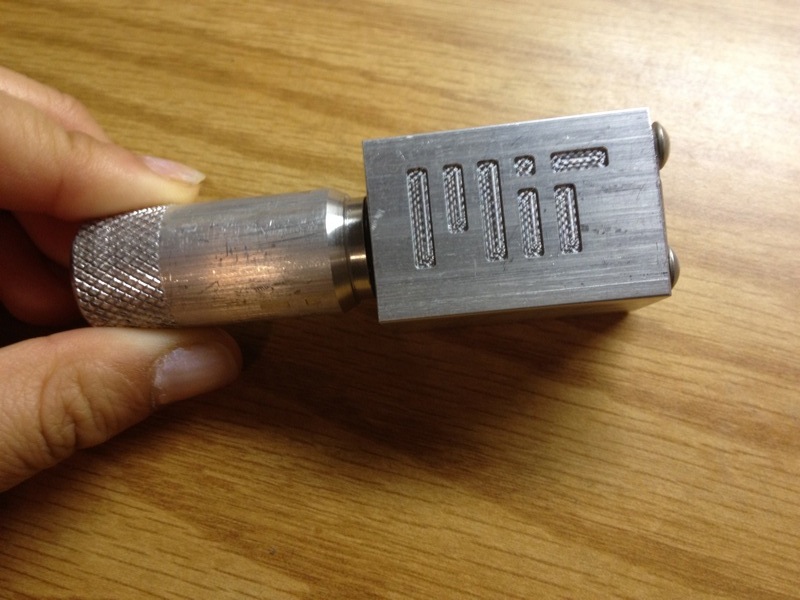
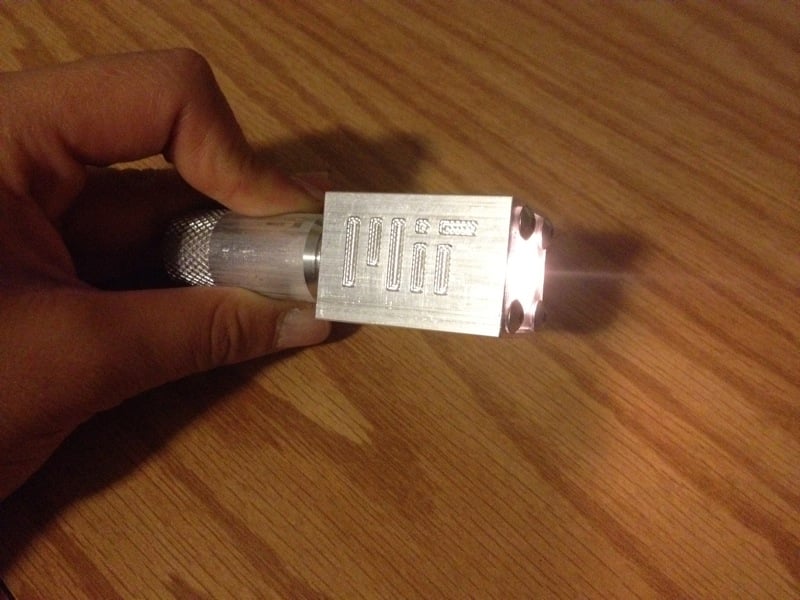
I definitely skimmed over the whole process (I was preoccupied with finishing my flashlight :P), but…VOILA! There you have it. A MIT flashlight, complete with a CNC’d MIT logo on the side!