Our Independent Studies by Danny and Allan G. '20
the making of a (very) short film
At the beginning of this semester, we were really unsure of what course 6 class we wanted to take. Last semester, we finally took 6.837 Computer Graphics, the class we had been slowly working up towards for our entire time at MIT essentially. We would have probably taken 6.839 Advanced Computer Graphics, but it is unfortunately only offered in the fall. So, we shopped around for a few different course 6 classes in the first week of the semester, and while they did seem interesting, we felt like we wanted to learn things more closely aligned to our interests in our last semester here. So we decided to create Independent Studies (which was a whole process in and of itself) to continue learning computer graphics topics that interest us and apply those things to the creation of a short film.
We just recently finished our independent studies and have a (very) short film that we are happy with, so we want to write about the whole process!
First, for context, we got really lucky with our supervisor. Finding a supervisor was the hardest part about the whole Independent Study approval process, but we are so happy we kept on persisting! He is a grad student in CSAIL who created a programming language specifically for simulation and rendering, two topics that particularly interest us in computer graphics. He was also generally super knowledgeable about computer graphics and really helpful! So, the plan was for us to both use his language Taichi to code our entire film, Allan focusing on the simulation aspects and Danny on the rendering!
We first started learning the various specificities about Taichi, like the way vectors and matrices are represented, the best way to structure for-loops to take advantage of Taichi’s optimizations for speed, and Taichi’s syntactical nuances. This part was not too bad, because the language is pretty similar to python for the most part.
Meanwhile, we were thinking about vague ideas for concepts for our film. Since we did not know what we would be able to achieve by creating a short film entirely out of code, we wanted to keep the ideas really broad, allowing the process to guide the story. So we started off by thinking about what kinds of topics we wanted to implement, and what types of scenes we would be able to create using those implementations.
The initial idea, suggested by our supervisor, was implementing a particle simulation using the Material Point Method, the method used to create the snow simulation in Frozen. Using this method, we thought we could create some sort of aesthetic or magical environment that involved either sand or water. Our supervisor already had an example implementation of the Material Point Method, so we used that as the basis for what we would build on.
On the simulation side, the main things we learned about/implemented were One-Way Coupling, Ray Marching, and the Digital Differential Analyzer (DDA) algorithm. One-Way coupling is a method used to create boundary conditions for particles to bounce off of and interact with, like particles hitting the floor and stopping. Ray Marching is used to render those boundary conditions, so the particles look like they are interacting with actual objects as opposed to invisible force-field-looking boundaries. And DDA is a line-drawing algorithm that is used to accelerate the detection of particles. This approach works by checking smaller subsets of the scene where the particles are located, as opposed to the entire scene which includes a lot of empty space.
On the rendering side, the main things we learned about/implemented were Ray Casting/Lighting Models, Motion Blur, Transparency, and Camera Motion. Ray Casting and Lighting Models are used to shade the objects in the scene in a believable way. We learned about this in 6.837, but our implementations in that class were only for single frame images, so it was cool to learn how to integrate the techniques for a film. It was also cool to implement it in a new language — doing that allowed us to really solidify the concepts and gain a deeper understanding of them. The rest of the techniques are exactly what they sound like. Although these techniques initially sounded less complicated, they proved to have their own challenges when it came to integrating them into our rendering pipeline.
We learned all these topics through a combination of instruction from our supervisor, his example code in the Taichi repository, various graphics related online resources like OpenGL and WebGL tutorials, academic papers, ShaderToy code examples, and a Youtube channel called The Art of Code, which has tutorials for ShaderToy01 We really recommend looking at ShaderToy and The Art of Code if you are interested in the intersection of visual arts and coding. You can make really cool things, and through the process of creating shaders on this site, you can learn a lot of fundamental computer graphics topics! that also apply to computer graphics in general.
This first video shows one of our major milestones/breakthroughs in the semester. At this point, our rendering pipeline was functioning, our particles were appearing, and one-way coupling was working, meaning the particles are getting pushed by the sphere! However, this also shows how the particles are not entirely working correctly, since they accumulate over time as opposed to appearing on the screen all at once. This was part of a larger problem which is shown in the next video.
This next video shows our next major milestone as we were figuring out the aesthetic we wanted our film to have. We adjusted our lighting model code to remove the shadows and shift the values to be generally brighter, adjusted our rendering code to allow functionality for camera motion, changed the colors of everything to give it a more playful/whimsical feel, and moved our light position around so it creates softer shading.
The major lingering problem we were still having was getting DDA to work. At this point we had actually made significant improvement to it and fixed a lot of bugs in it, but it was still far from perfect as the particles would basically yeet from existence only to come back seconds later, as you can see in the video.
We ultimately decided, for the sake of having a final product, we would go back to rendering the particles using our original brute force approach, since we knew that would work. We still learned a lot about DDA in the process, so we’ll take that as a win anyways.
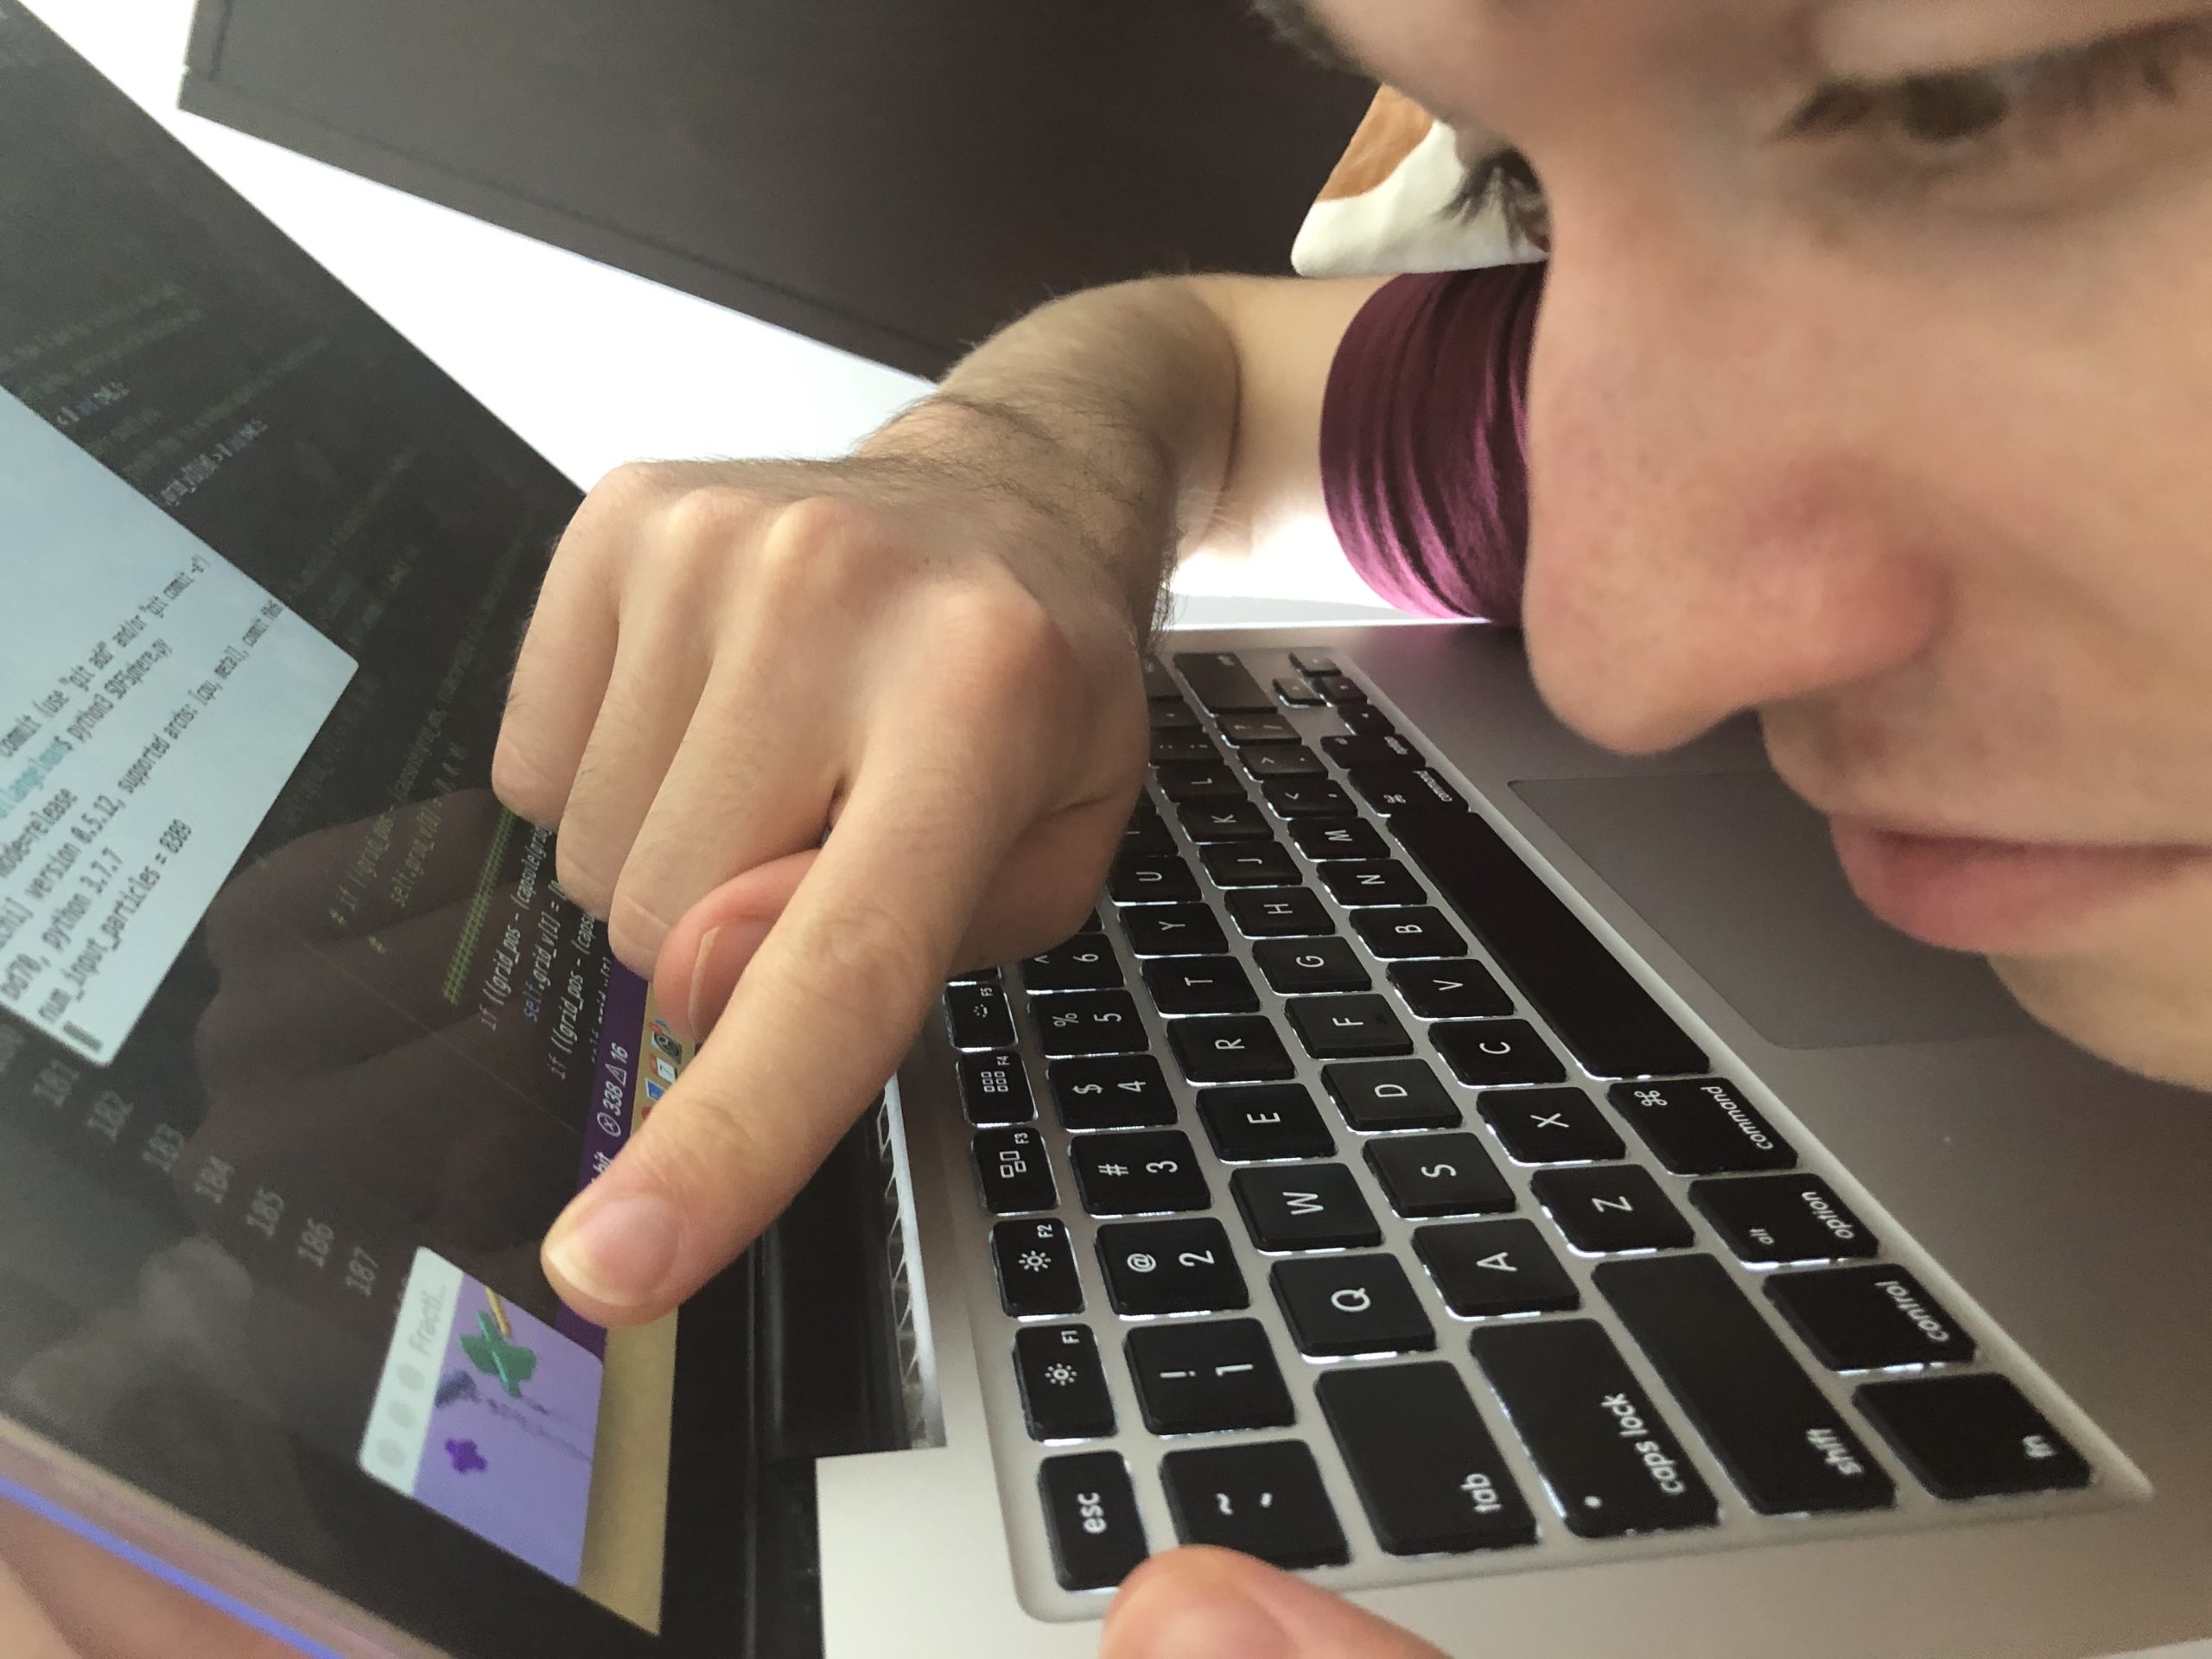
After doing that, we were adding the finishing touches to our film, like integrating the motion blur code. But as we added more and more components, it began to compile sooooo slooowwwly. It was already really slow, as you can probably tell from the video above. So we ended up having to shrink our window to be super tiny so that it would compile in the range of 10 to 15 minutes as opposed to we-don’t-even-know-how-long-since-we-aborted-the-program-after-waiting-for-30-minutes-for-it-to-compile-at-the-original-size. So yeah, this next picture kinda describes what our end of semester looked like.
It was both frustrating and also oddly funny for us to go through the cycle of:
- changing like two lines of code
- waiting for 15 minutes
- getting an initial burst of “yesss finally our itsy-bitsy window has blessed us with its presence”
- carefully and hopefully squinting to decipher what was going on in that one (1) square inch of pixels
- experiencing a subsequent dreadful feeling of “tear … that change didn’t work”
- repeating, repeating, repeating until we got everything the way wanted it to be
After we finally had everything set up the way we wanted, it was time to render it in the full 1920 by 1080 pixels. Our supervisor generously offered to render our film on his GPU. But before we gave him the okay to render it, we wanted to do one last test render on our end at the original size we were working with (640 by 360 pixels), since seeing any clear details is pretty much impossible in the tiny size from the picture above (128 by 72 pixels).
Our 640 by 360 pixel render took around 13 hours to finish. We let it run on one of our laptops overnight, and in the morning, we were very relieved to see it was looking good! We then gave our supervisor the okay, and within an hour he rendered our film at 1920 by 1080 pixels. We were both *pikachu shocked face* at how fast his computer did that after struggling for so long with our turtle-laptops.
Lastly, we created an animated title sequence and end credits using Illustrator and Adobe Animate, and stitched it all together with sound in Premiere.
Now, here is the final film!
Overall, this was a really great learning experience! With that said, it definitely was not always easy and there were moments when we felt uncertain. Sometime we felt like we were lacking direction, other times, we felt confused and felt like we were not getting a good understanding of the concepts, and at the worst times, we were worried that we would not be able to finish. But we just continued working really hard on it, tried to prepare good questions for our weekly meetings, and let ourselves take breaks from this project if we started feeling stuck. As we neared the last month of the semester, we were feeling better and better about our project and ability to finish — concepts we didn’t understand a few weeks prior began making more and more sense, and we were making more and more progress. Looking back, our progress on this project was definitely not linear, we had a really slow start as we were figuring out what we were doing, making mistakes often, and by the end, we were putting in many consecutive hour into the project with few setbacks.
We are really glad it all came together in the end, and that we put in all the effort we did in the beginning of this semester to create these independent studies and find a supervisor! We hope this shows that finding creative ways to learn new things you are interested in is possible at MIT!
- We really recommend looking at ShaderToy and The Art of Code if you are interested in the intersection of visual arts and coding. You can make really cool things, and through the process of creating shaders on this site, you can learn a lot of fundamental computer graphics topics! back to text ↑