
Quick Guide to Adobe Illustrator by Jamie C. '19
The very basics, for people who have never used it
Some of my blogger friends and non-blogger friends have asked me to teach them how to use Illustrator so I’ve decided to write a blog about it instead of trying to find time to meet irl.
Illustrator is basically MS Paint but better- I mainly use it to make diagrams of my projects, label images, and make files to laser cut.
Setting up your document
The first thing to do when you open Illustrator is to make a new document. You can name it but that doesn’t mean it’s saved anywhere- you can press ctrl+s after the document is made to choose a directory, save, and rename if you want.
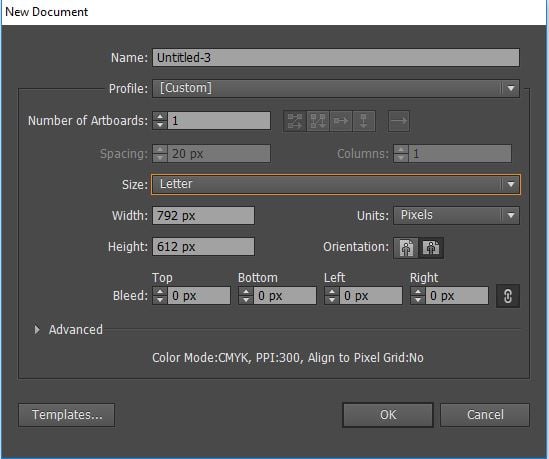
“Number of Artboards” basically means number of pages, and you can add or remove Artboards after the document is created.
I also like working in RGB mode – CYMK is sometimes buggy for me (click the triangle to the left of “Advanced” to get to that setting).
This is what you should have after you click ok:
![]()
Zoom in and out using ctrl+ – and ctrl+ +, and you can sideways scroll by holding ctrl as you scroll.
Some of your toolbars might be in different places- I don’t remember where everything is docked with a fresh install so you’ll have to play around with it.
To the right you can find layers (which I’ll get to later) and artboards:
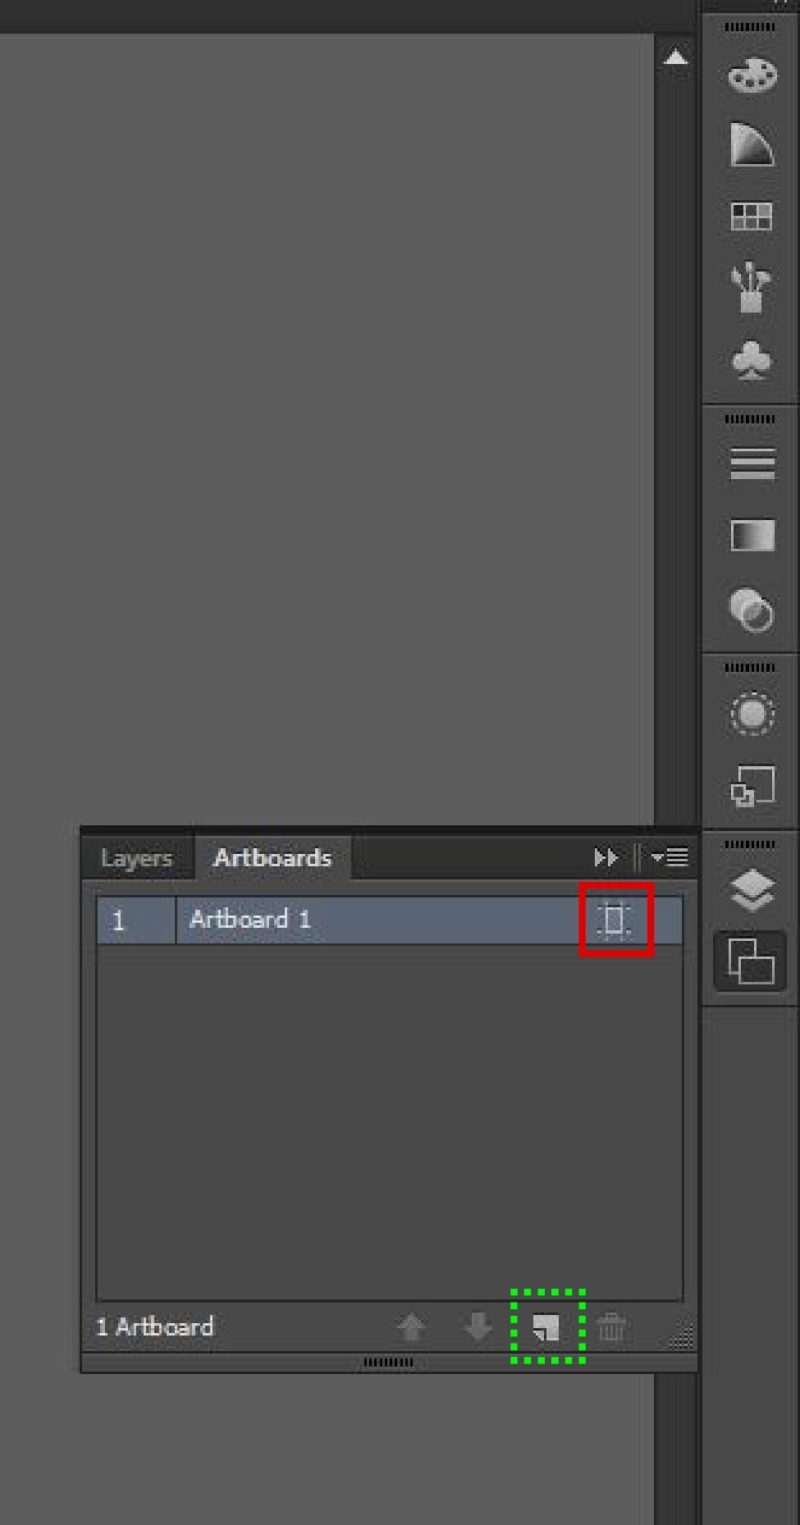
You can add a new page by clicking on the symbol boxed in dotted green, and change the size of each page by clicking the symbol boxed in solid
Basics
There’s a bunch of tools to the left side of the screen. Every icon with the little triangle to its bottom right has variations of the base tool, which you can access by clicking and holding the icon.
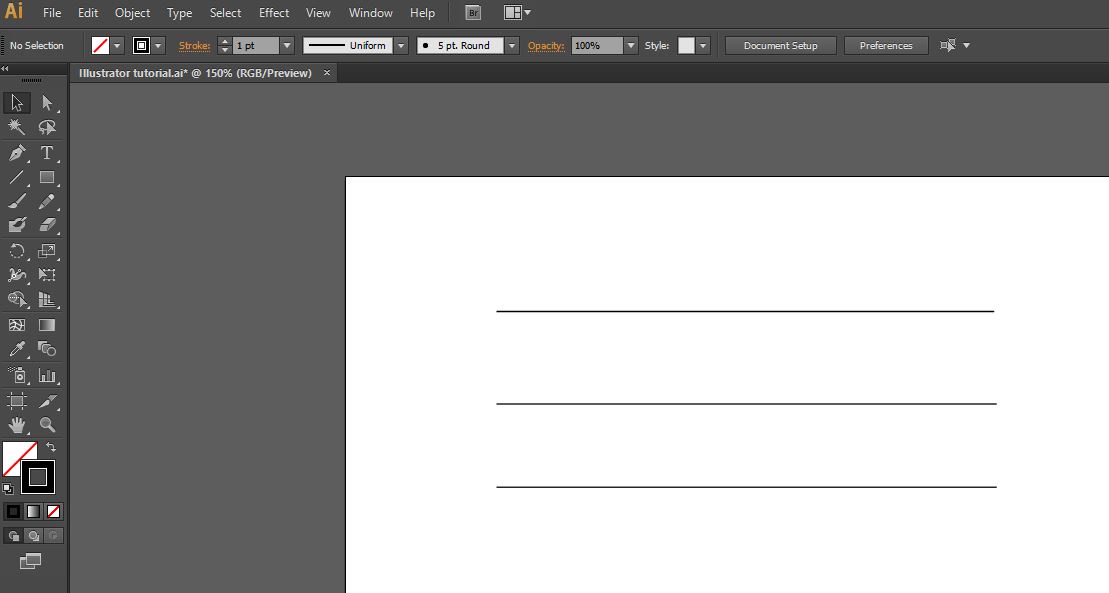
The most basic would be the line tool, selected here:

Use it to make straight lines- hold shift while drawing the line to make it perfectly vertical, horizontal, or at 45 degrees. The toolbar at the top will let you choose the thickness (default is 1 pt), opacity, length, and location.
Here I’ve drawn 3 lines:
To change any of the properties of your objects you need to select them, so use the Selection Tool (black cursor at the top of the left toolbar) and click on one of your objects. Hold shift to select multiple objects, or click and drag starting from a blank section of your page to select everything inside the box.
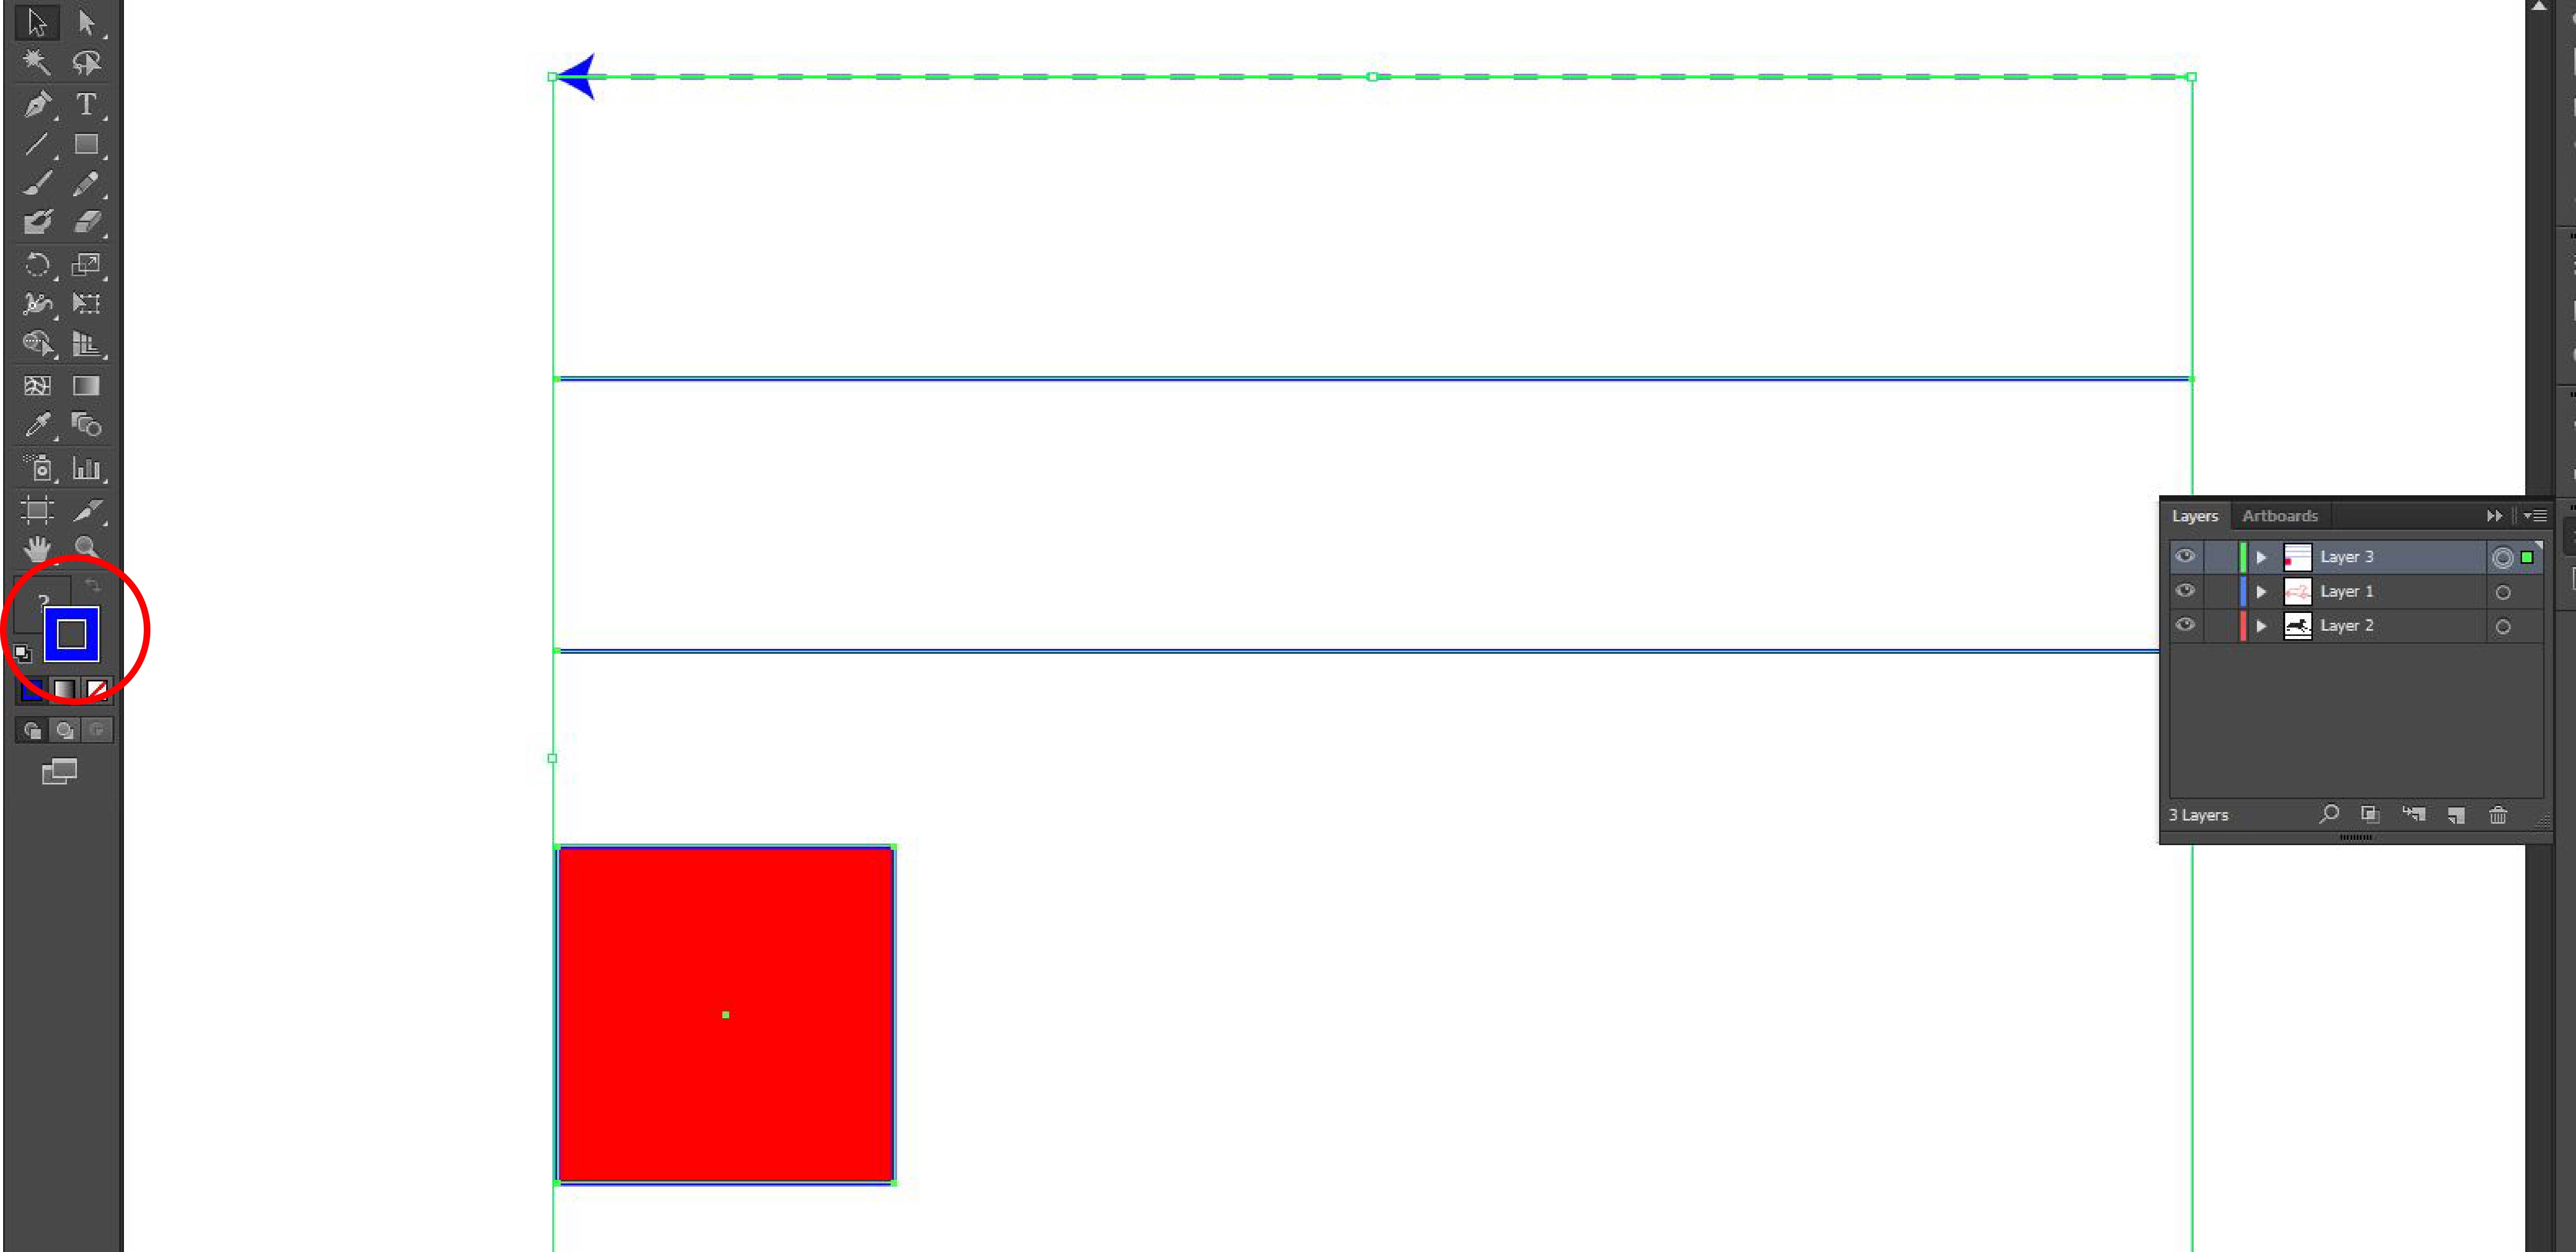
To change the color of your lines (“stroke color”), double click the large black square at the bottom of the left toolbar.
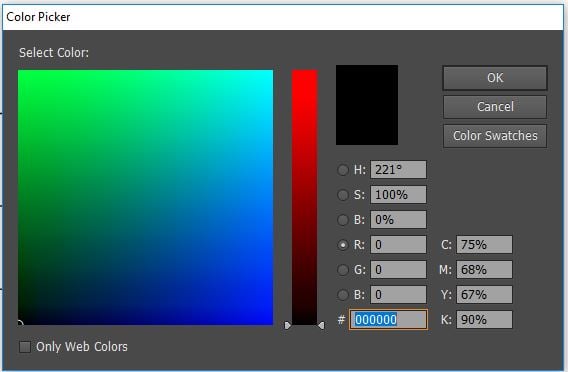
Double clicking on the white square with the red line through it (behind and to the left of the stroke color button) lets you pick a fill color, which is useful when drawing shapes.
Single clicking the stroke or fill squares activates “stroke” or “fill”, and you can then select whether you want a color, a gradient, or no stroke/fill.
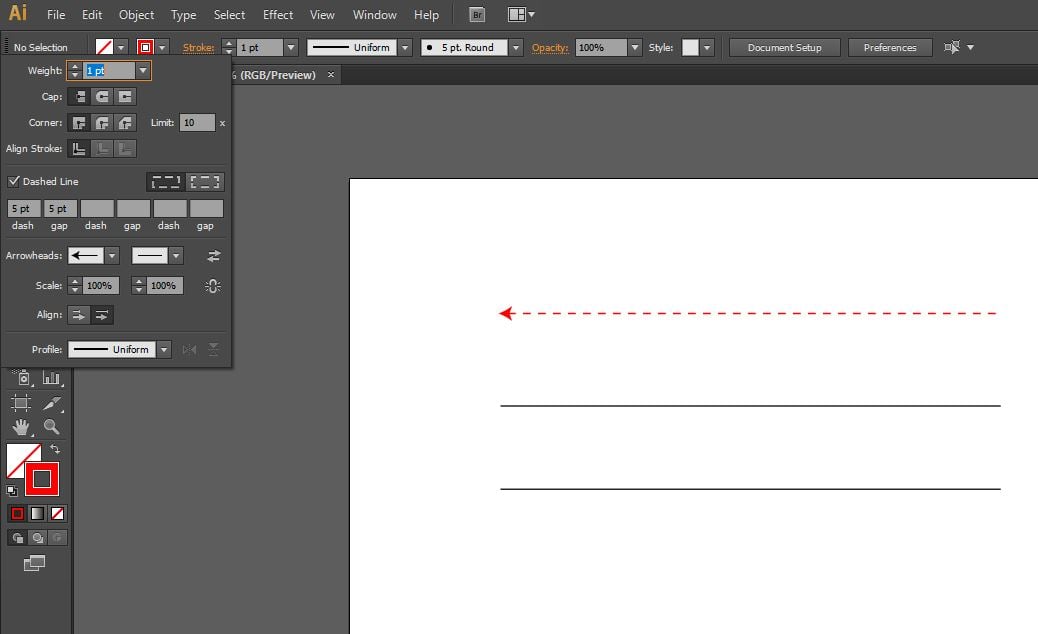
Clicking the orange “Stroke” text (underlined) opens the Stroke Panel, which lets you specify whether you want the line to be dashed and/or add arrowheads to one or both ends of the line. Arrowhead sizes scale with line thickness, but can be changed.
Here I’ve made the first line red, dotted, and with an arrowhead.
To draw simple shapes like rectangles, select the rectangle tool, or click and hold the rectangle tool to access other shapes. Hold shift while drawing to make a perfect square using the rectangle tool, or a perfect circle using the ellipse tool.
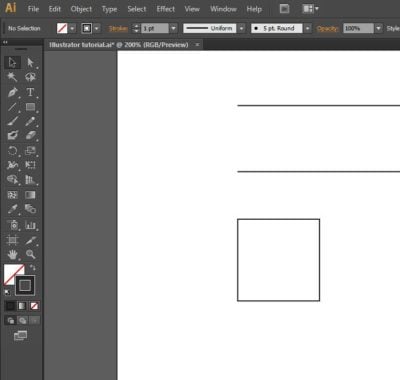
Here I have an unfilled square
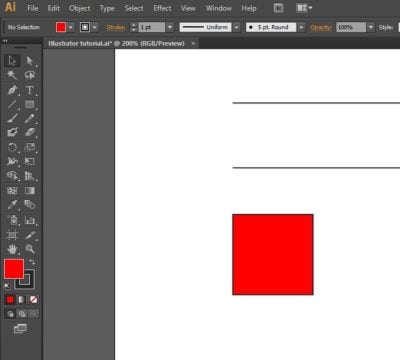
And now I’ve filled it by activating the fill setting (single click the large white square with the red line), indicating that I want a fill color (small black square under the fill setting), and selecting a fill color (double click the now-black fill setting).
To move objects around or scale objects, make sure you’re using the Selection Tool instead of the Direct Selection Tool.
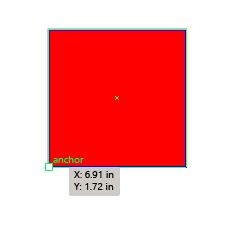
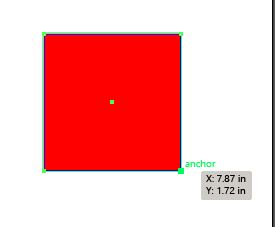
The Direct Selection Tool lets you move anchor points, which are independently controllable points that determine where lines go. The square has 4 anchor points, one at each corner, but you can warp it by moving the anchor points using the Direct Selection Tool. Hovering over the anchor point you want to move will show a white square at the point and the word “anchor” next to it:
Click on the anchor to select it (this will fill the square black)- you can move multiple anchors at once by using shift while selecting:
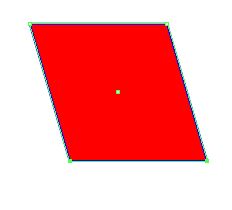
And move it by clicking and dragging one of the selected anchors
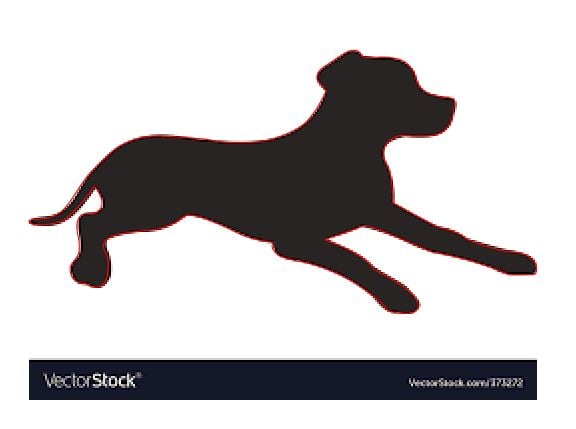
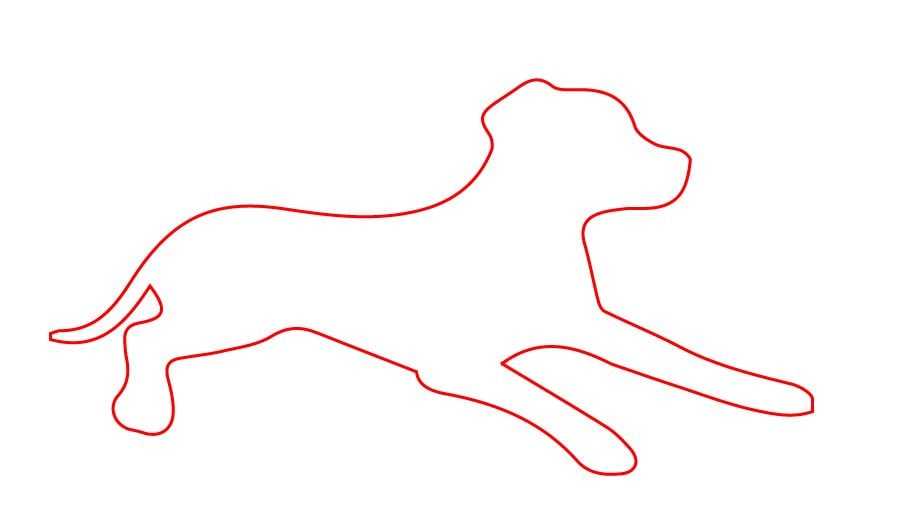
To draw more complicated shapes/curves you would use the pen tool, which is slightly more complicated. Here’s a good tutorial on it, but basically lines go through the anchor points, and the handles determine the direction/curvature of the lines. The best way to learn how to use the pen tool is just by playing around with it. A good exercise would be to paste in an image (ctrl+v to paste from clipboard) and trace it like I’ve done here in red with this image:
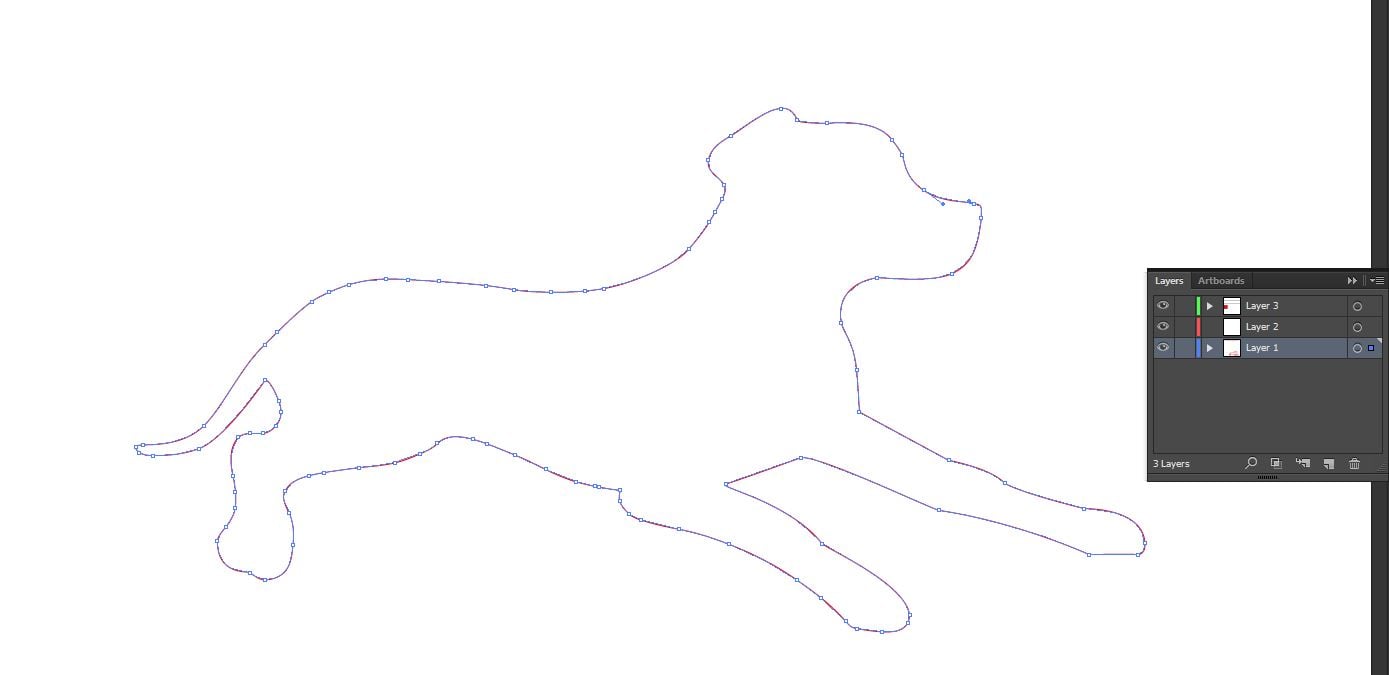
Here it is without the original image- I just traced it roughly with the pen tool, and then used the smooth tool (click and hold the pencil tool from the left toolbar to activate). The line is temporarily blue because because I selected it and it’s on a blue layer. You can see all the anchor points and some of the handles.
Using layers
Now that we have some objects I’m going to show you how to use layers, which are nice because you can easily select a bunch of objects or temporarily hide them.
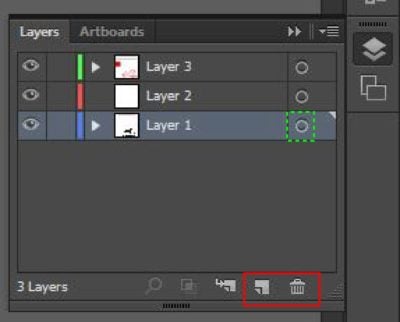
Create new layers or delete layers using the icons inside the solid red box, and select all objects in a layer using the circle inside the dashed green box.
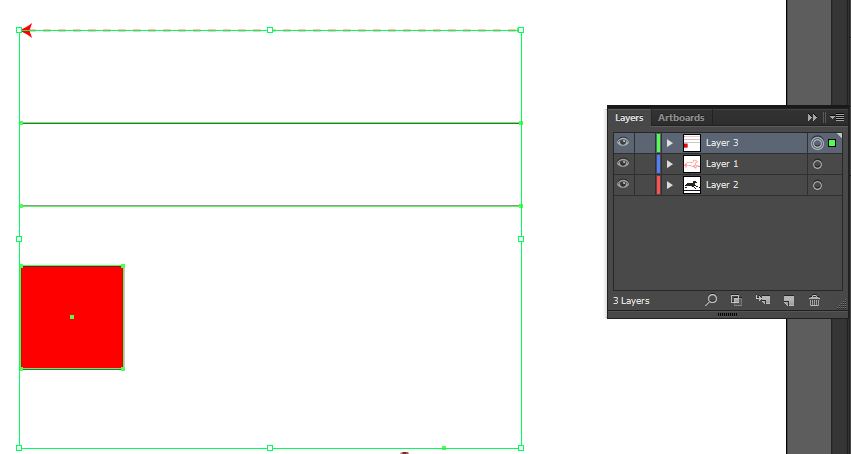
The three lines and the square are all on layer 3, green, so each object is outlined in green, and there’s a green box around all objects. I could then apply a change to all objects in the layer, like changing the stroke color.
The change an object’s layer, select an object to make a little square appear to the right of the “select all” circle in the layer panel:
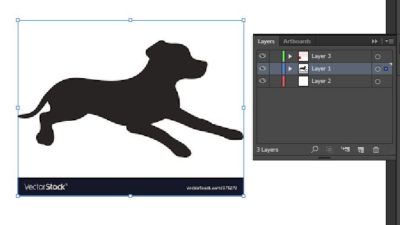
Now click and drag the little square to the layer you want the object(s) to be on. Now the image is in layer 2, which is red.
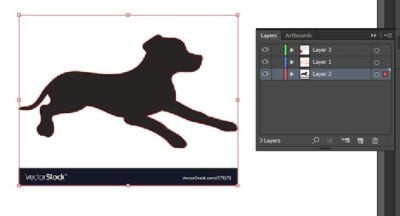
And I can hide everything in the layer by clicking on the eye symbol at the left side of the layers panel.
Don’t get layer colors and stroke colors mixed up- the stroke color of the dog is red, but that doesn’t mean it’s on the red layer- it’s still on layer 1/blue.
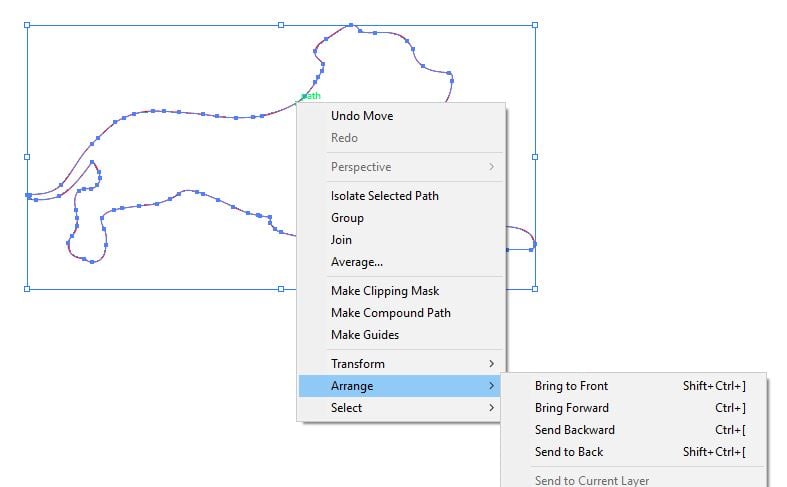
The order of the layers in the layers panel also determines which objects show up over/under other objects. Right now the layer order is 3, then 1, then 2, so if I had overlapping objects on different layers, all objects on layer 3 will show up on top of all objects in layer 1. You can re-order objects within a layer by selecting the object, then right click -> Arrange.
Tracing/Vectorizing images
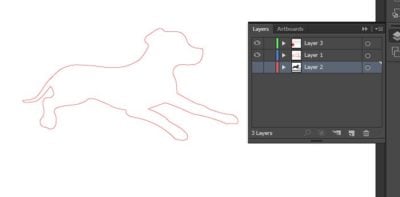
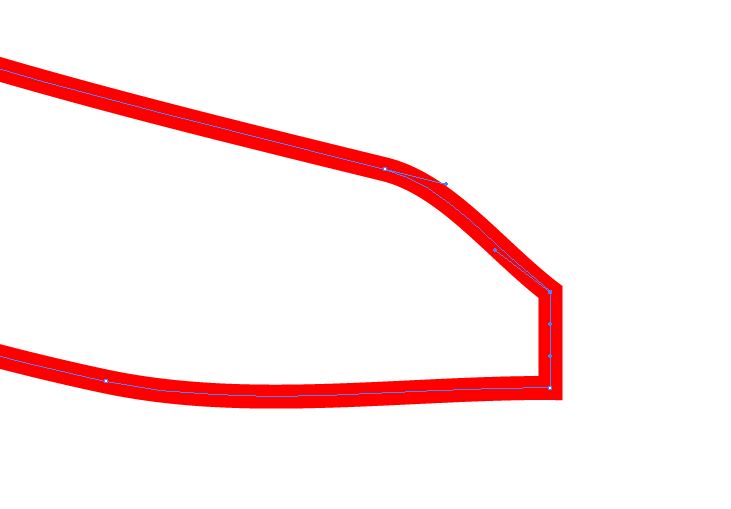
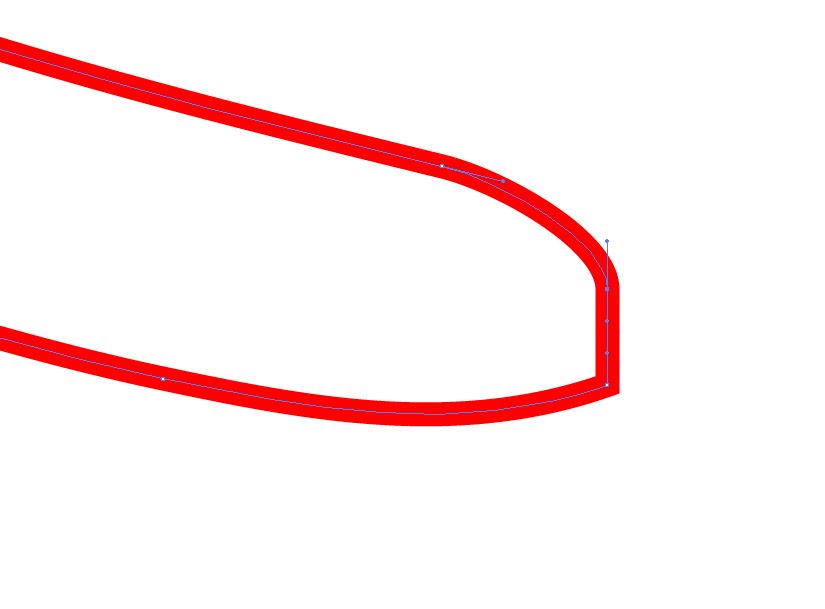
Illustrator is nice because all objects are vectors, which means that no matter how much you scale up the image, it won’t get pixelated. Compare the picture I pasted in vs the outline I made when I scale both:
![]()
Instead of tracing images, you can easily vectorize images using the the “image trace” function. Selecting an image will give you that option at the top of the page:
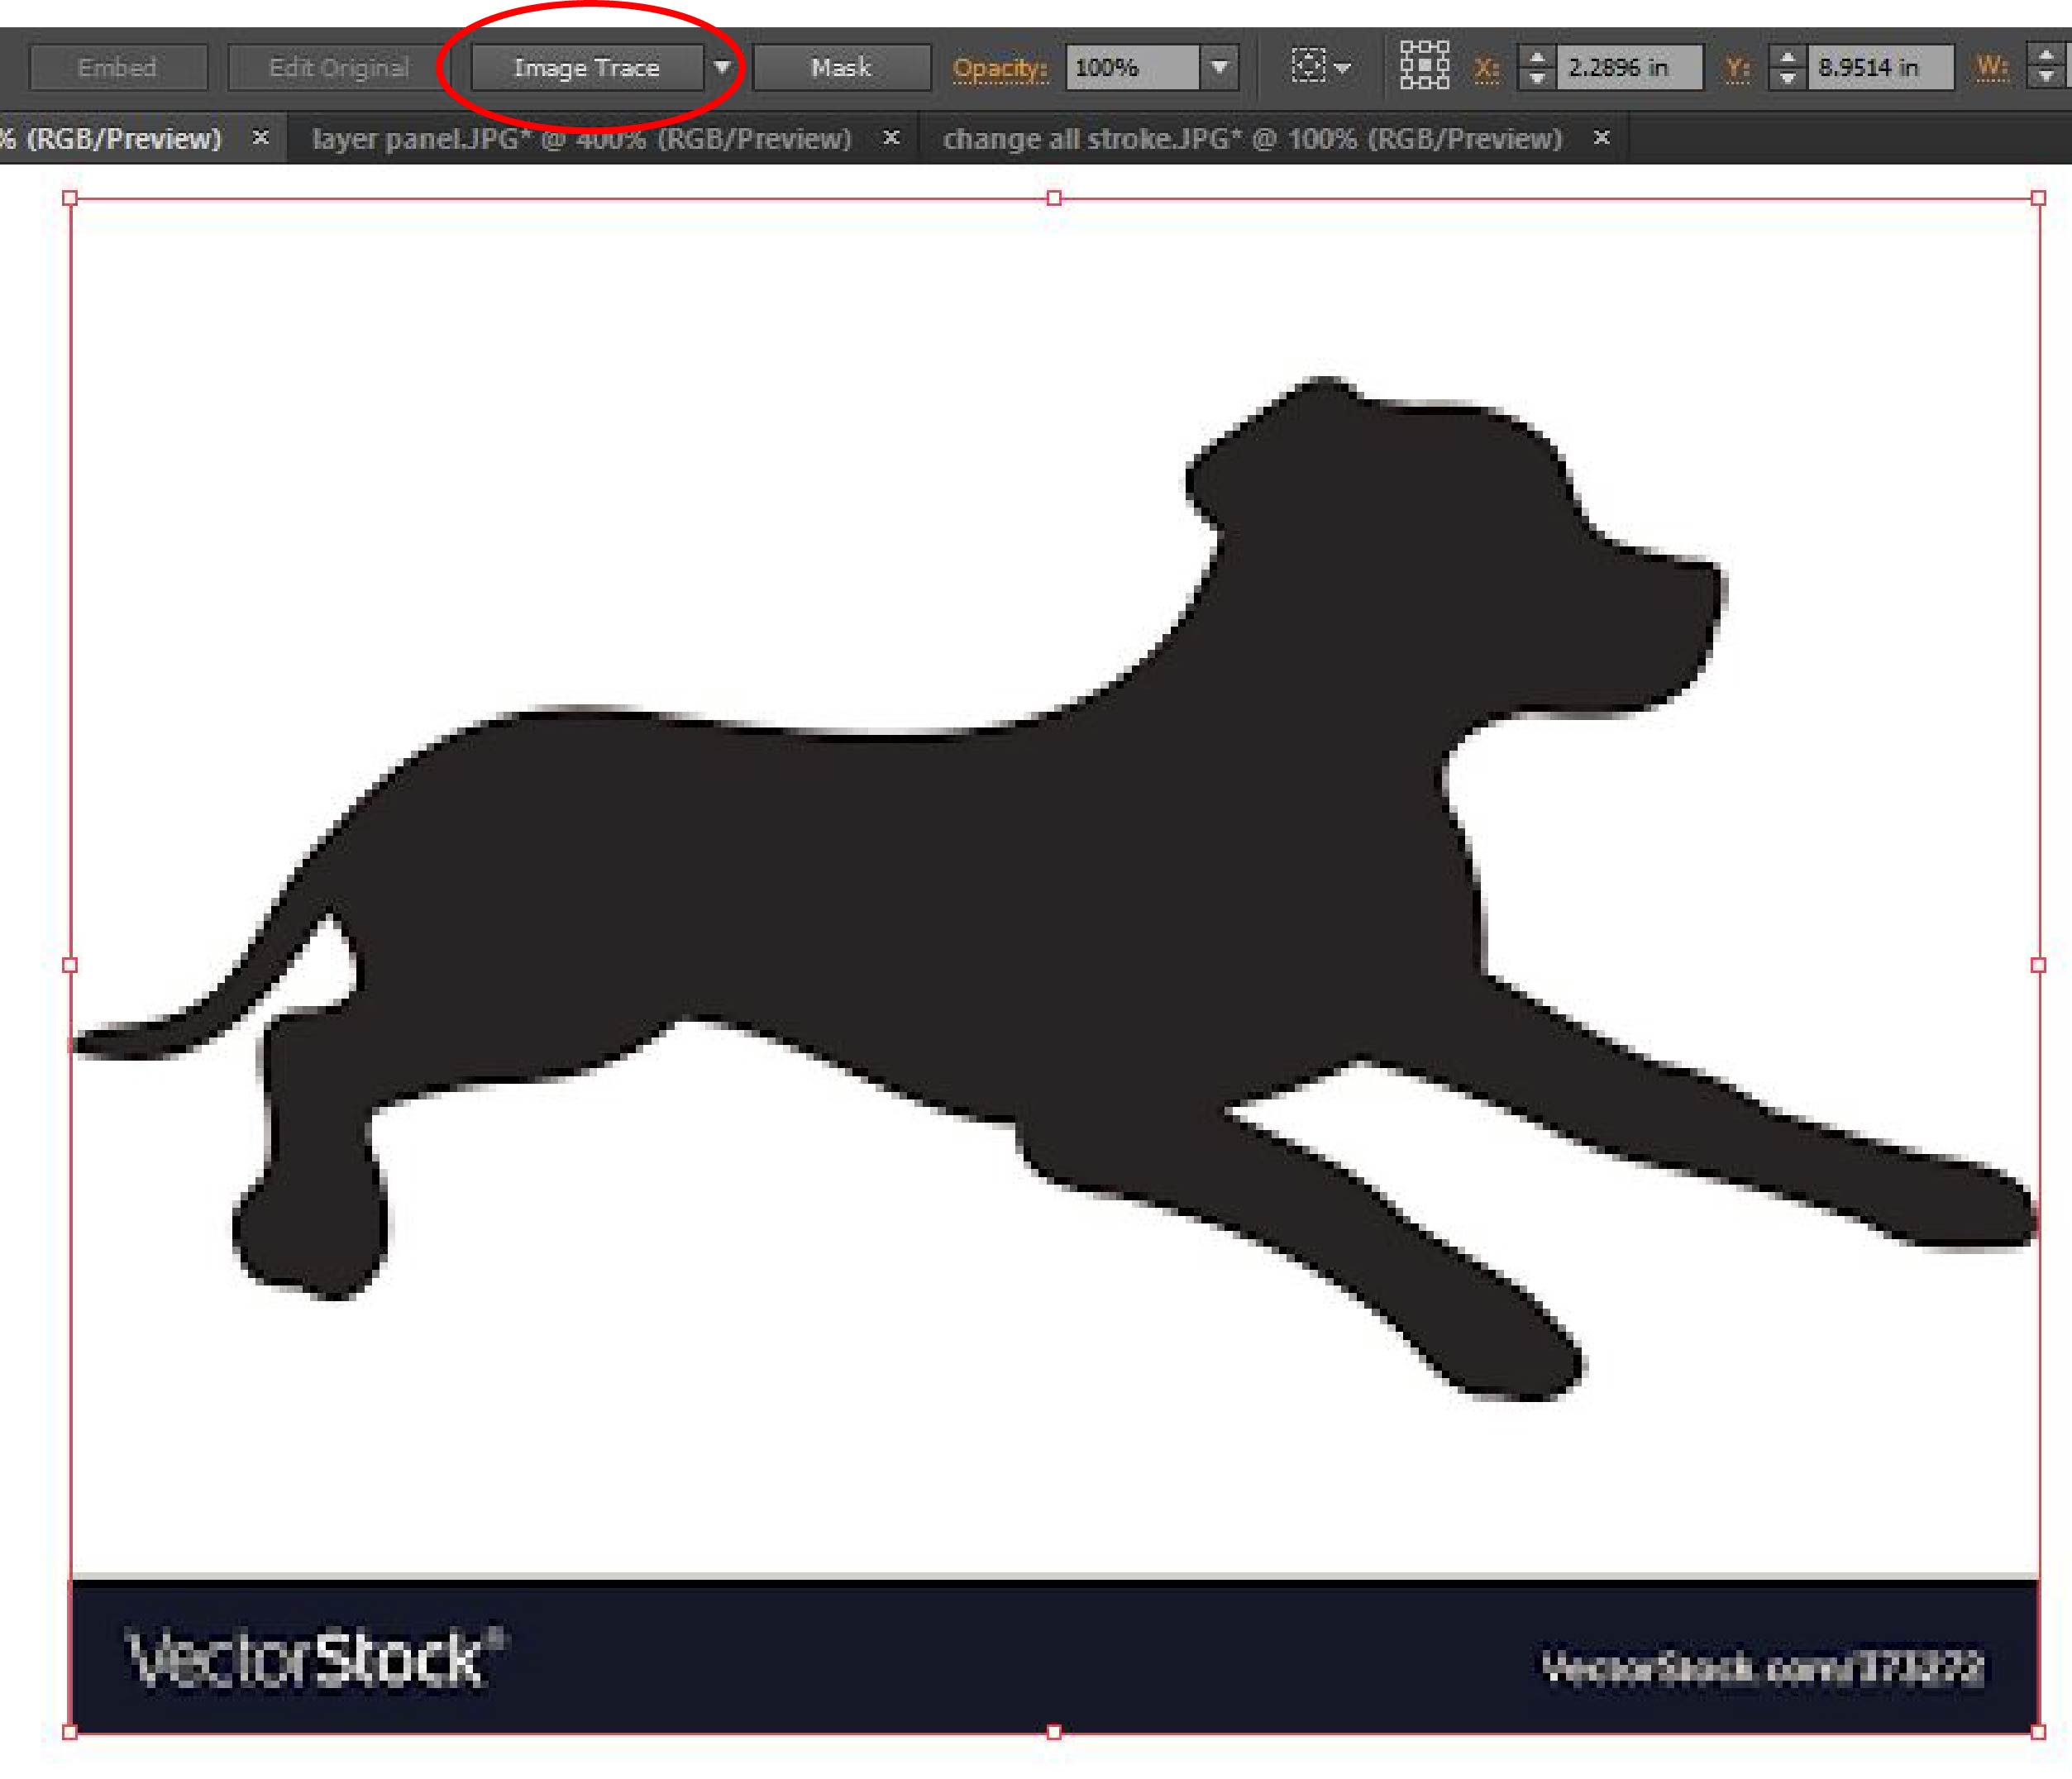
You can either click directly on the “Image Trace” button to let Illustrator pick the best options for your trace, or click on the triangle to the right of the button to specify the style you want. Here I’ve clicked directly on the button, which uses “Black and White Logo”
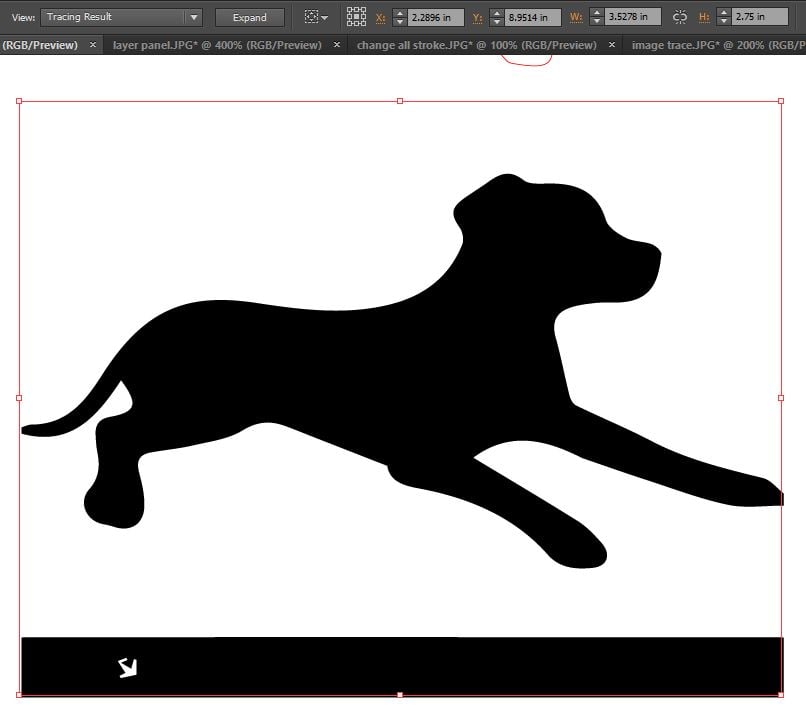
The “Image Trace” button now says “expand”. Click on that to view and edit the outlines. Now this photo had multiple elements in it- the dog and the watermark bar at the bottom. These are separate objects that are grouped together. You can ungroup them and delete everything you don’t want by selecting the group and then going to Object -> Ungroup at the top of your page:
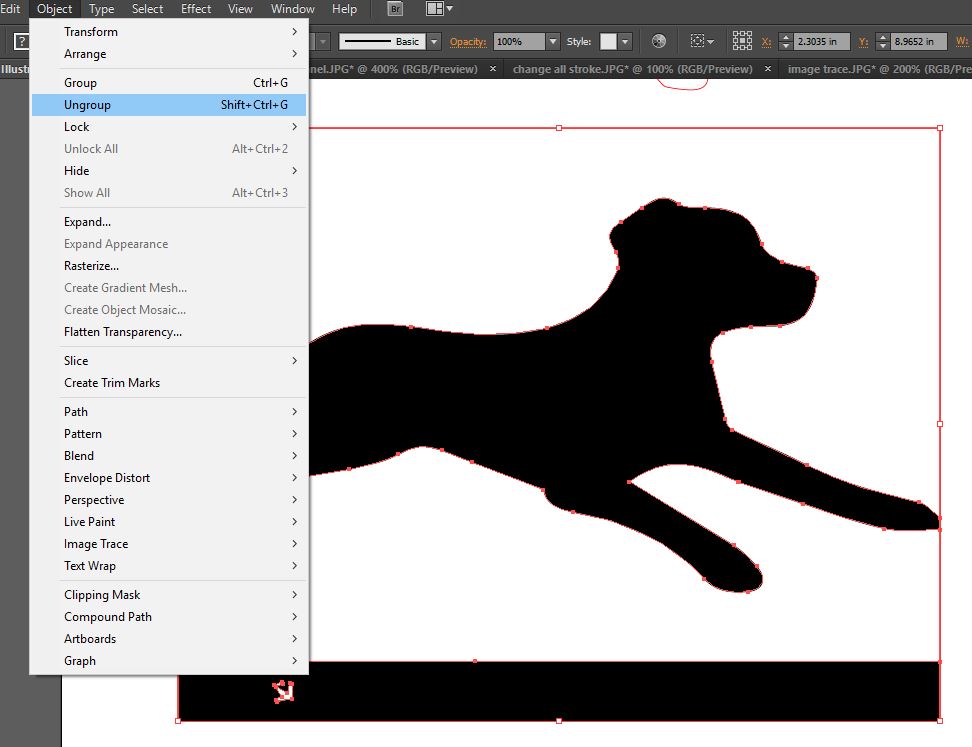
Now the dog and the black bar are ungrouped. You can see that and the whitespace below and above the dog were also converted into curves with no stroke and white fill. You can delete (delete key on your keyboard) the whitespace objects and the bar to get just the dog:
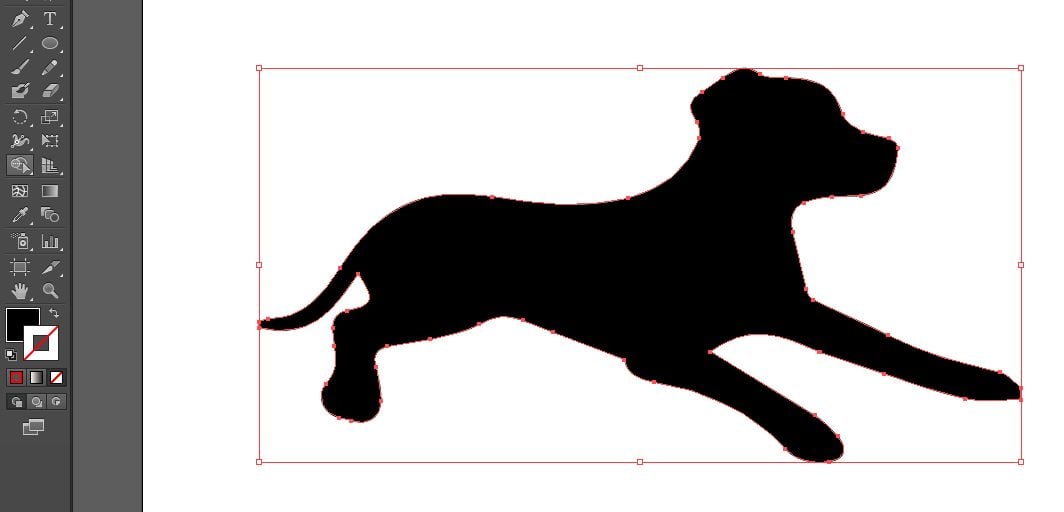
Now this dog is filled black- if you want just the outline, give it a stroke color and remove the fill color
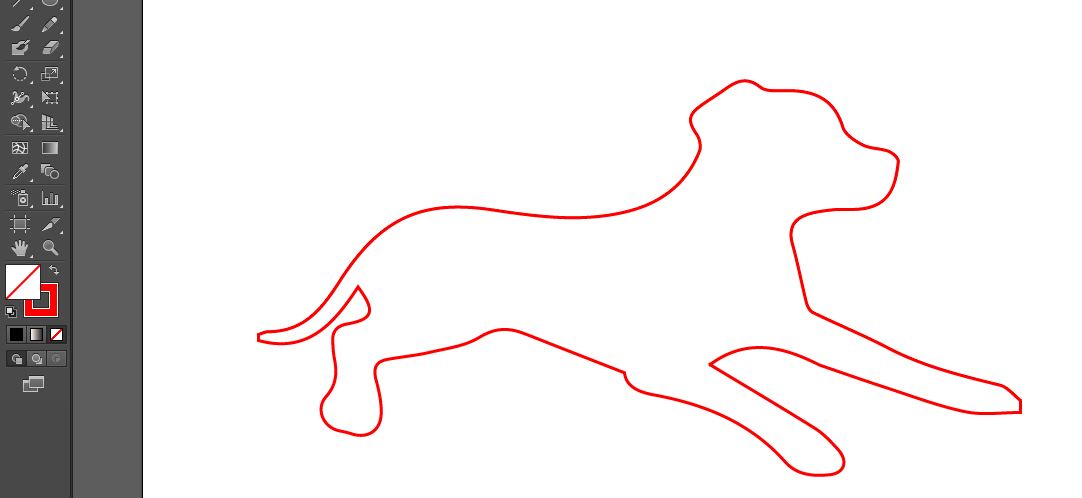
You can also change the line using the direct selection tool (white arrow in the left toolbar), which lets you move anchor points and handles (the pen tool guide talks about these). I’m going to make the dog’s left paw less blocky by moving the handles associated with the anchor points at the corners
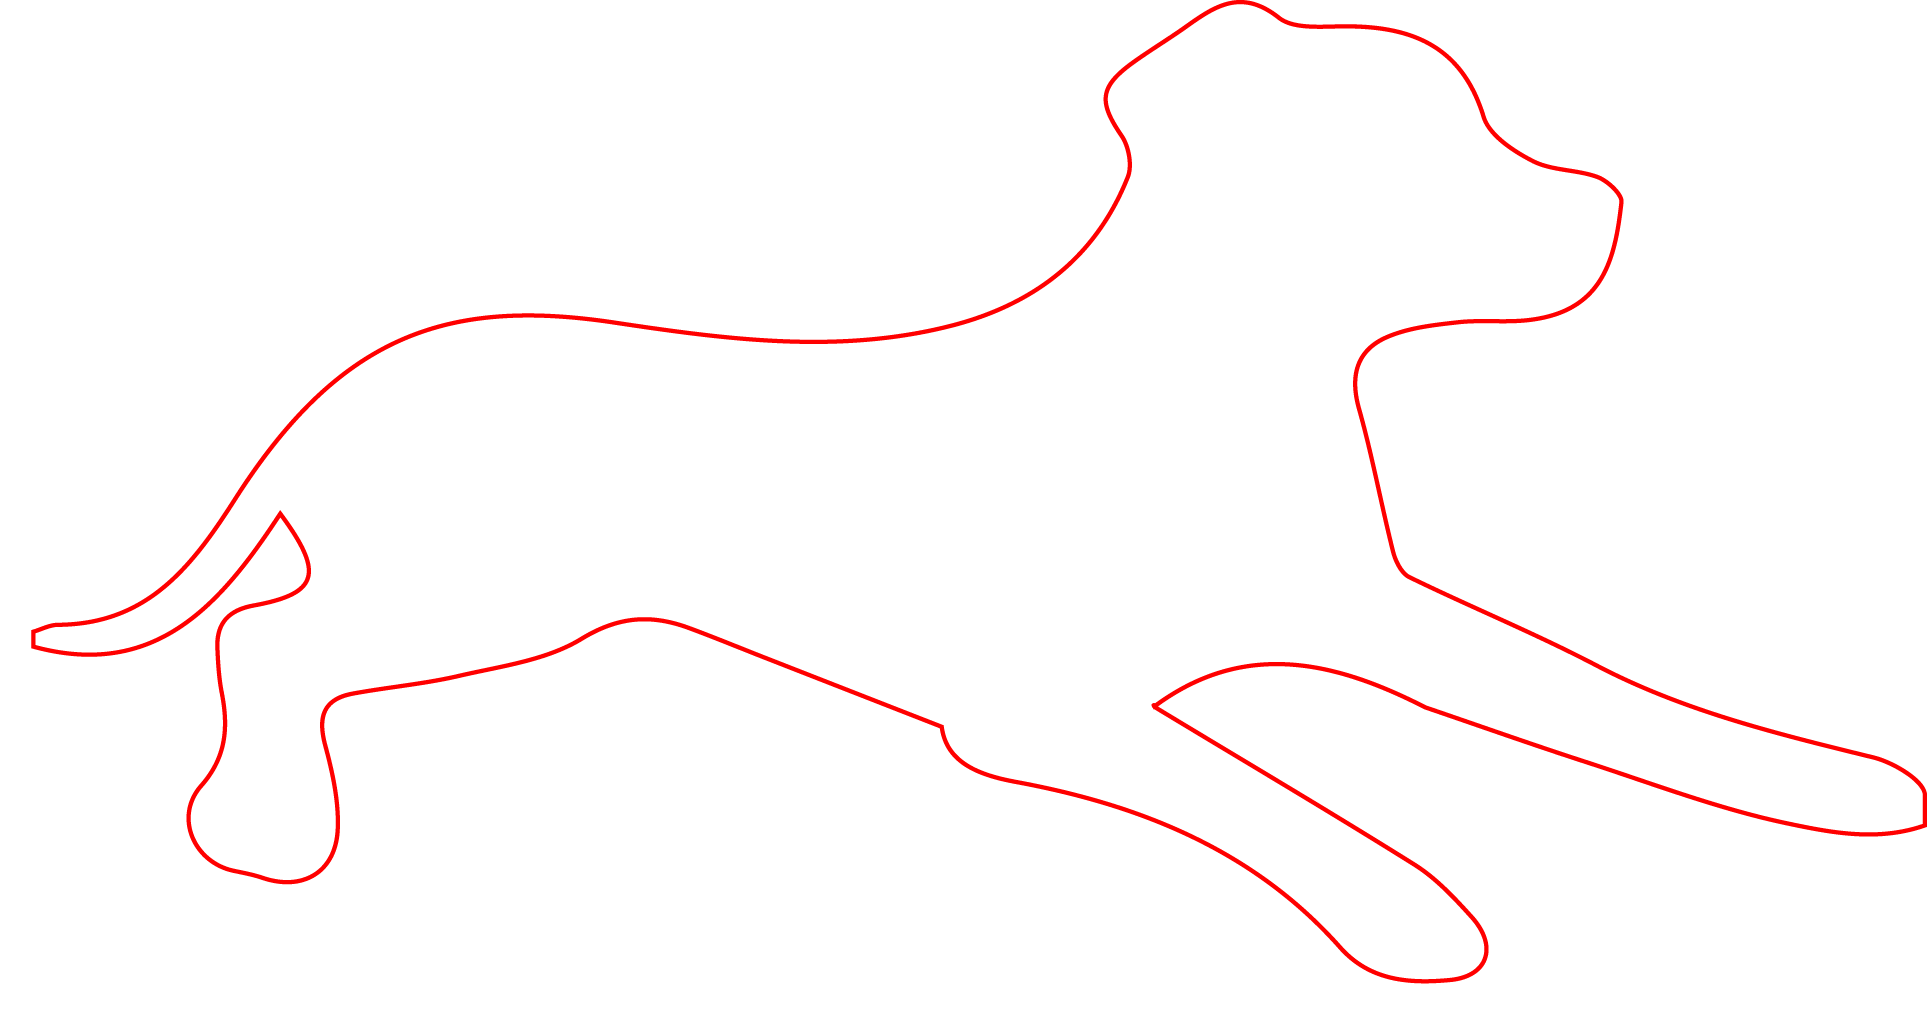
Now I have a vector outline of the dog that I can scale up or down while preserving the sharp line. I would recommend exporting as a .png image (File -> Export) instead of a .jpg- pngs preserve quality better, so if you resized it outside of Illustrator, it would be less pixelated than a jpg. Note how in the .jpg screenshot above, there’s artifacts around the outline, while the .png below looks more crisp.
Hotkeys
Most tools will show you the associated hotkey if you hover over it.
Undo is ctrl+z, and redo is ctrl+shift+z (not ctrl+y, which is the redo hotkey you’re probably used to).
If you have multiple documents open, switch between tabs using ctrl+tab and close the tab you’re on using ctrl+w (just like on Chrome).
These are just basics- click on all the buttons, use all the tools! That’s the best way to learn about all the features Illustrator has. And comment below if there’s anything you want to learn or if you have any questions, I can do a part 2 if enough people want!