The Starving Student’s Guide to Cooking For Yourself by Michael C. '16
it's easy to ditch that meal plan and save loads of money.

In my last post, I mentioned that I came to MIT never having cooked before in my life, and immediately chose a cook-for-yourself dorm. A few people asked me to elaborate about what non-meal-plan life is like.
So here, by popular demand (okay, like 6 prefrosh contacted me. My standards for “popular demand” are low), is a basic guide for those newbies who want to start cooking at MIT.
Motivation
The most basic meal plan available to freshmen (The Basic 14)* costs $3915 per year, or $130 per week; that’s around $12 per dinner and $6.60 per breakfast. It’s also use-it-or-lose-it ; that means that if you skip breakfast (which you inevitably will do over the course of a semester), that day’s dinner effectively now costs you $18.60. That also means that if, say, you want to go out with friends to a restaurant for dinner instead of eating at the dining hall, you can effectively tack on $12 to the price of your restaurant meal.
This isn’t even taking into account lunch, which the basic meal plan doesn’t cover.
You can do better than that. Cook for yourself, eat tastier (and healthier) food, and save money. A week’s groceries costs me around $60, and that’s because I like seafood and steak. You could easily get your grocery bill below $50 per week if you’re willing to forgo fancier meals. Either way, that’s a savings of at least $70 per week, or $1050 per semester. Or, in more relatable teenager-money-terms, that’s the equivalent of a new Macbook Air per semester.
What about time? It takes me around 20 minutes total a day to cook dinner and clean dishes. That means for every hour of cooking, you’re saving $30. Plus, you’re learning a fairly valuable life skill.
Motivated yet?
*there’s an Any 14 meal plan available, but it also costs $515 more per year
Gear

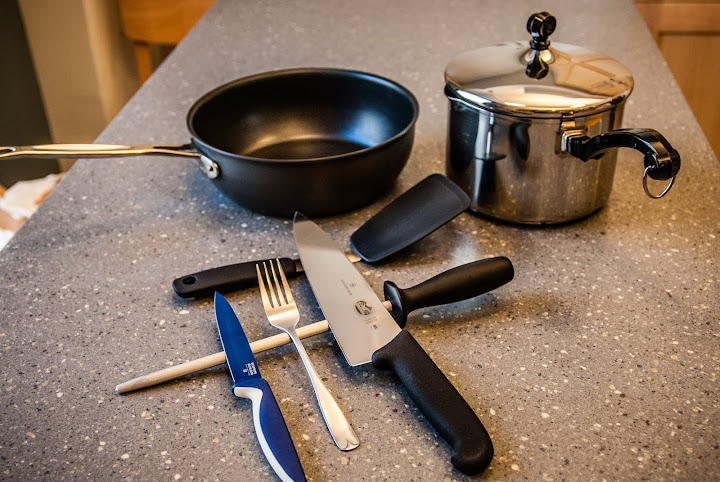
You’ll need: a chef’s pan (I prefer it to a regular frying pan because it’s deeper and can hold more sauce, etc), a saucepan (for cooking pasta/rice), a chef’s knife, a paring knife, and a spatula. Total one-time cost if you get those things off Amazon (I’ve linked to the stuff I have): around $95. If your dorm has communal cookware, your costs will be lower (I prefer having my own pan – people don’t tend to be very gentle with nonstick pans).
Optional but recommended: a honing steel to maintain your knife’s edge. Working with a dull knife is not fun (and pretty dangerous).
Groceries
Most people get groceries at Shaw’s; it’s a few blocks up Massachusetts Ave. I build my weekly grocery list around proteins; so for dinner I might have chicken 2 days a week, pork 2 days a week, shrimp 2 days a week, and steak once a week. Generally, in order of increasing cost: chicken, pork, shrimp=steak.
For veggies, I’m lazy so I usually get a box of baby spinach or romaine lettuce. No cutting involved – just rinse the leaves and throw ’em into the pan. Also: mushrooms, onions, potatoes, tomatoes.
For carbs, I usually get pasta because it’s fast and easy and I like Italian food. Rice takes longer and is harder to get right on the stovetop.
Basil and garlic are easy ways to add flavor.
Easy Recipes
The USDA recommends cooking chicken to 165°F, eggs and ground meat to 160°F, beef and pork to 145°F.
This, of course, means very little to the starving student without a food thermometer. As a rule of thumb: cook chicken and ground meat until it’s cooked through. Cook pork until there’s a touch of pink left. Cook steak however rare you want it; I prefer rare to medium rare. Please don’t cook your steak until it’s well done. You might as well be chewing leather at that point.
And that would make me sad.
Also, I cook everything on high-ish heat, because I’m too impatient to wait for food to cook. If you’ve got more time you probably should cook on lower heat; it’s gentler on your pan.
Omelette (~7 min total)

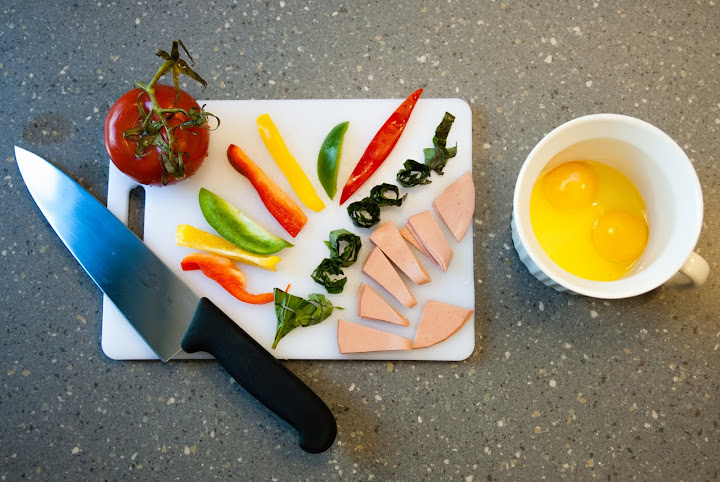
For breakfast, I keep it simple (read: am too groggy to cook anything fancy). Just throw some eggs into the frying pan, along with whatever veggies you’ve got. I like mushrooms, onions, bell peppers, and tomatoes. If you’ve got basil (pronounced bah-sil, by the way. silly yanks always get it wrong), chiffonade it and add it, because basil makes everything better. Add some turkey ham if you want.

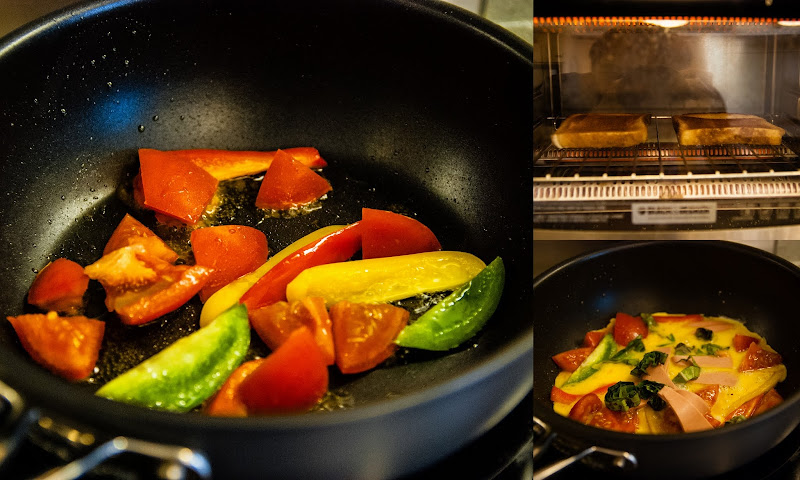
1. Chop up veggies (or chop them beforehand to save time). Add some olive oil to your pan and throw the veggies in, stirring for a minute or so. Don’t season or beat your eggs yet.
1a. Put some toast in the toaster, if you like some carbs with breakfast.
2. Now add your unbeaten eggs to the pan, and immediately start scrambling them in the pan. This results in a nice fluffy egg (props to Gordon Ramsay for that tip. beating your eggs too early tends to make them a bit watery).
3. When the eggs are still a bit runny, take the pan off the heat. There’s enough residual heat in the pan to finish cooking the eggs. Pop the toast out of the toaster.
Done.

Steak (~6 min cooking time; requires just a little preparation the night before)
For when you want to be a little fancy, get a New York strip steak (by the way – the meal plan’s so expensive that you could cook a NY strip steak every night and still save money. Just sayin’.). For other times, get lesser cuts of beef. Just make sure the steak’s at least an inch thick; any thinner and it’ll be difficult to avoid overcooking it.
1. The night before, season your steak liberally with salt, pat the salt into the steak, and put the steak back in the fridge (trust me on this. MIT alum J. Kenji López-Alt has done a lot of experimenting).
2. Take your steak out of the fridge at least 45 minutes before cooking. If you cook it immediately after taking it out of the fridge, it won’t heat evenly. Season liberally with pepper.
3. Get your pan hot, hot, hot. Add some vegetable oil (don’t use virgin olive oil – it can’t handle the high heat. Regular olive oil is what I use).
4. Lay the steak down into the pan, and….don’t touch it. Seriously, don’t touch it; you want the surface to develop a nice seared crust, and moving the steak around will mess with that. After ~3 minutes (for an inch-thick steak), flip it over, and cook another 3 minutes. Around two minutes into the second side, add a bit of butter and crushed garlic to the pan, and then tilt the pan until your steak is basting in that buttery garlicy goodness.
(these cooking times are for medium-rare steak. for medium, add a minute or so to each side. don’t even think about well done).
5. When the steak’s done to your liking (use the hand test to check doneness), take it out of the pan and let it rest for 5 minutes before cutting.
6. Cut and serve. Sparkling apple cider goes well with steak.
Done.

Shrimp Scampi (~10 min total)

Fun fact: “scampi” is a type of large shrimp. So shrimp scampi means “shrimp shrimp”.
Shrimp scampi is one of those great last-minute meals that tastes pretty fancy. All you need is some (peeled and deveined) shrimp, butter, 3 cloves of garlic, half an onion, a lime, and some chicken stock. I like my scampi with angel hair pasta.
1. Boil water for your pasta. (I always forget this step and end up cooking everything before the pasta is ready. So don’t forget. Sorry for being so bossy.)
2. Melt 2 tbsp of butter and a little olive oil in your pan. Add onions and garlic, stirring for a minute or so until it smells really good.
3. Add shrimp, stirring for a few minutes until both sides are cooked. Squeeze in lime juice, add half a cup of chicken broth, salt and pepper to taste.
4. Add angel hair pasta to boiling water. When al dente, drain and add pasta to skillet. Toss.
5. Add basil to be fancy.

6. Attempt and fail to do Gordon Ramsay pose because you can’t keep a straight face.

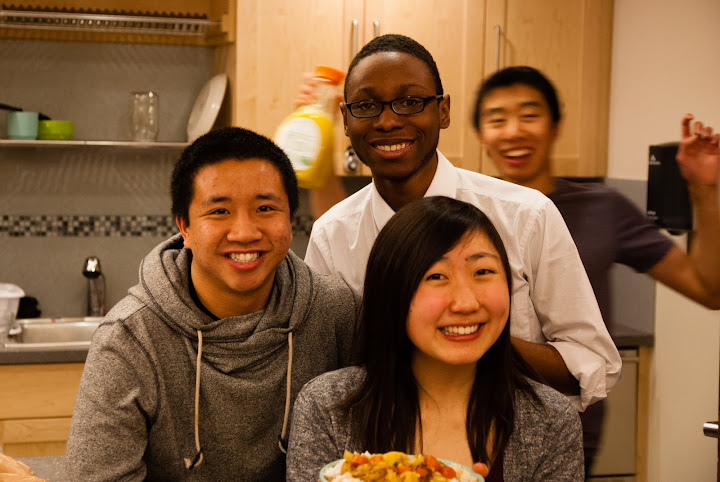
7. Take goofy group photo after cooking.

Done. Have fun cooking, guys! If you’re looking for some cooking inspiration, Gordon Ramsay’s show The F Word has some great videos on YouTube. I’m also a big fan of The Pioneer Woman.