Glassblowing at MIT by Fiona M. '20
my IAP excitement
MIT is really cool. MIT has a glassblowing class. I took the glassblowing class over IAP. It was really cool (wait actually it was really hot lol). This blog post is about my journey into the art of glass. :)
Class 1: All about glassblowing, safety, and collecting the glass.
The very first class was safety day. Why? Because glass is super hot, and making contact with this molten mess would be quite unfortunate for both your mind and body. We’re actually recommended to wear long sleeve shirts and jeans to shield ourselves from the heat.
Anyways, we also learned how to collect the glass from the furnace on a pipe or punty (long rod), because its pretty difficult to make anything out of glass if you don’t know how to obtain any glass. The furnace is kept at around 2,000 degrees which again by the way IS REALLY FREAKING HOT, and the first time collecting glass was probably THE MOST INTENSE MOMENT OF THE ENTIRE CLASS!!!!
So this video was one of my first times collecting glass, and not completely proper, but LOOK HOW HOT THIS IS!!! OMG!!!!!11!1!
You may be thinking, “hmm I wonder what happens if the glass gets cold how do you even deal with the glass getting cold?” Rest assured, there is a solution that is not sticking the glass back in the furnace.
The glowing thing is the glory hole, and its purpose is keep your glass hot while you’re working on it.
Practice session 1: Necklines, an attempt at a snowman
Necklines are just what they sound like, and are the first skill we were taught. In order to get a project off the pipe, you need to make a neckline in the place you would like the glass to break (it becomes the weakest part of the creation (you also pour a little water on the neckline for extra weakness), and it must be uniform enough to get an even break).
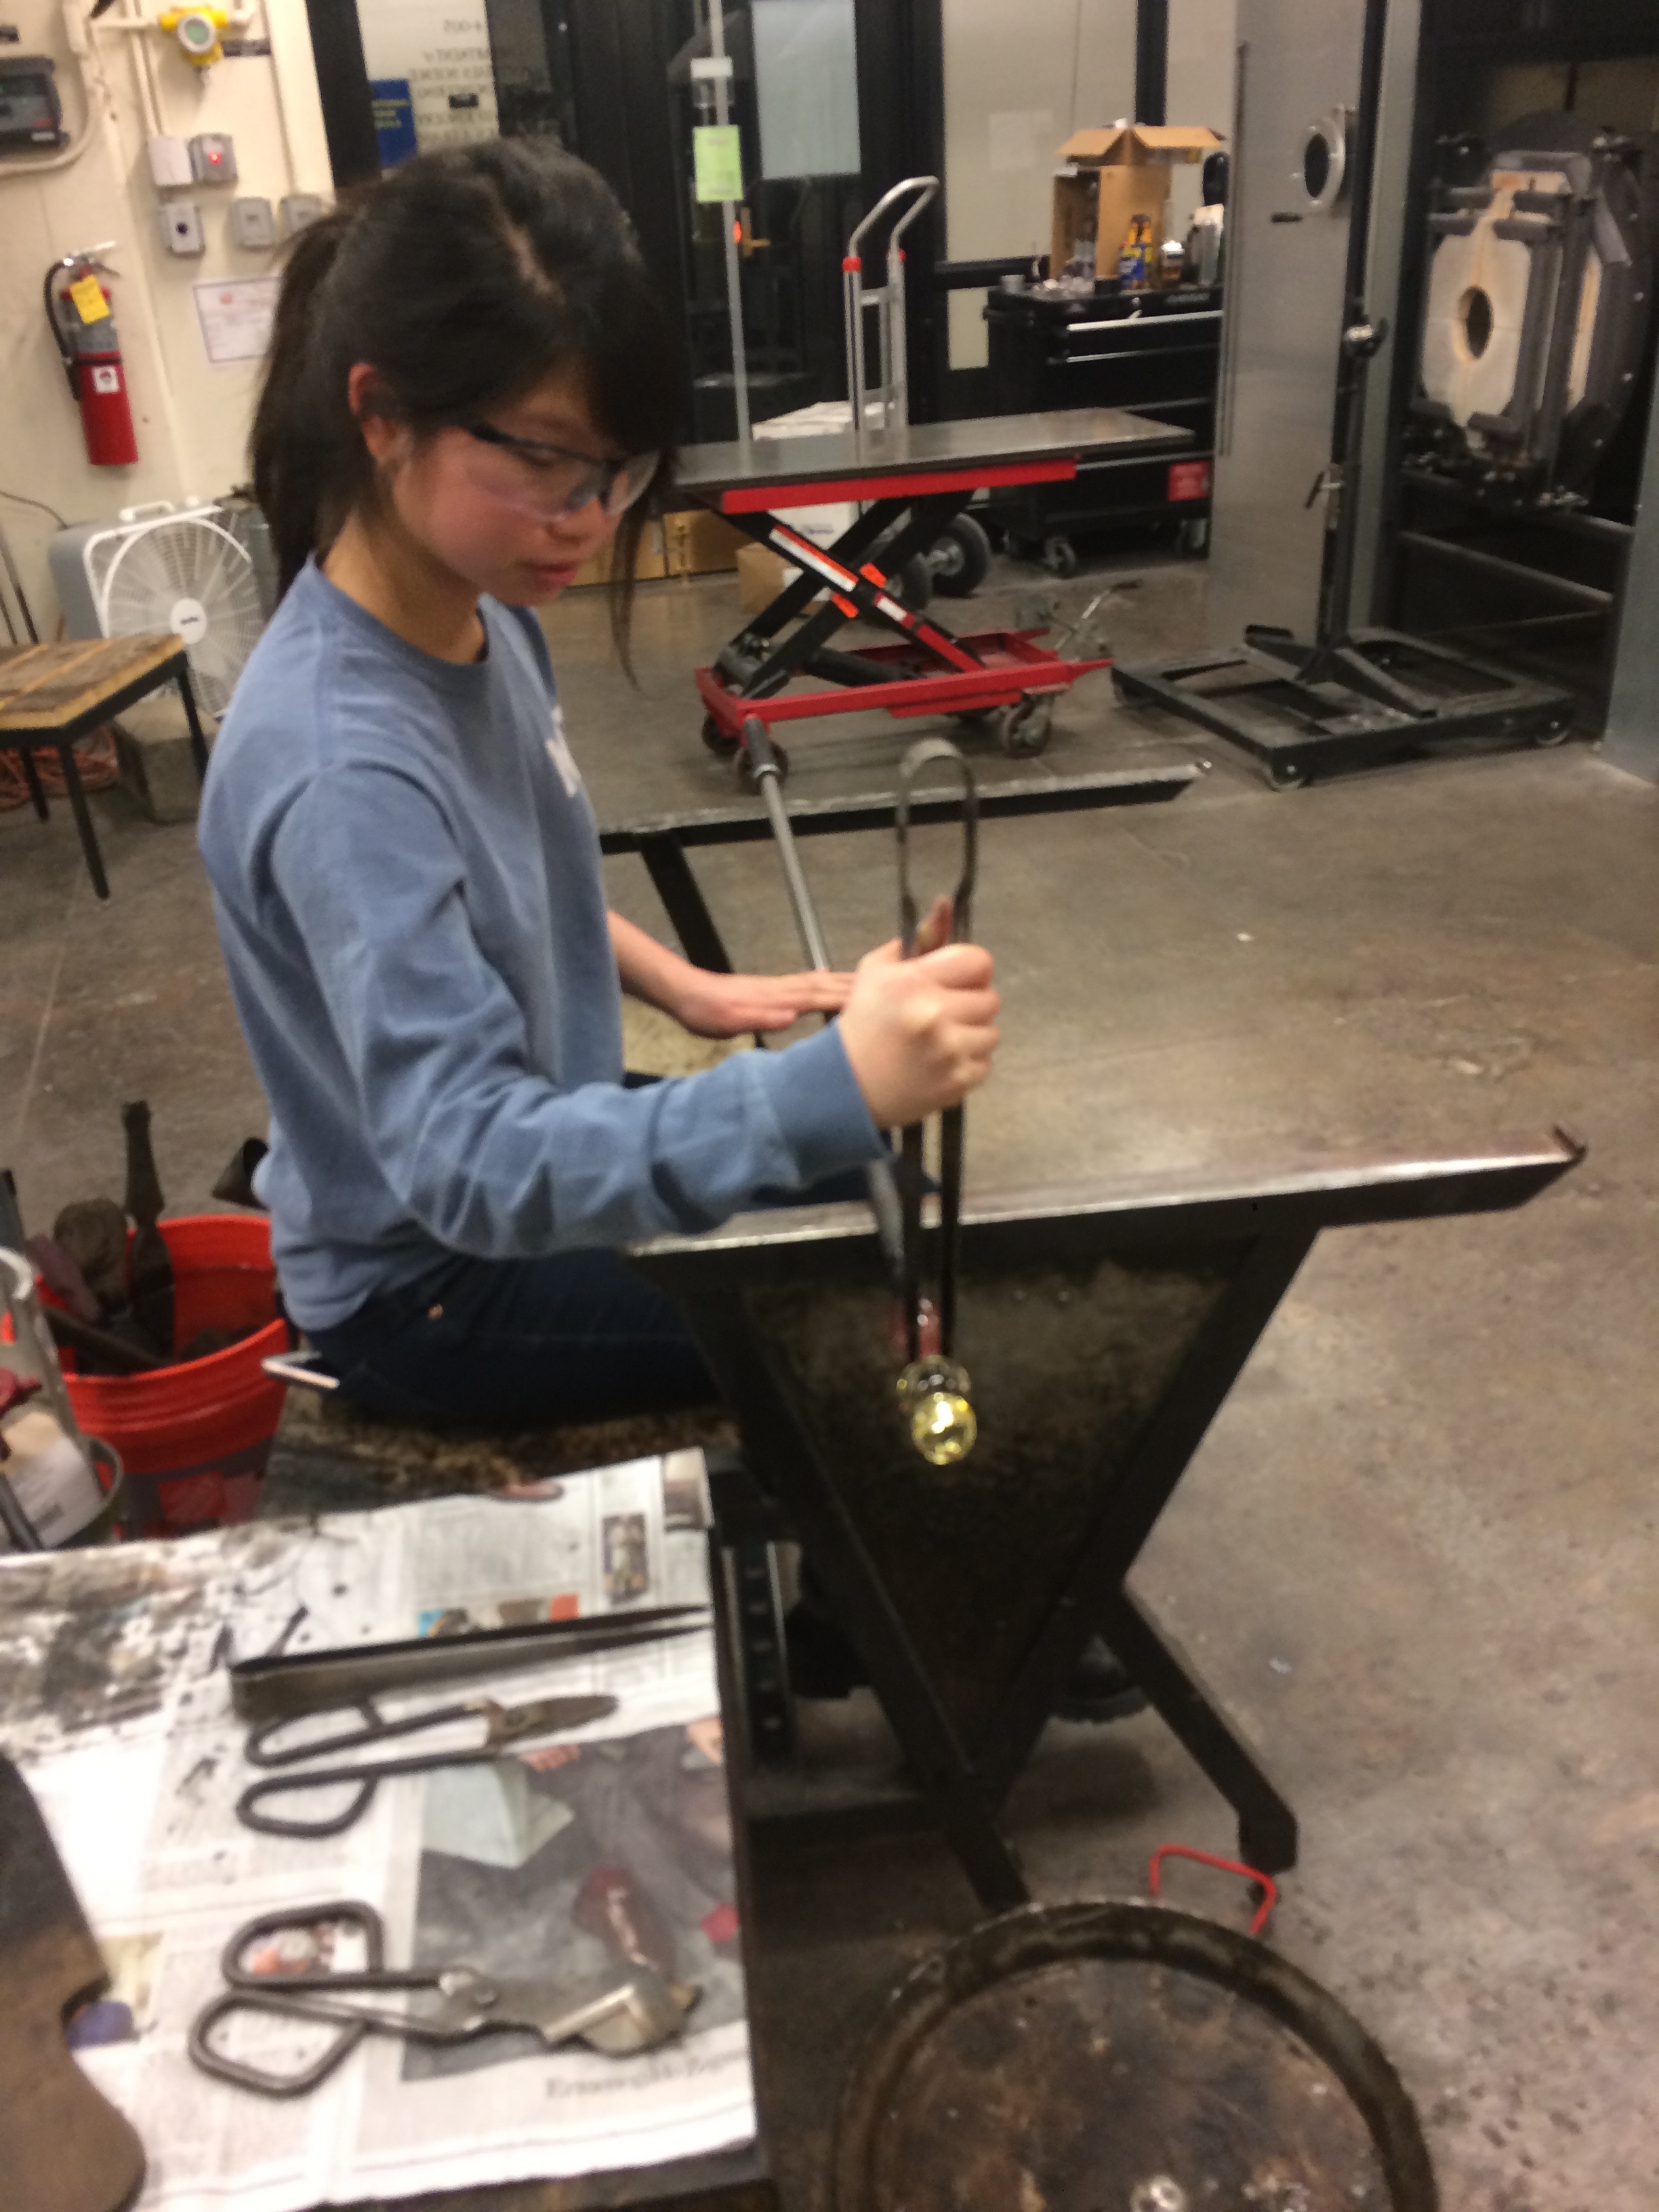
Here is a photo of Arlene S’20 making necklines in her glass. (sorry its blurry!)
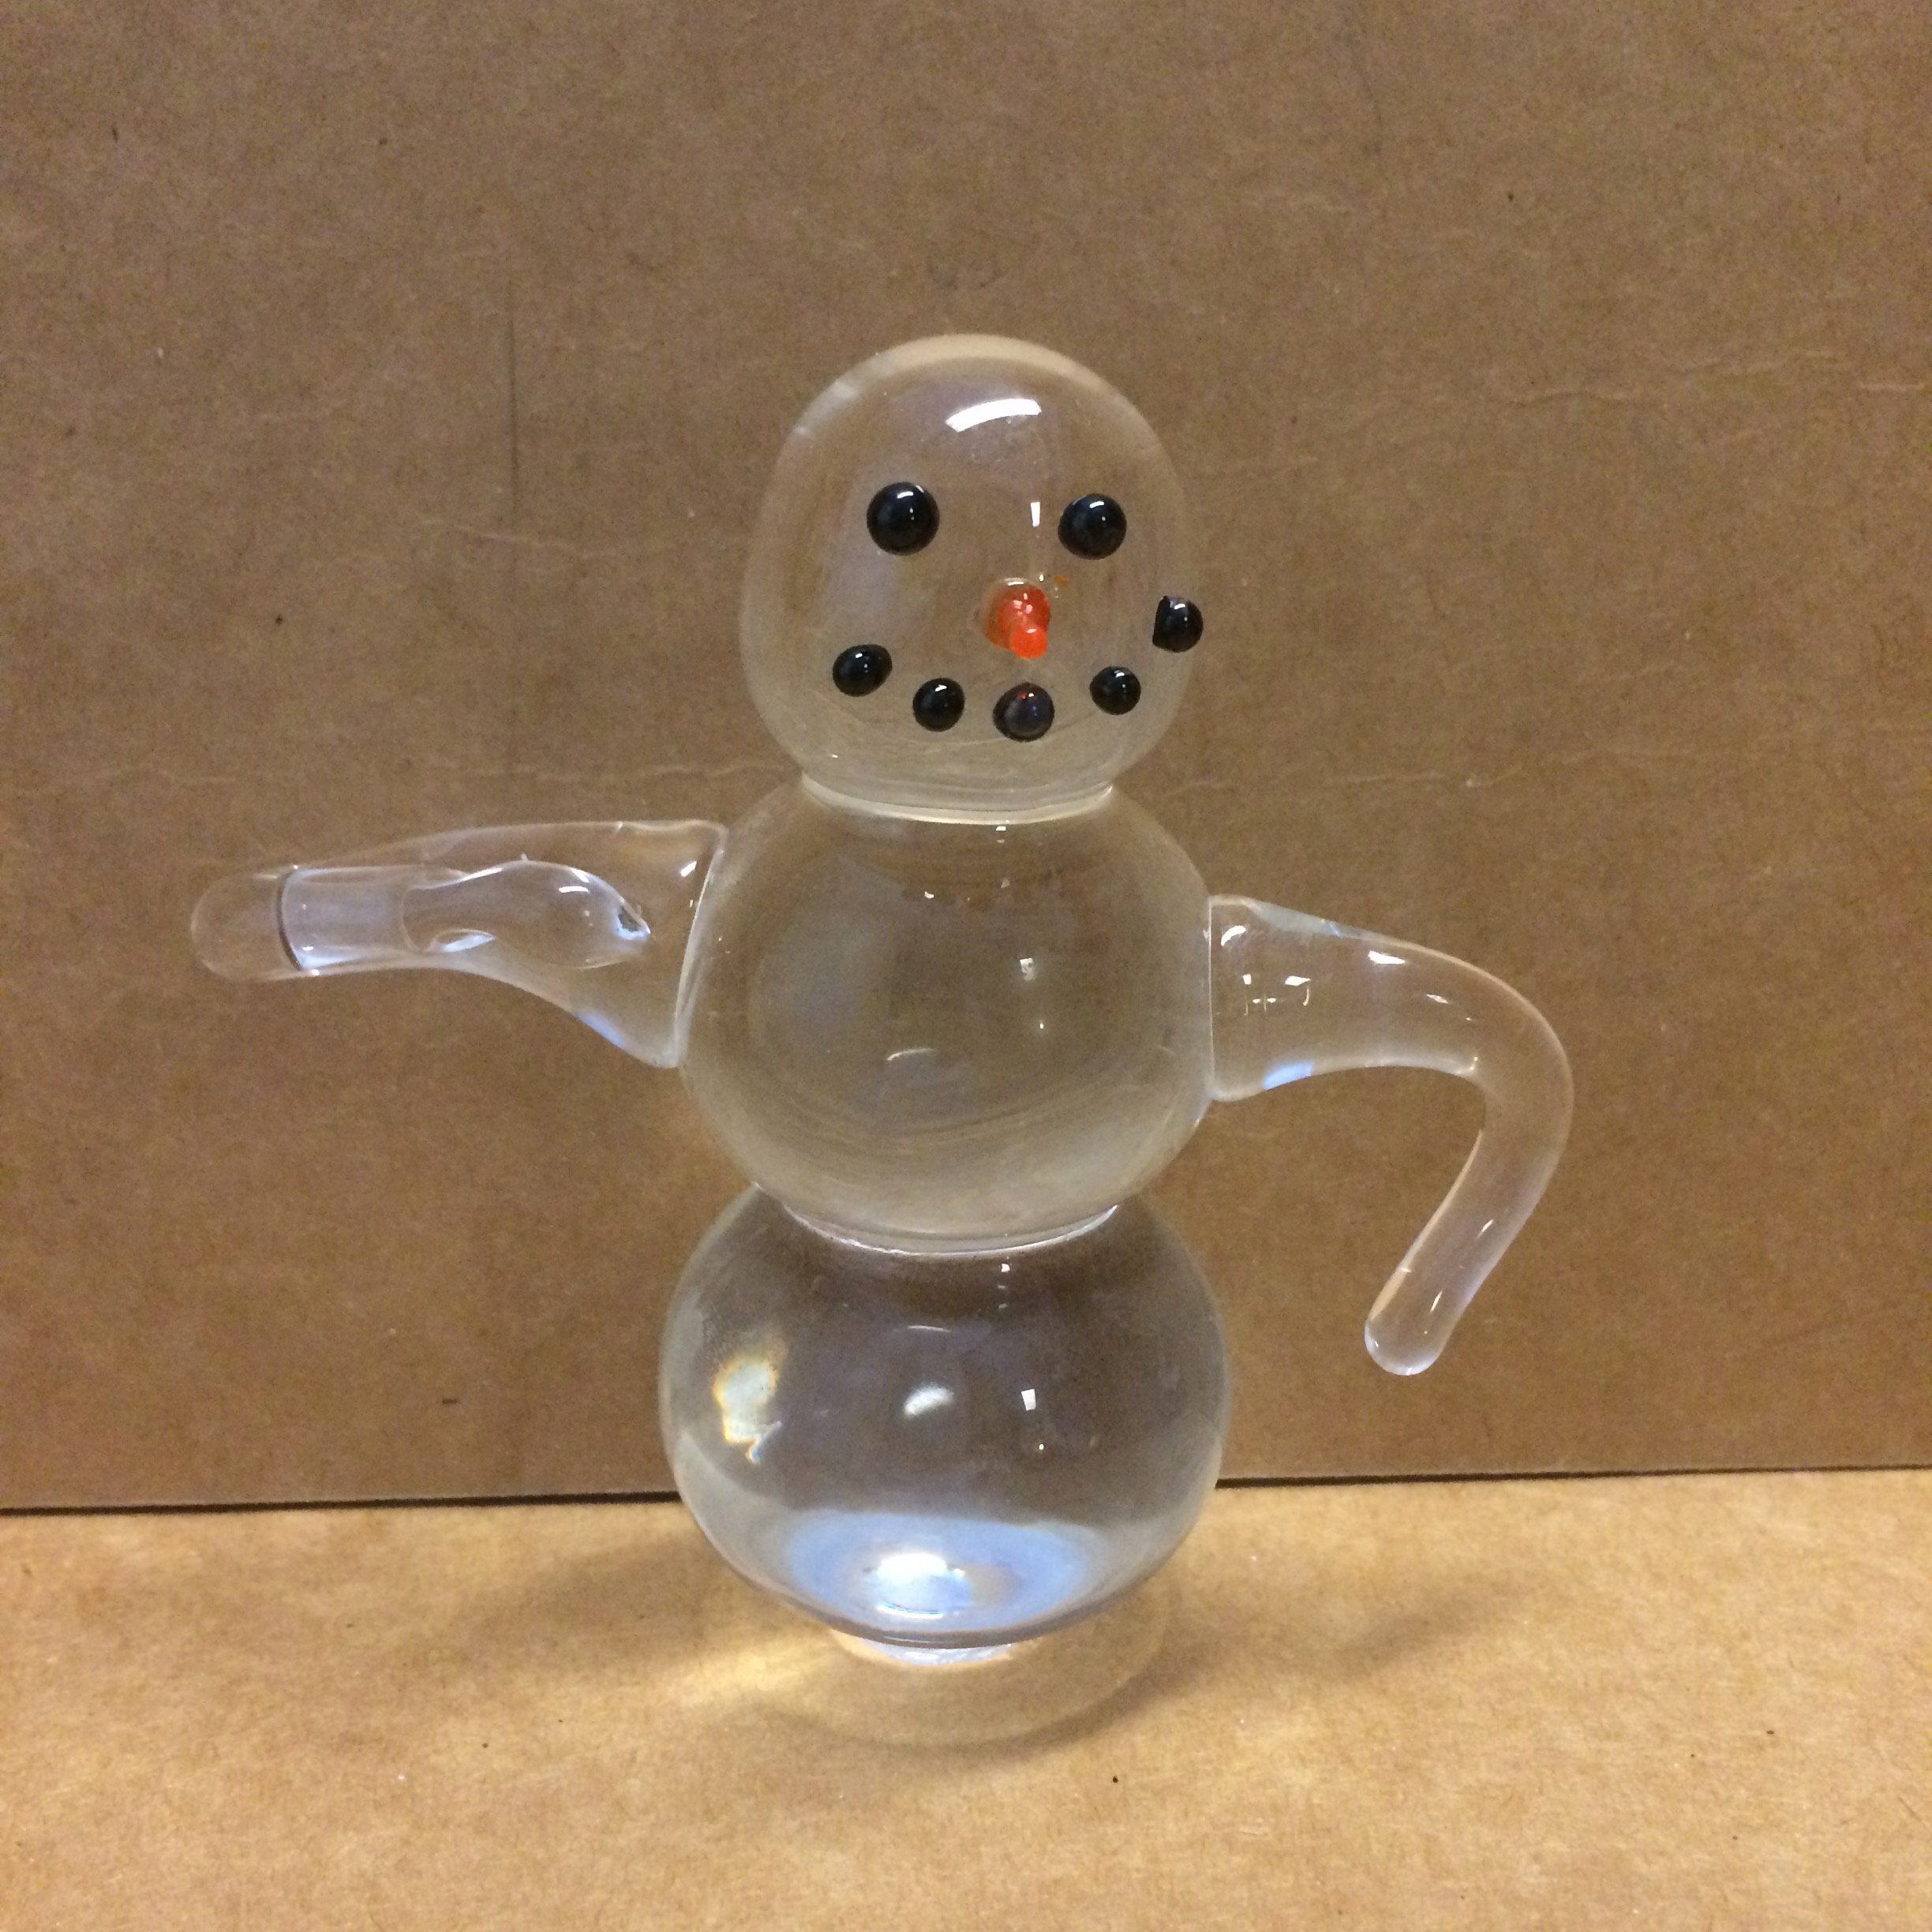
This was our first time actually making something with glass. We were told to make something that has necklines and appendages, so I decided to make a snowman. This is the end result:
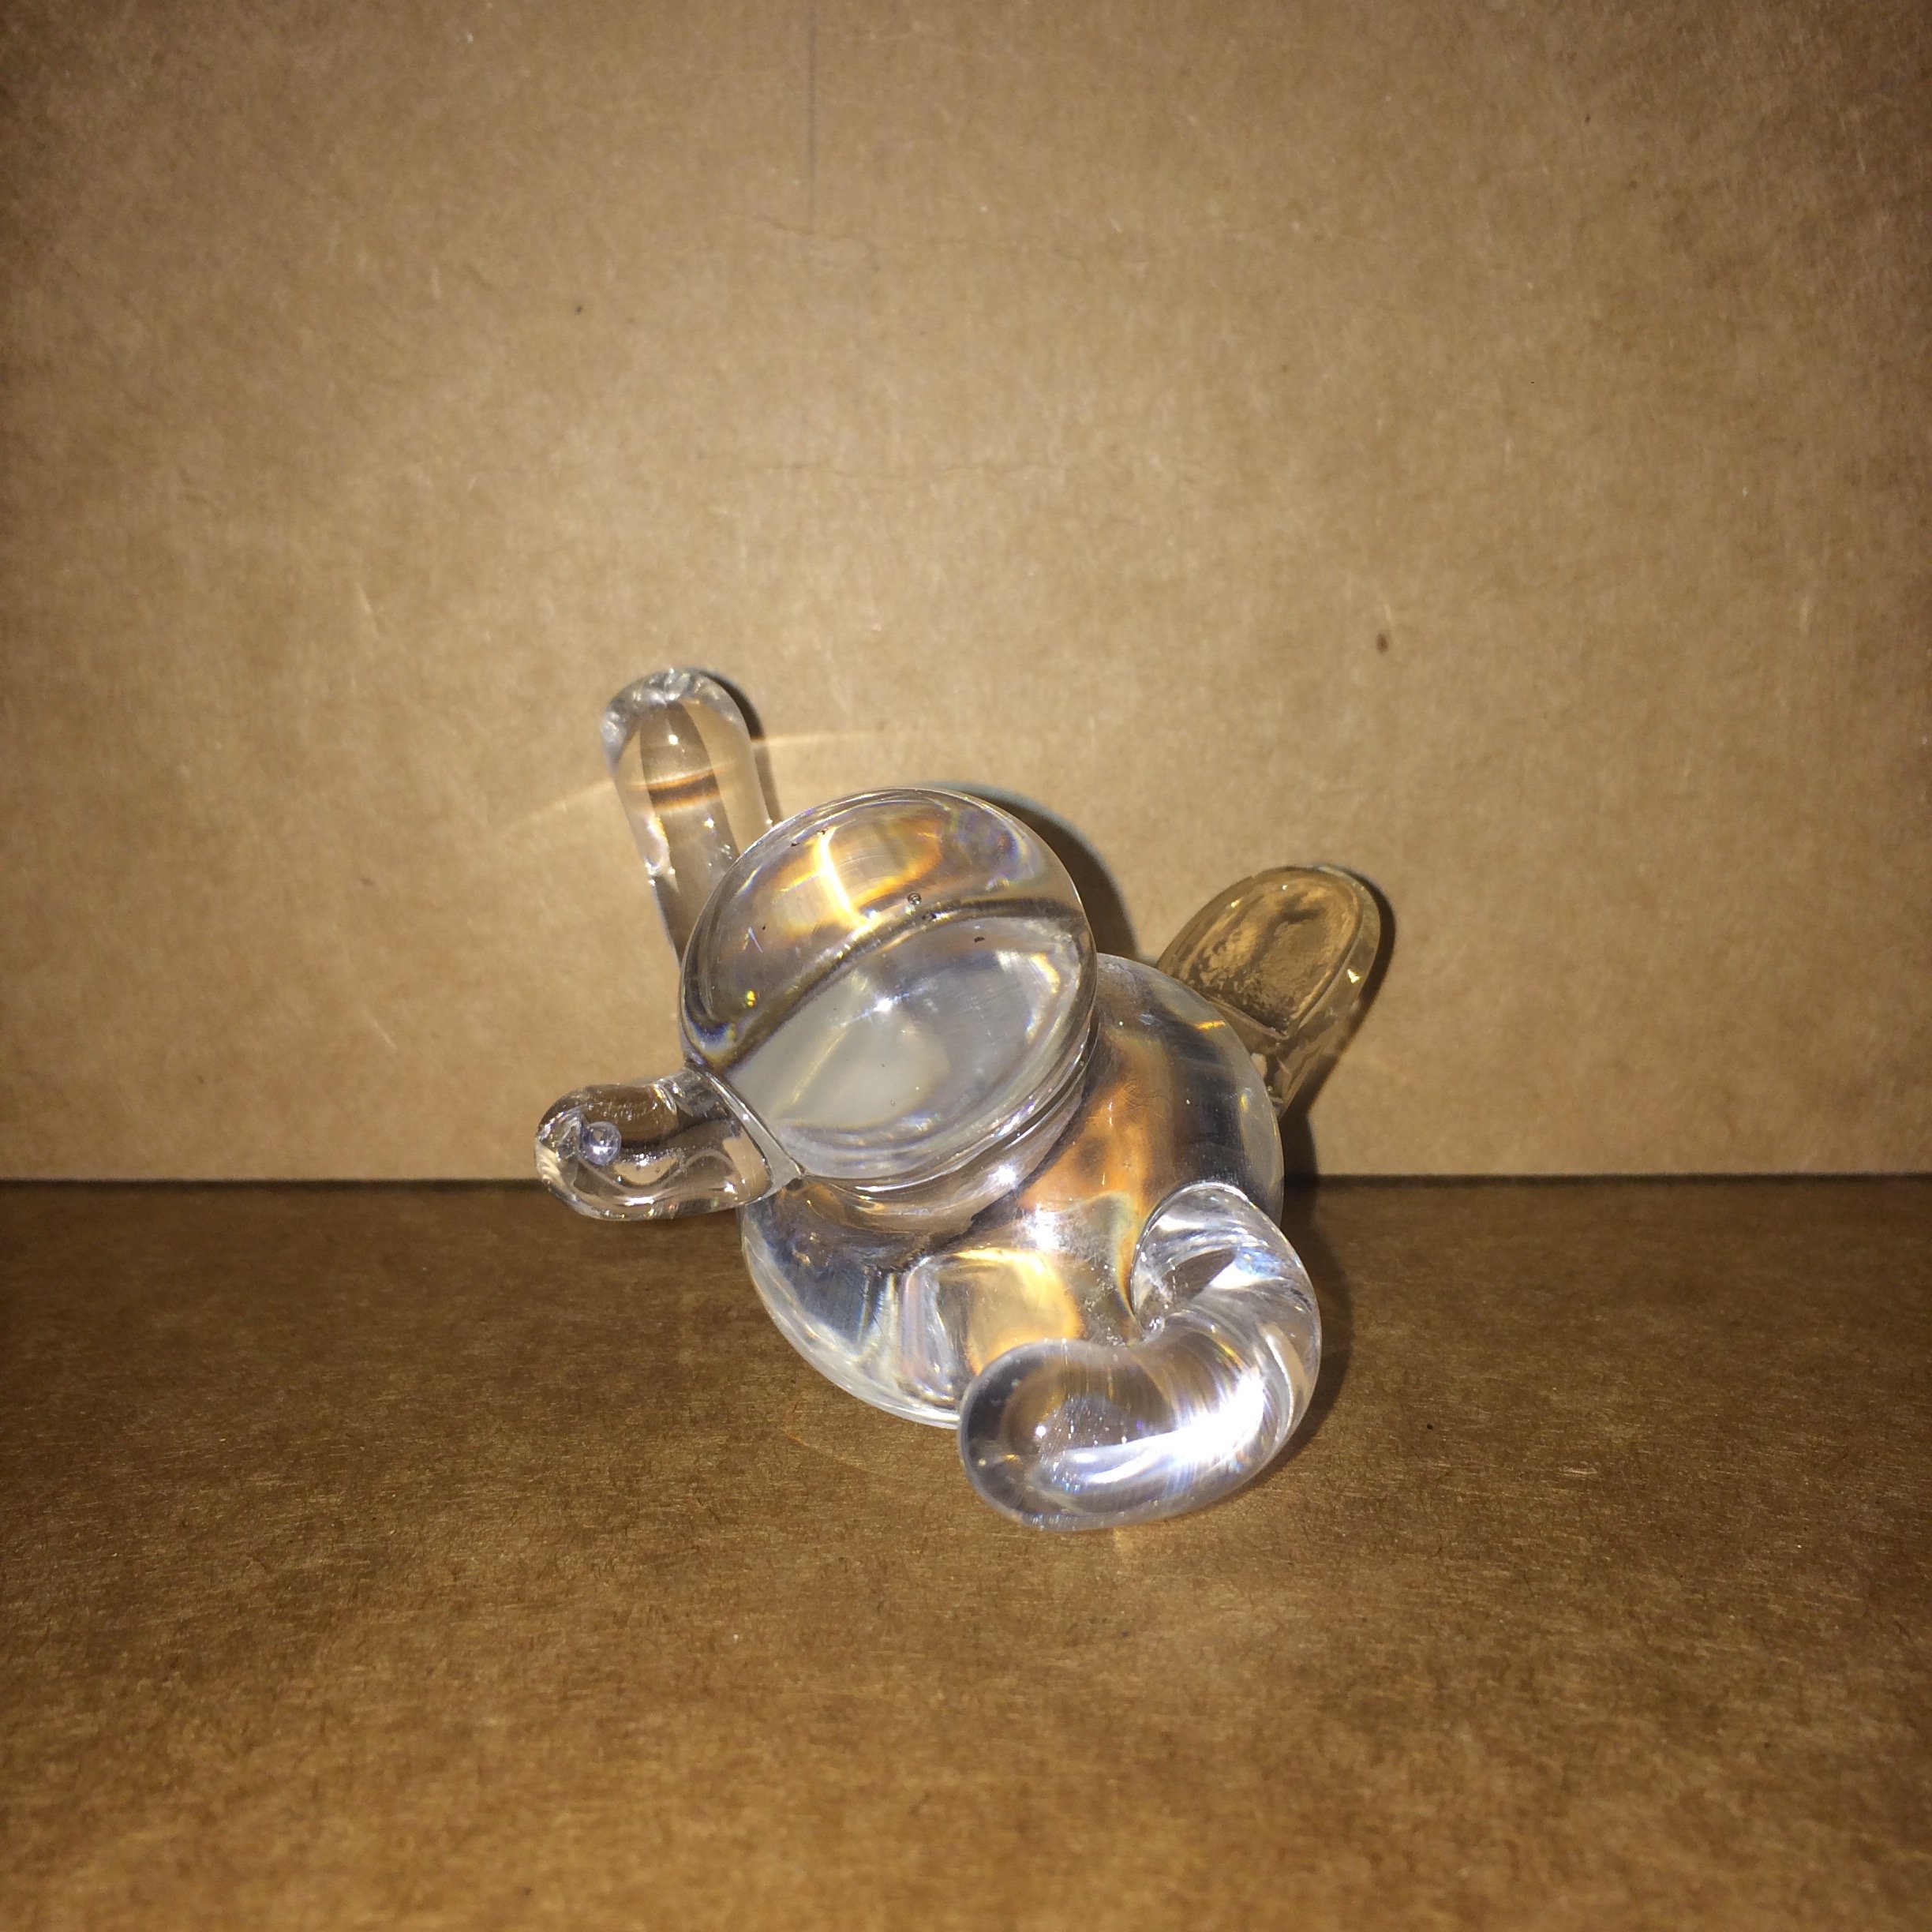
I know what you’re thinking: wat??? (I’ve been told you might even resemble confused math lady right now because there’s no way this creature fits the prereqs of the title “snowman”) Unfortunately, I only collected enough glass to make 2 necklines, as opposed to 3 in a general snowman. Whatever, I thought. I’ll just make a little mini snowman. However, after adding arms came to the revelation that if I continued trying to make this little guy into a snowman I would most likely fail and all his snowman friends would laugh at him for looking like the entire bottom half of his body fell off. So, I decided to make him into a bird-type thing.. It would have made more sense if I actually flattened the arms into wings, but like whatever I guess– he’s cute ^_^.
Class 2: Paperweights, colors!
If you’ve never heard of a paperweight before, it is a piece of weight that you put on paper. Or other stuff. They’re fun and quick to make.
To get the smooth shape, we use a technique called blocking. Here is a video:
Practice 2: Another paperweight!!!
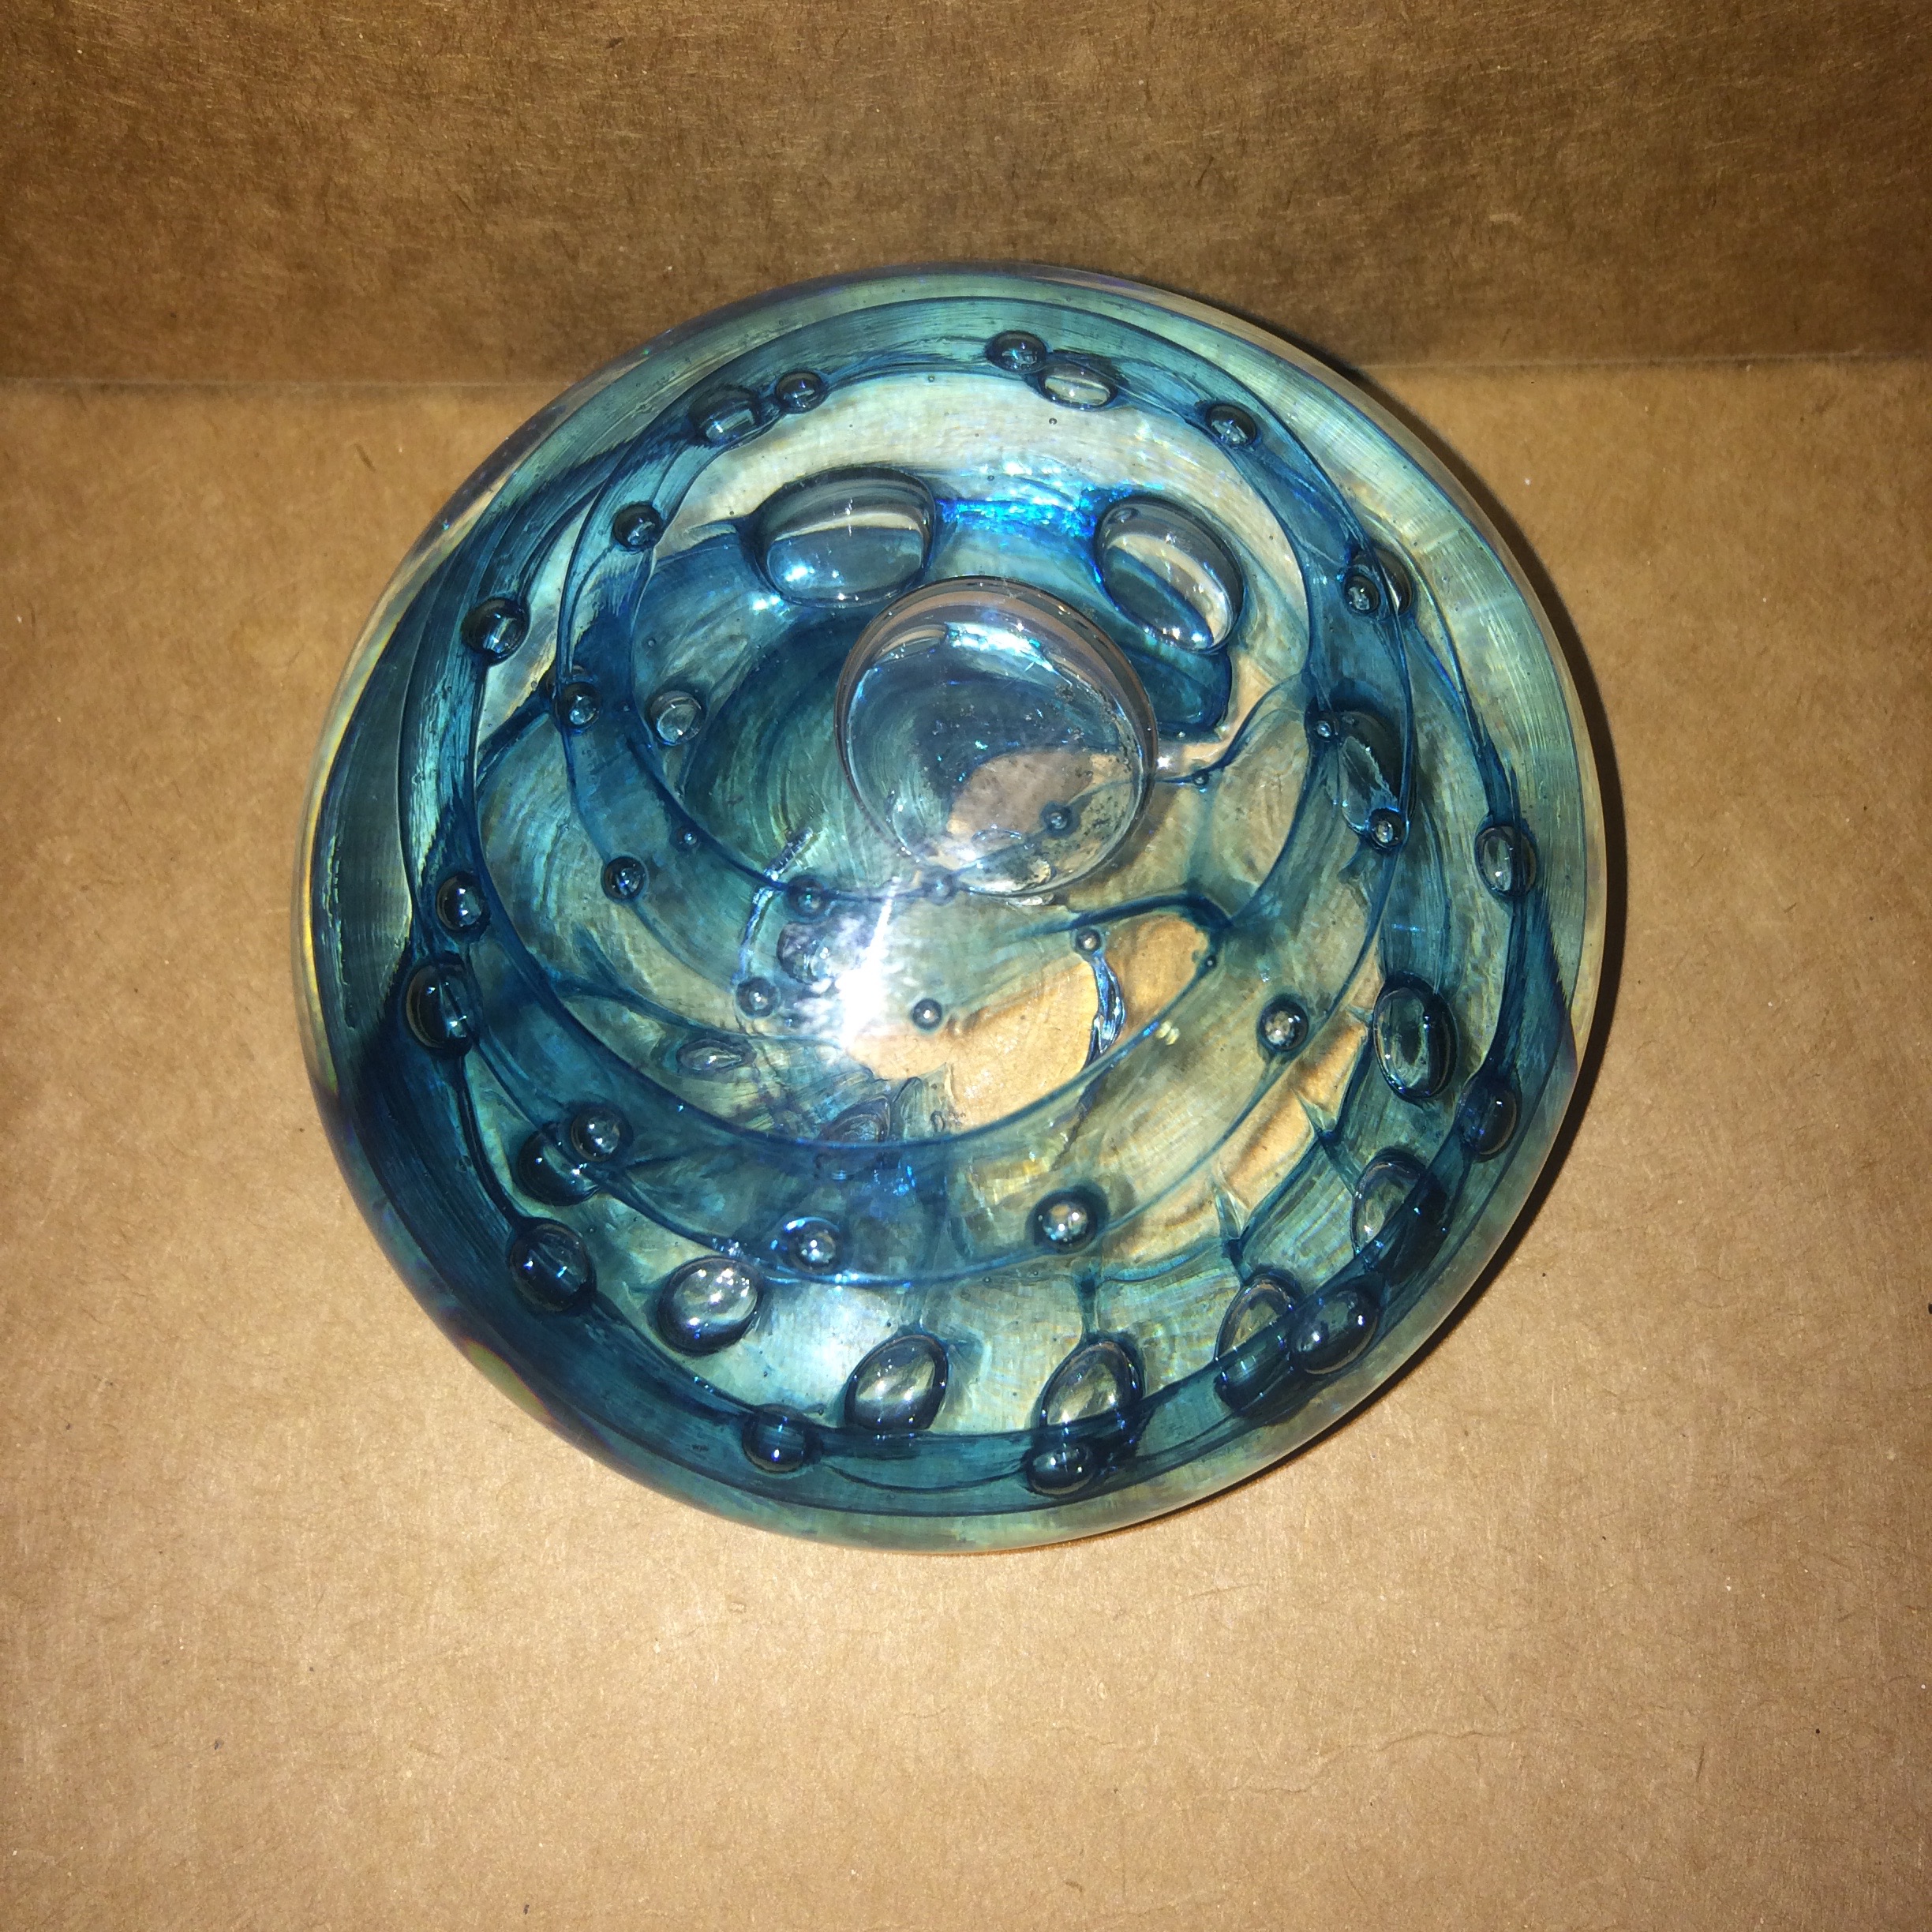
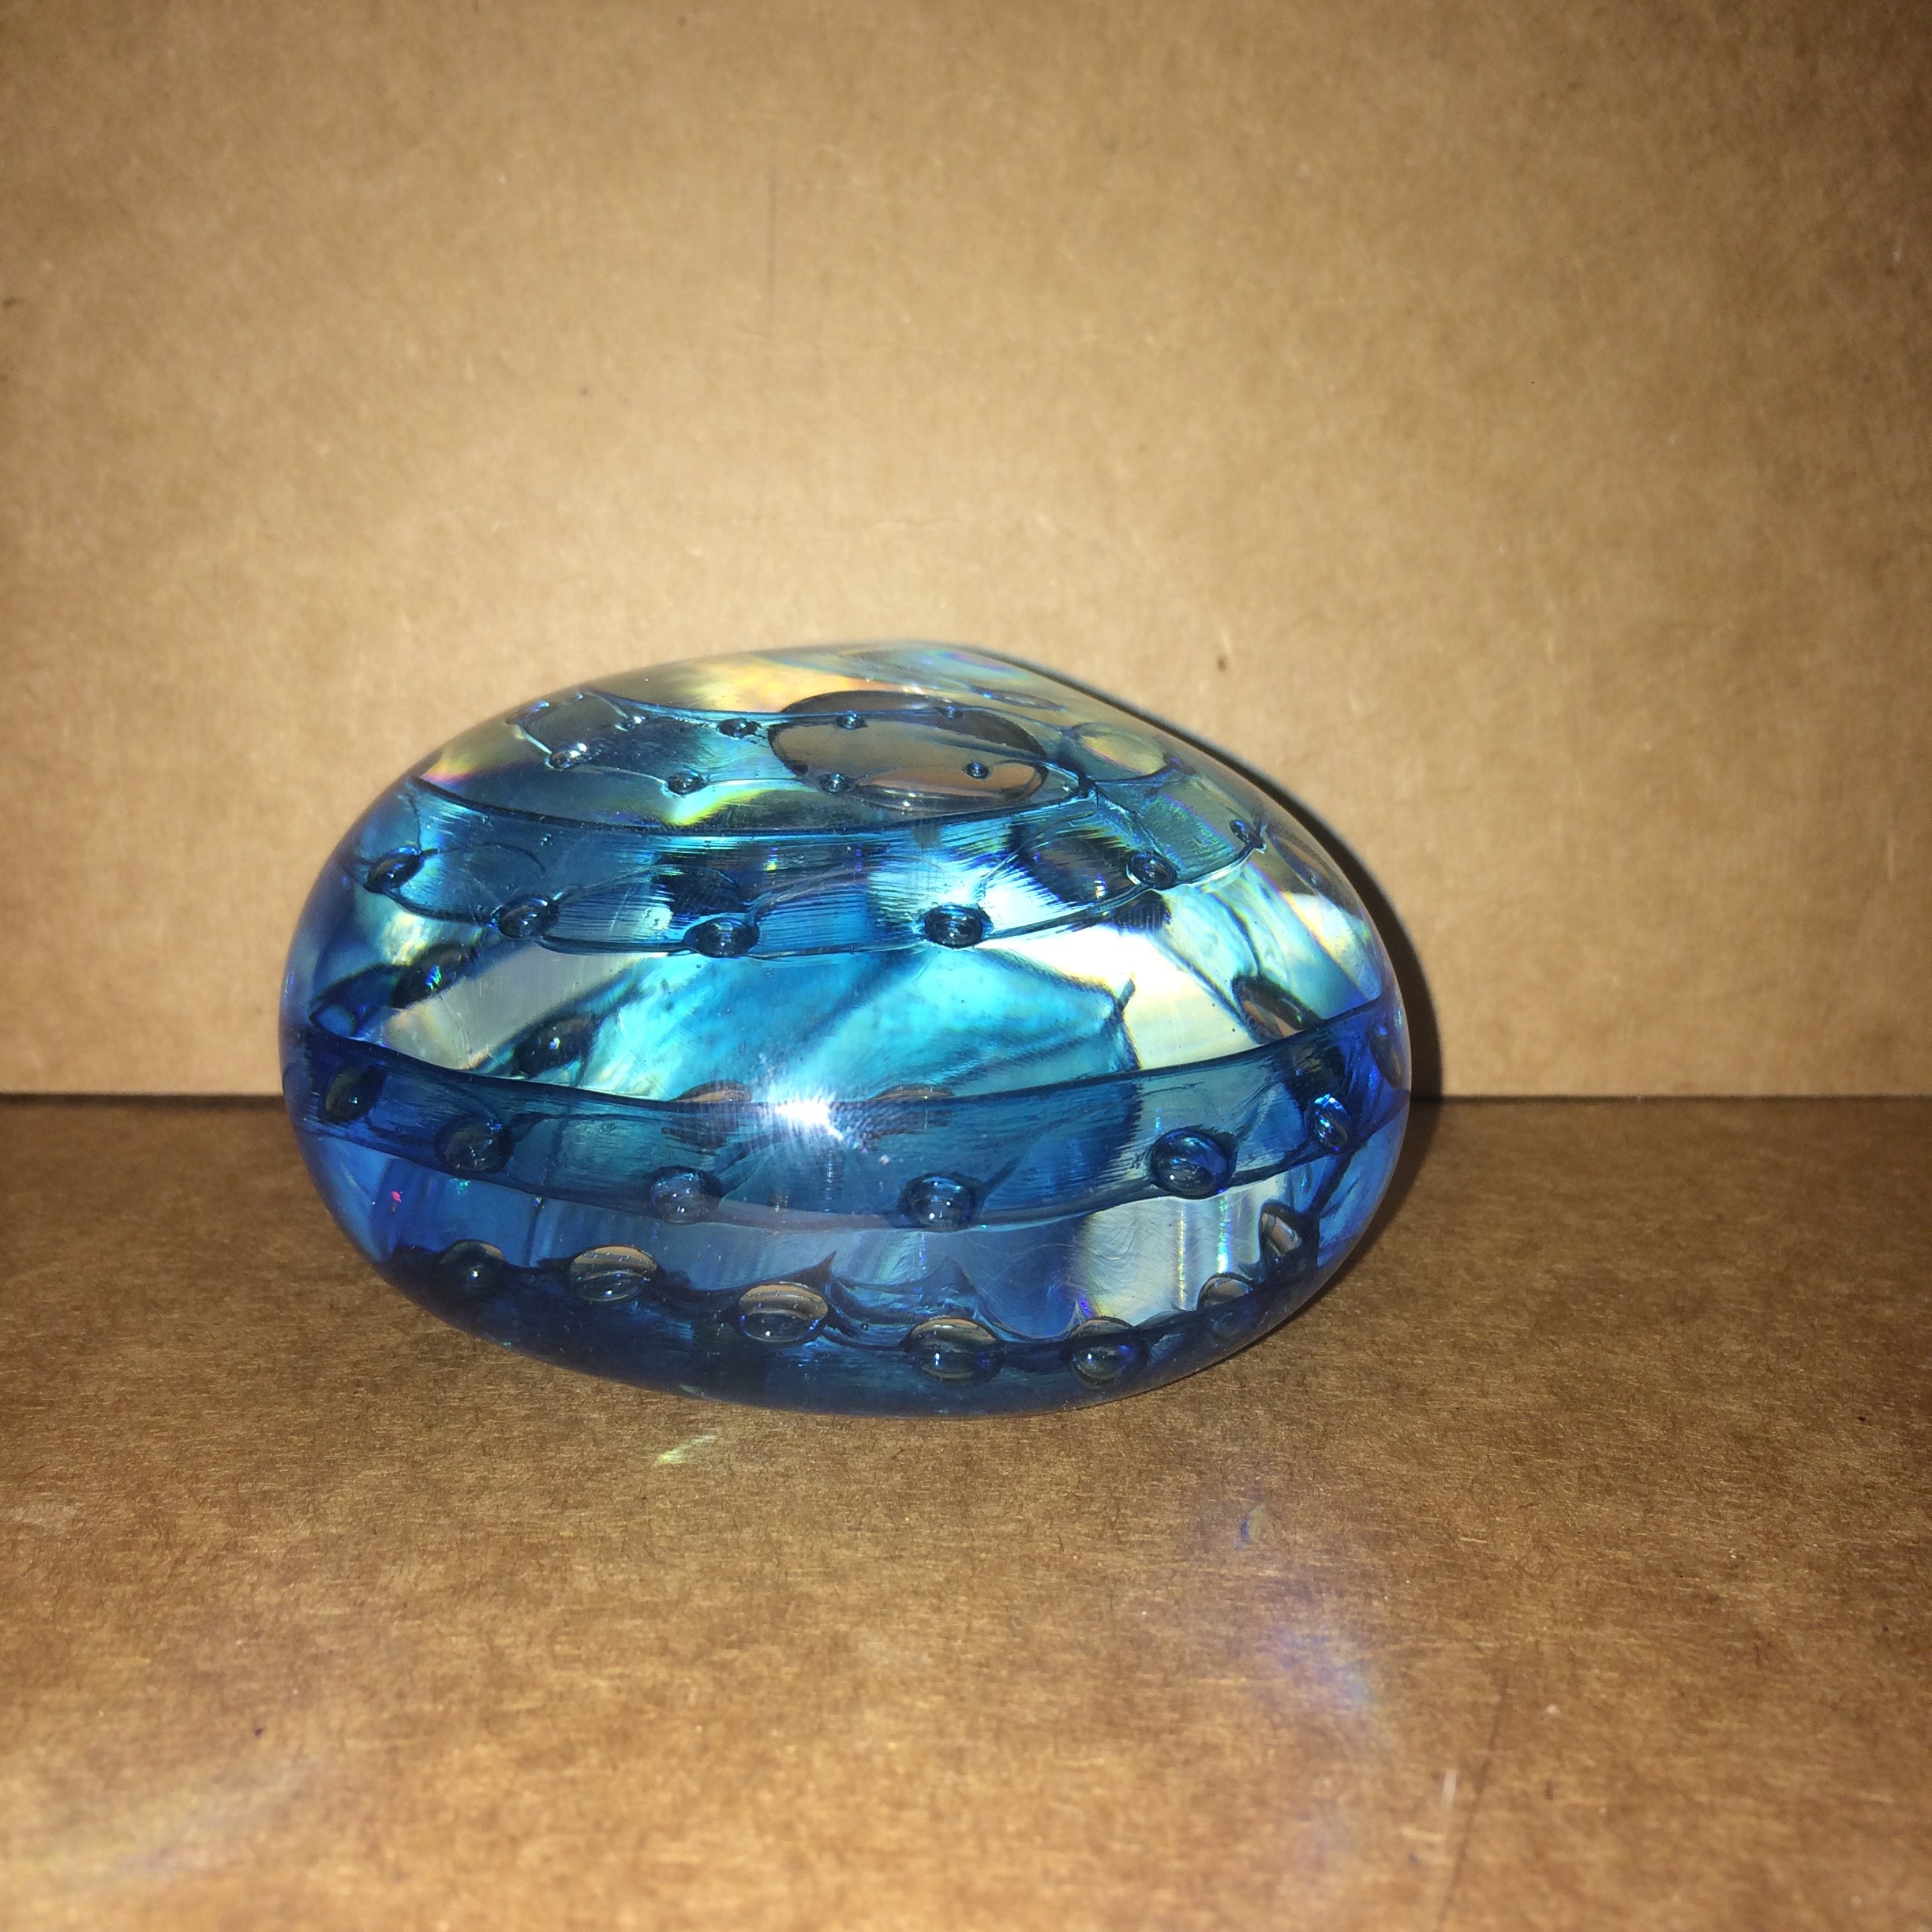
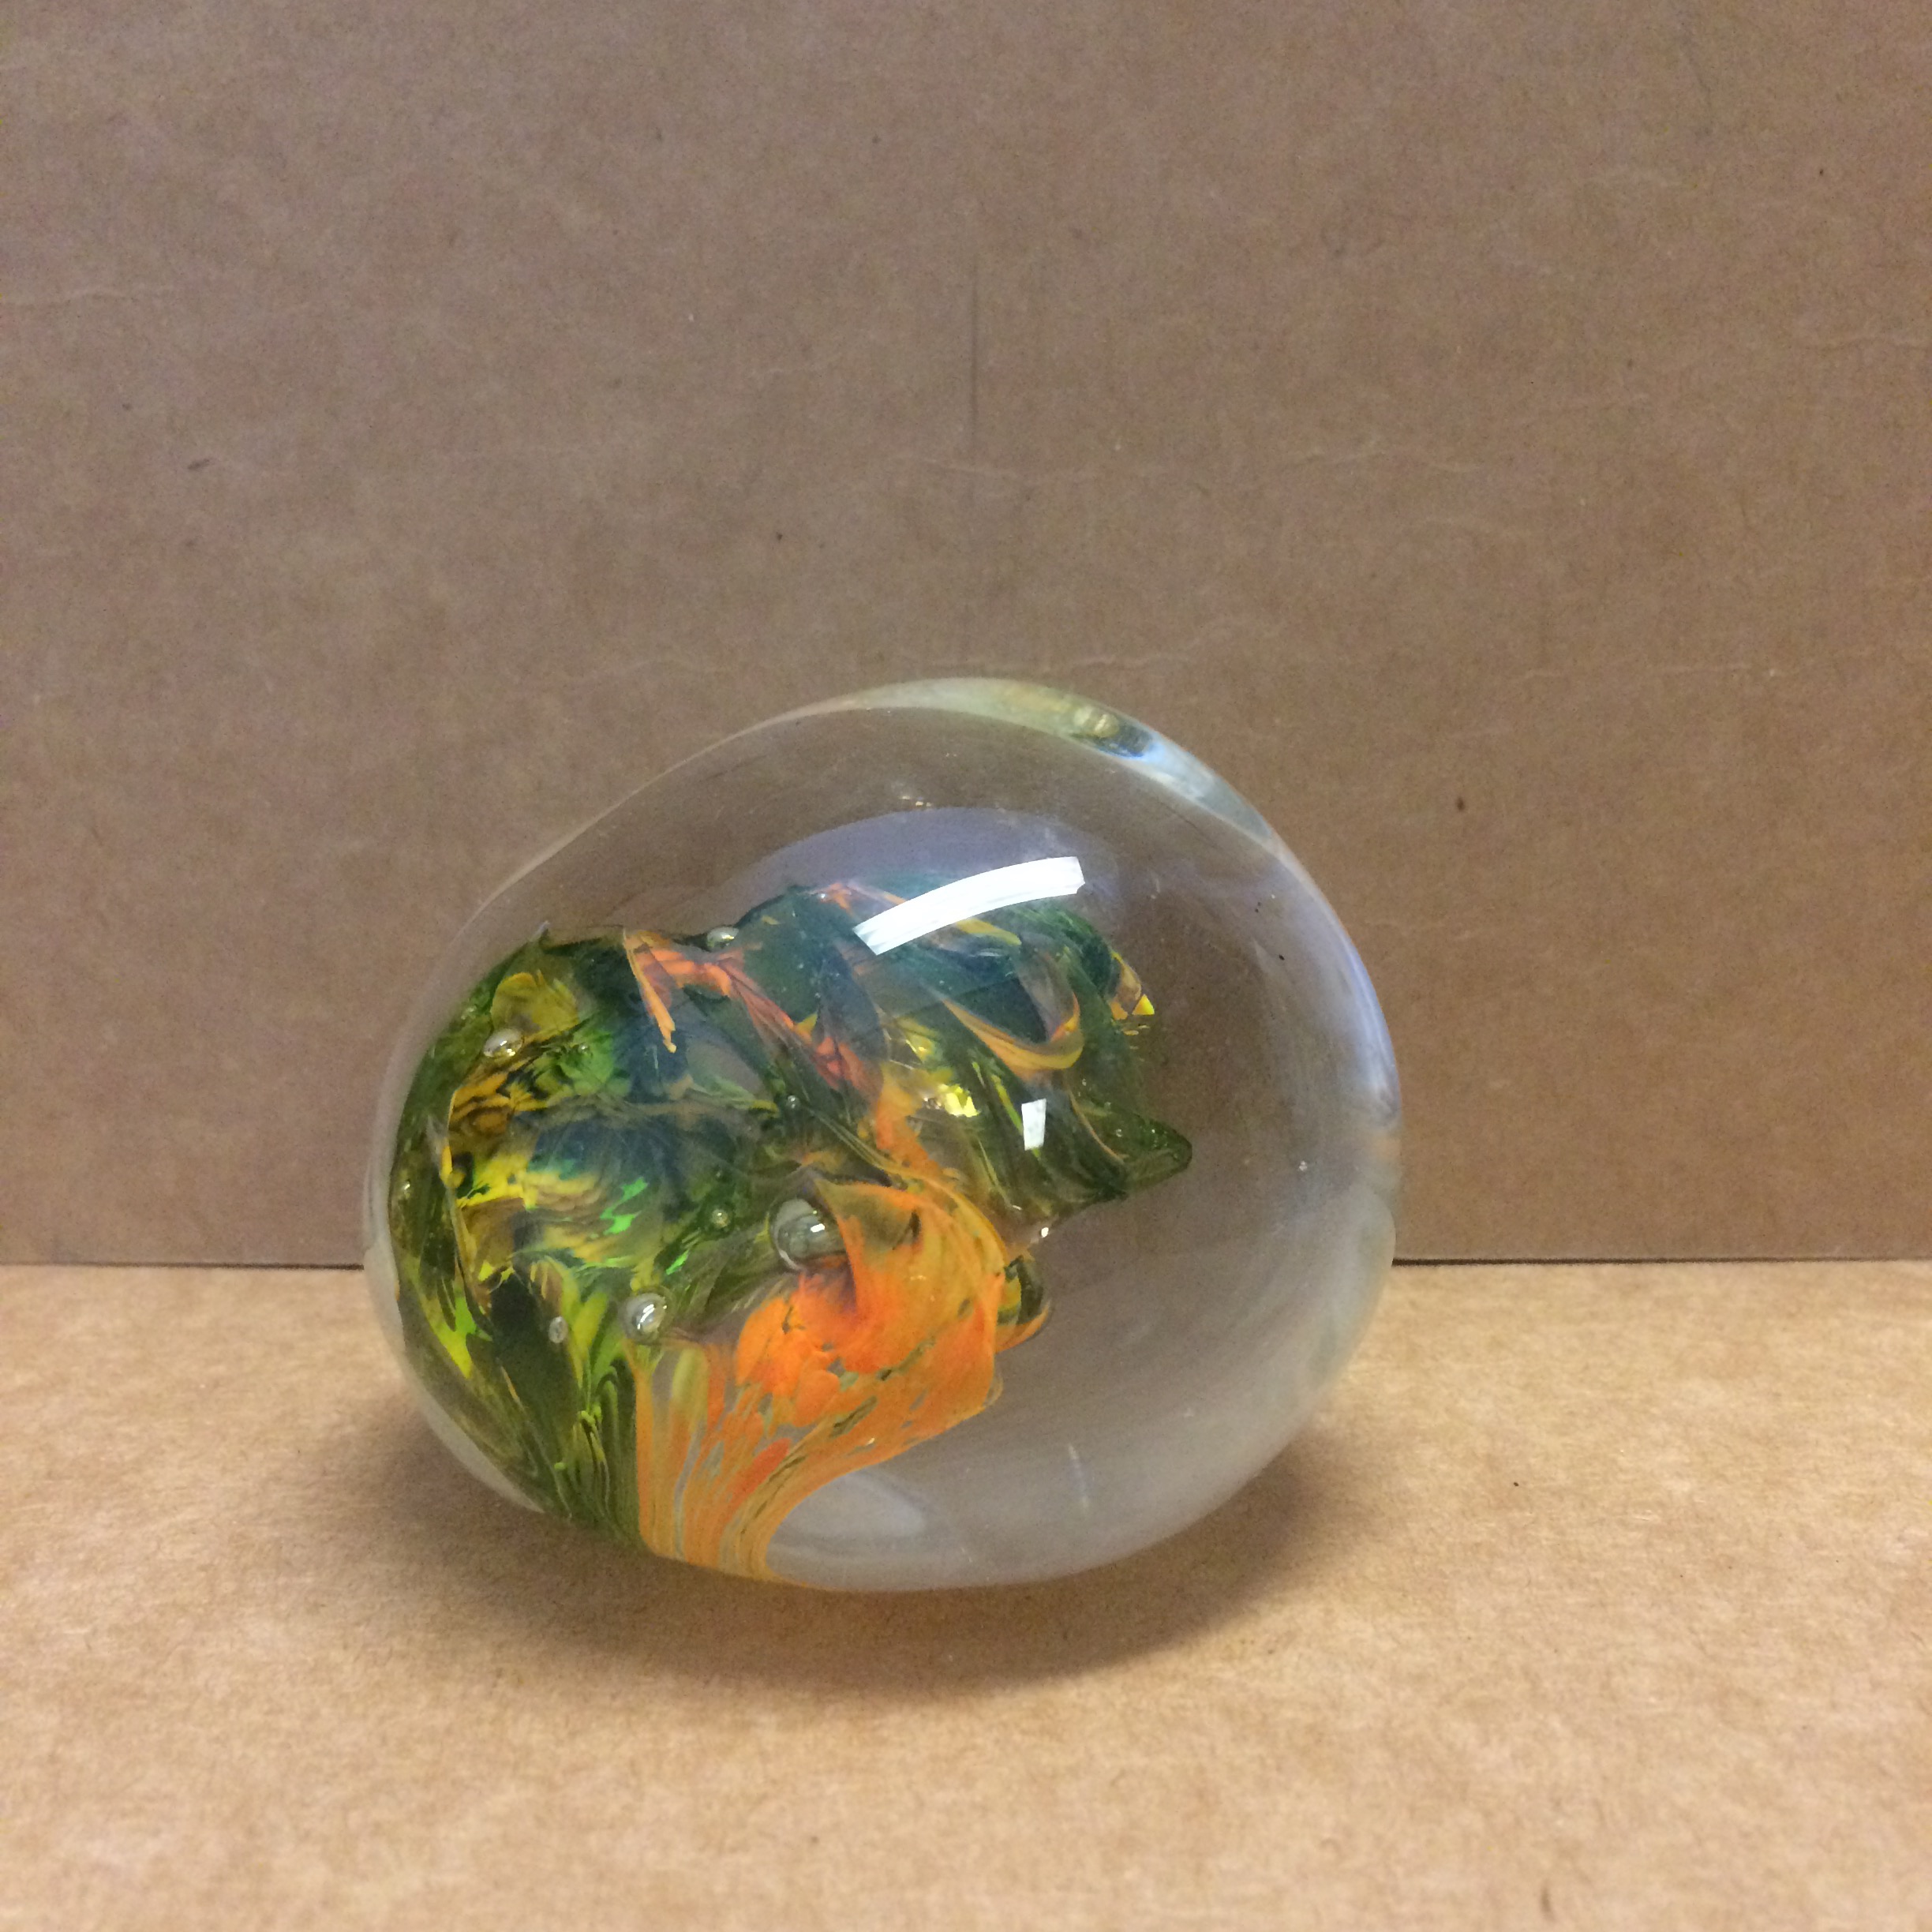
This is probably my favorite thing I made in the class.
To create this design, I collected some clear glass, put it in a mold (with valleys and ridges), and then an instructor helped to wrap blue glass around it. The air in between the blue glass and the valleys of the clear glass turn into the bubbles seen when I collected another layer of clear glass over. The big bubble in the center was formed by pressing into the first collection of clear glass with tweezers.
Class 3: Ornaments (and actually blowing the glass!!!)
The day has finally come, the day we blow the glass. In order to blow the glass, you stick a plastic straw in your creation and blow on it. Just kidding. The pipes you collect and mold your glass on can be hollow, and have mouthpieces on the end.
The instructors demonstrated this extremely quickly—literally it looked as easy as blowing up a balloon. Unfortunately, it was not this easy… Mostly the difficulty came from not heating up the glass enough though, so I’m not completely discouraged/embarrassed/heartbroken.
Practice 3: Ornaments (fancy ornaments)
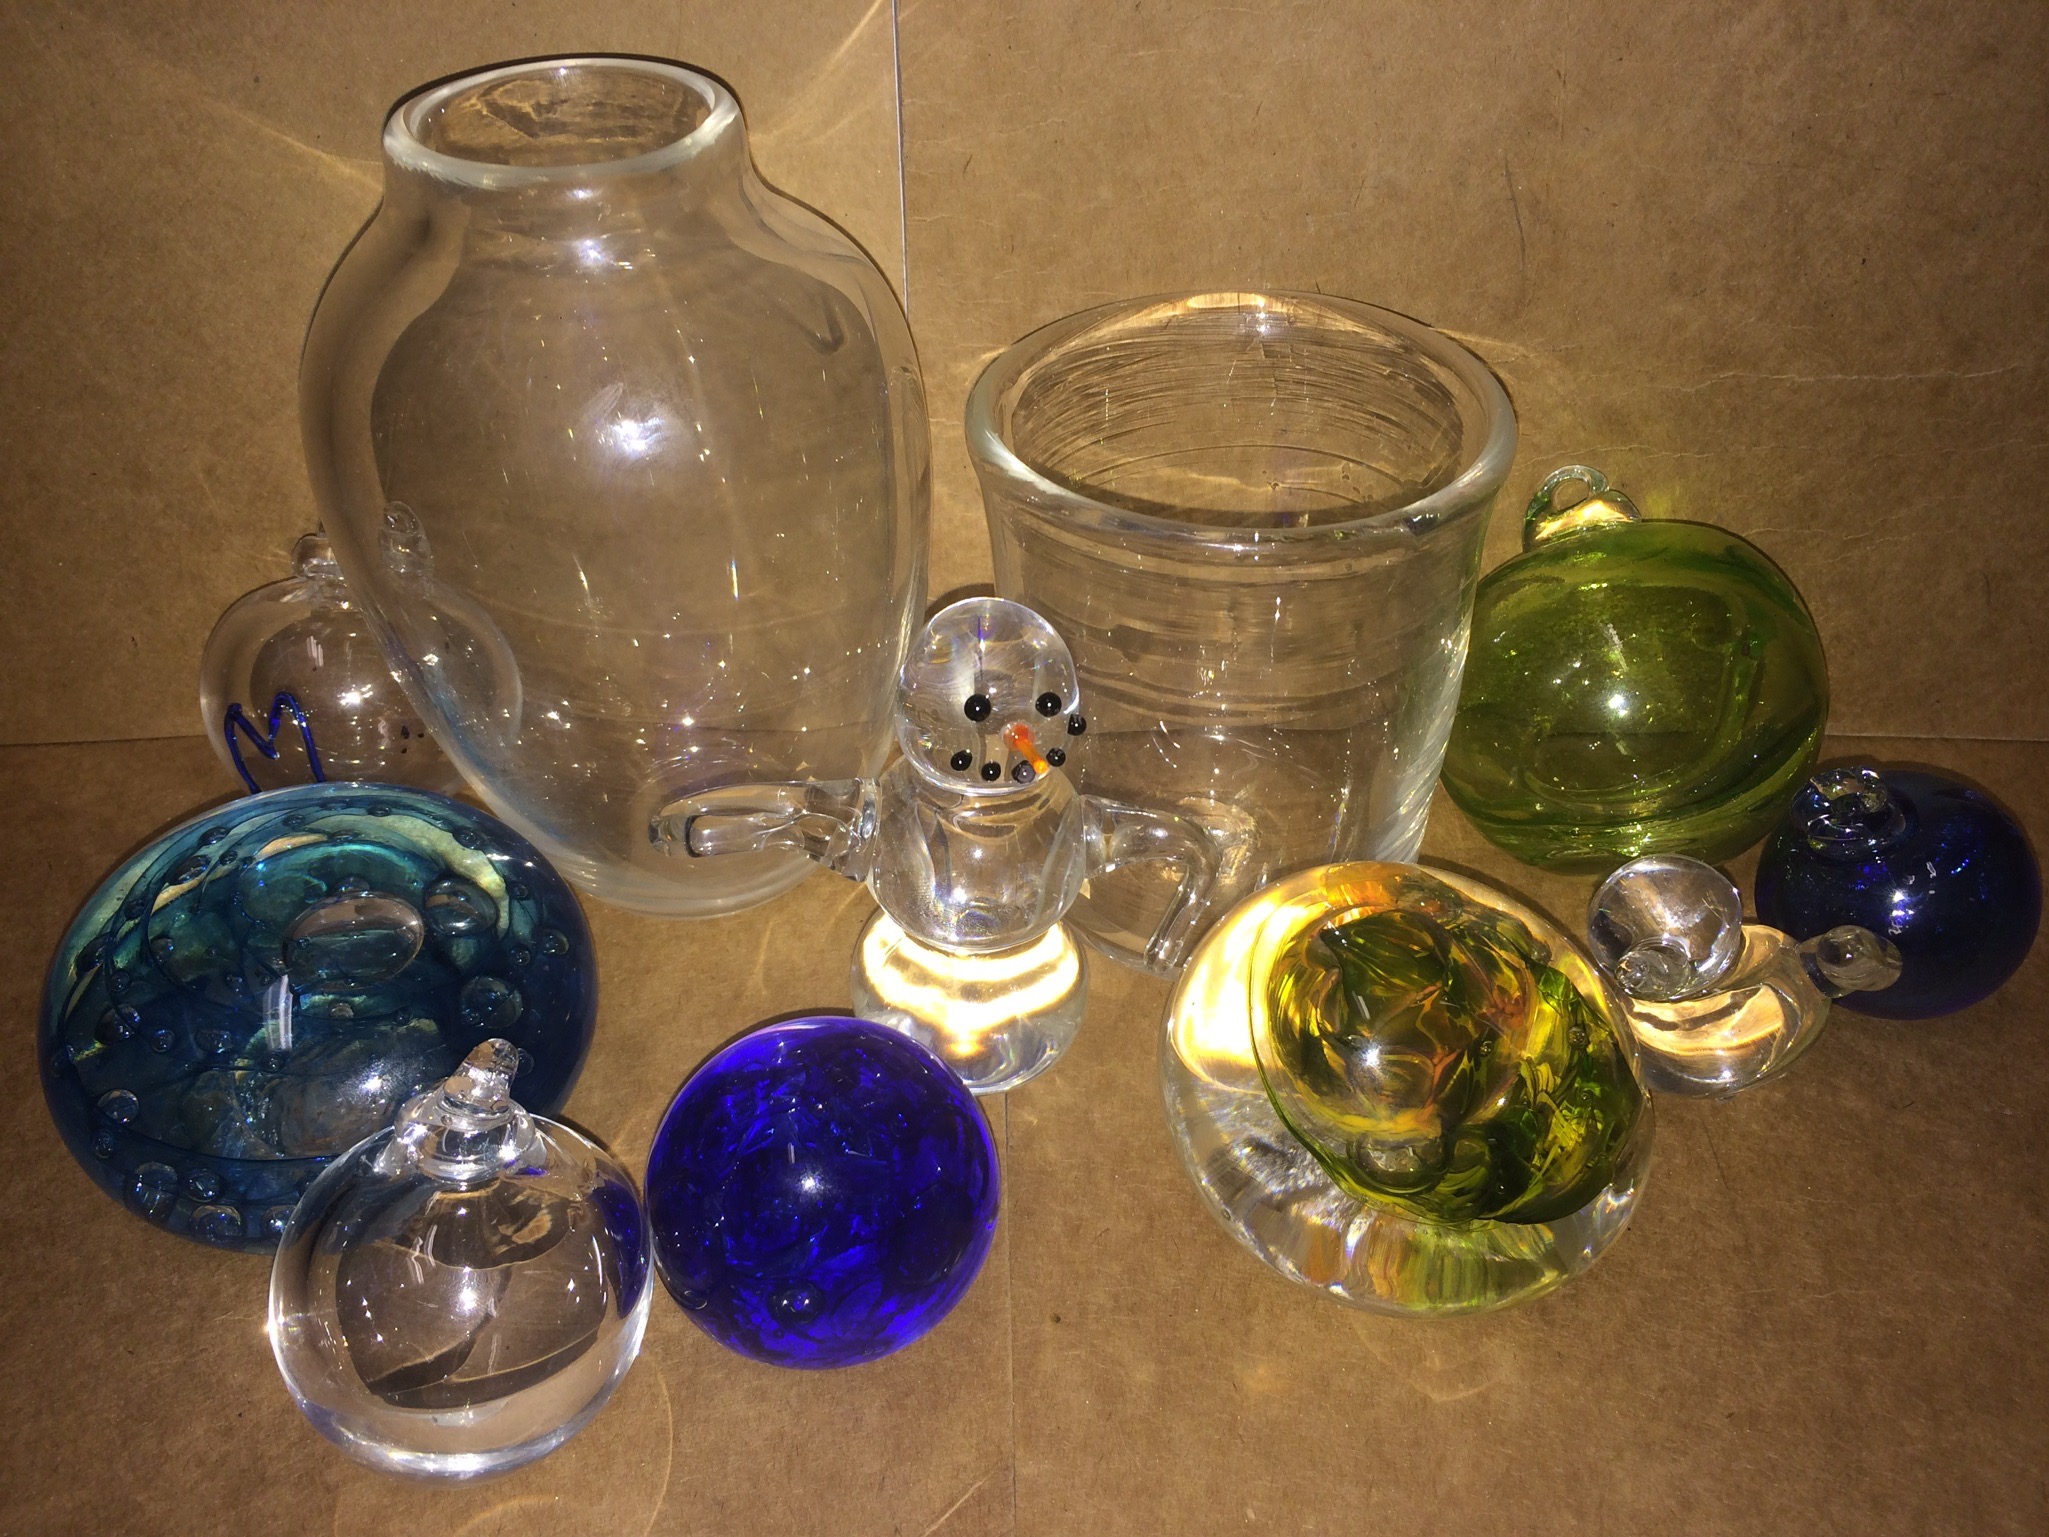
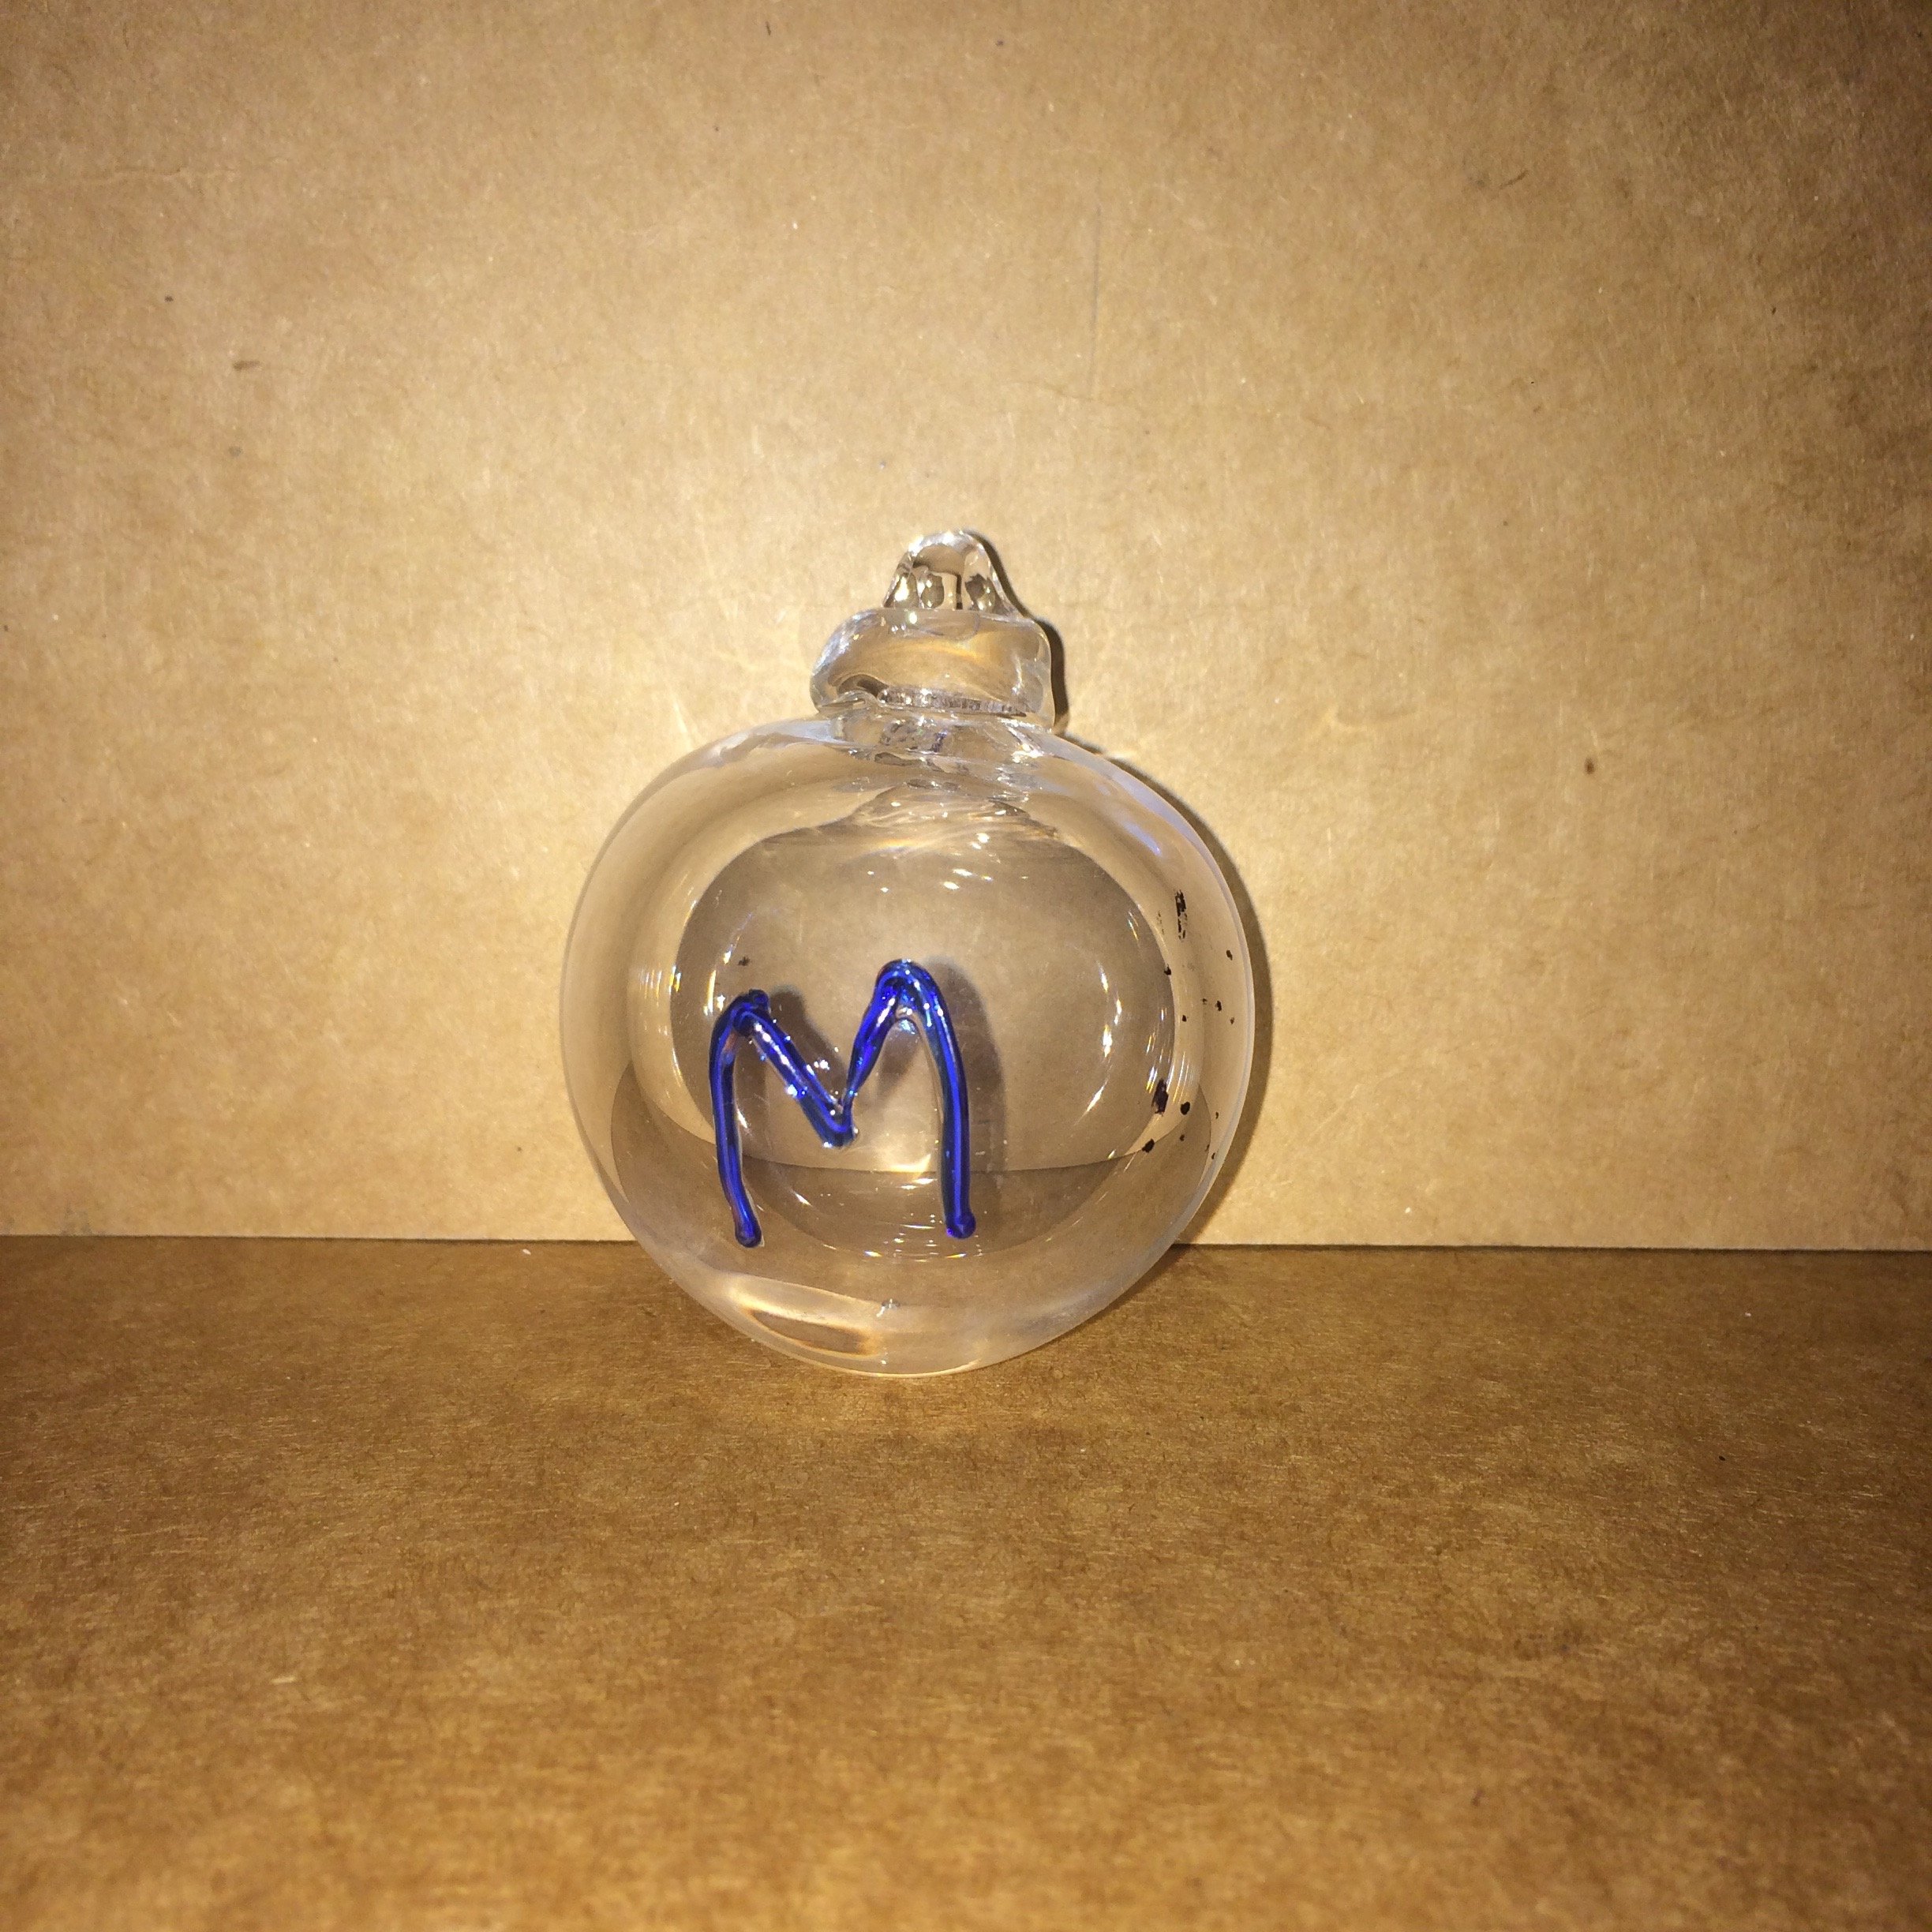
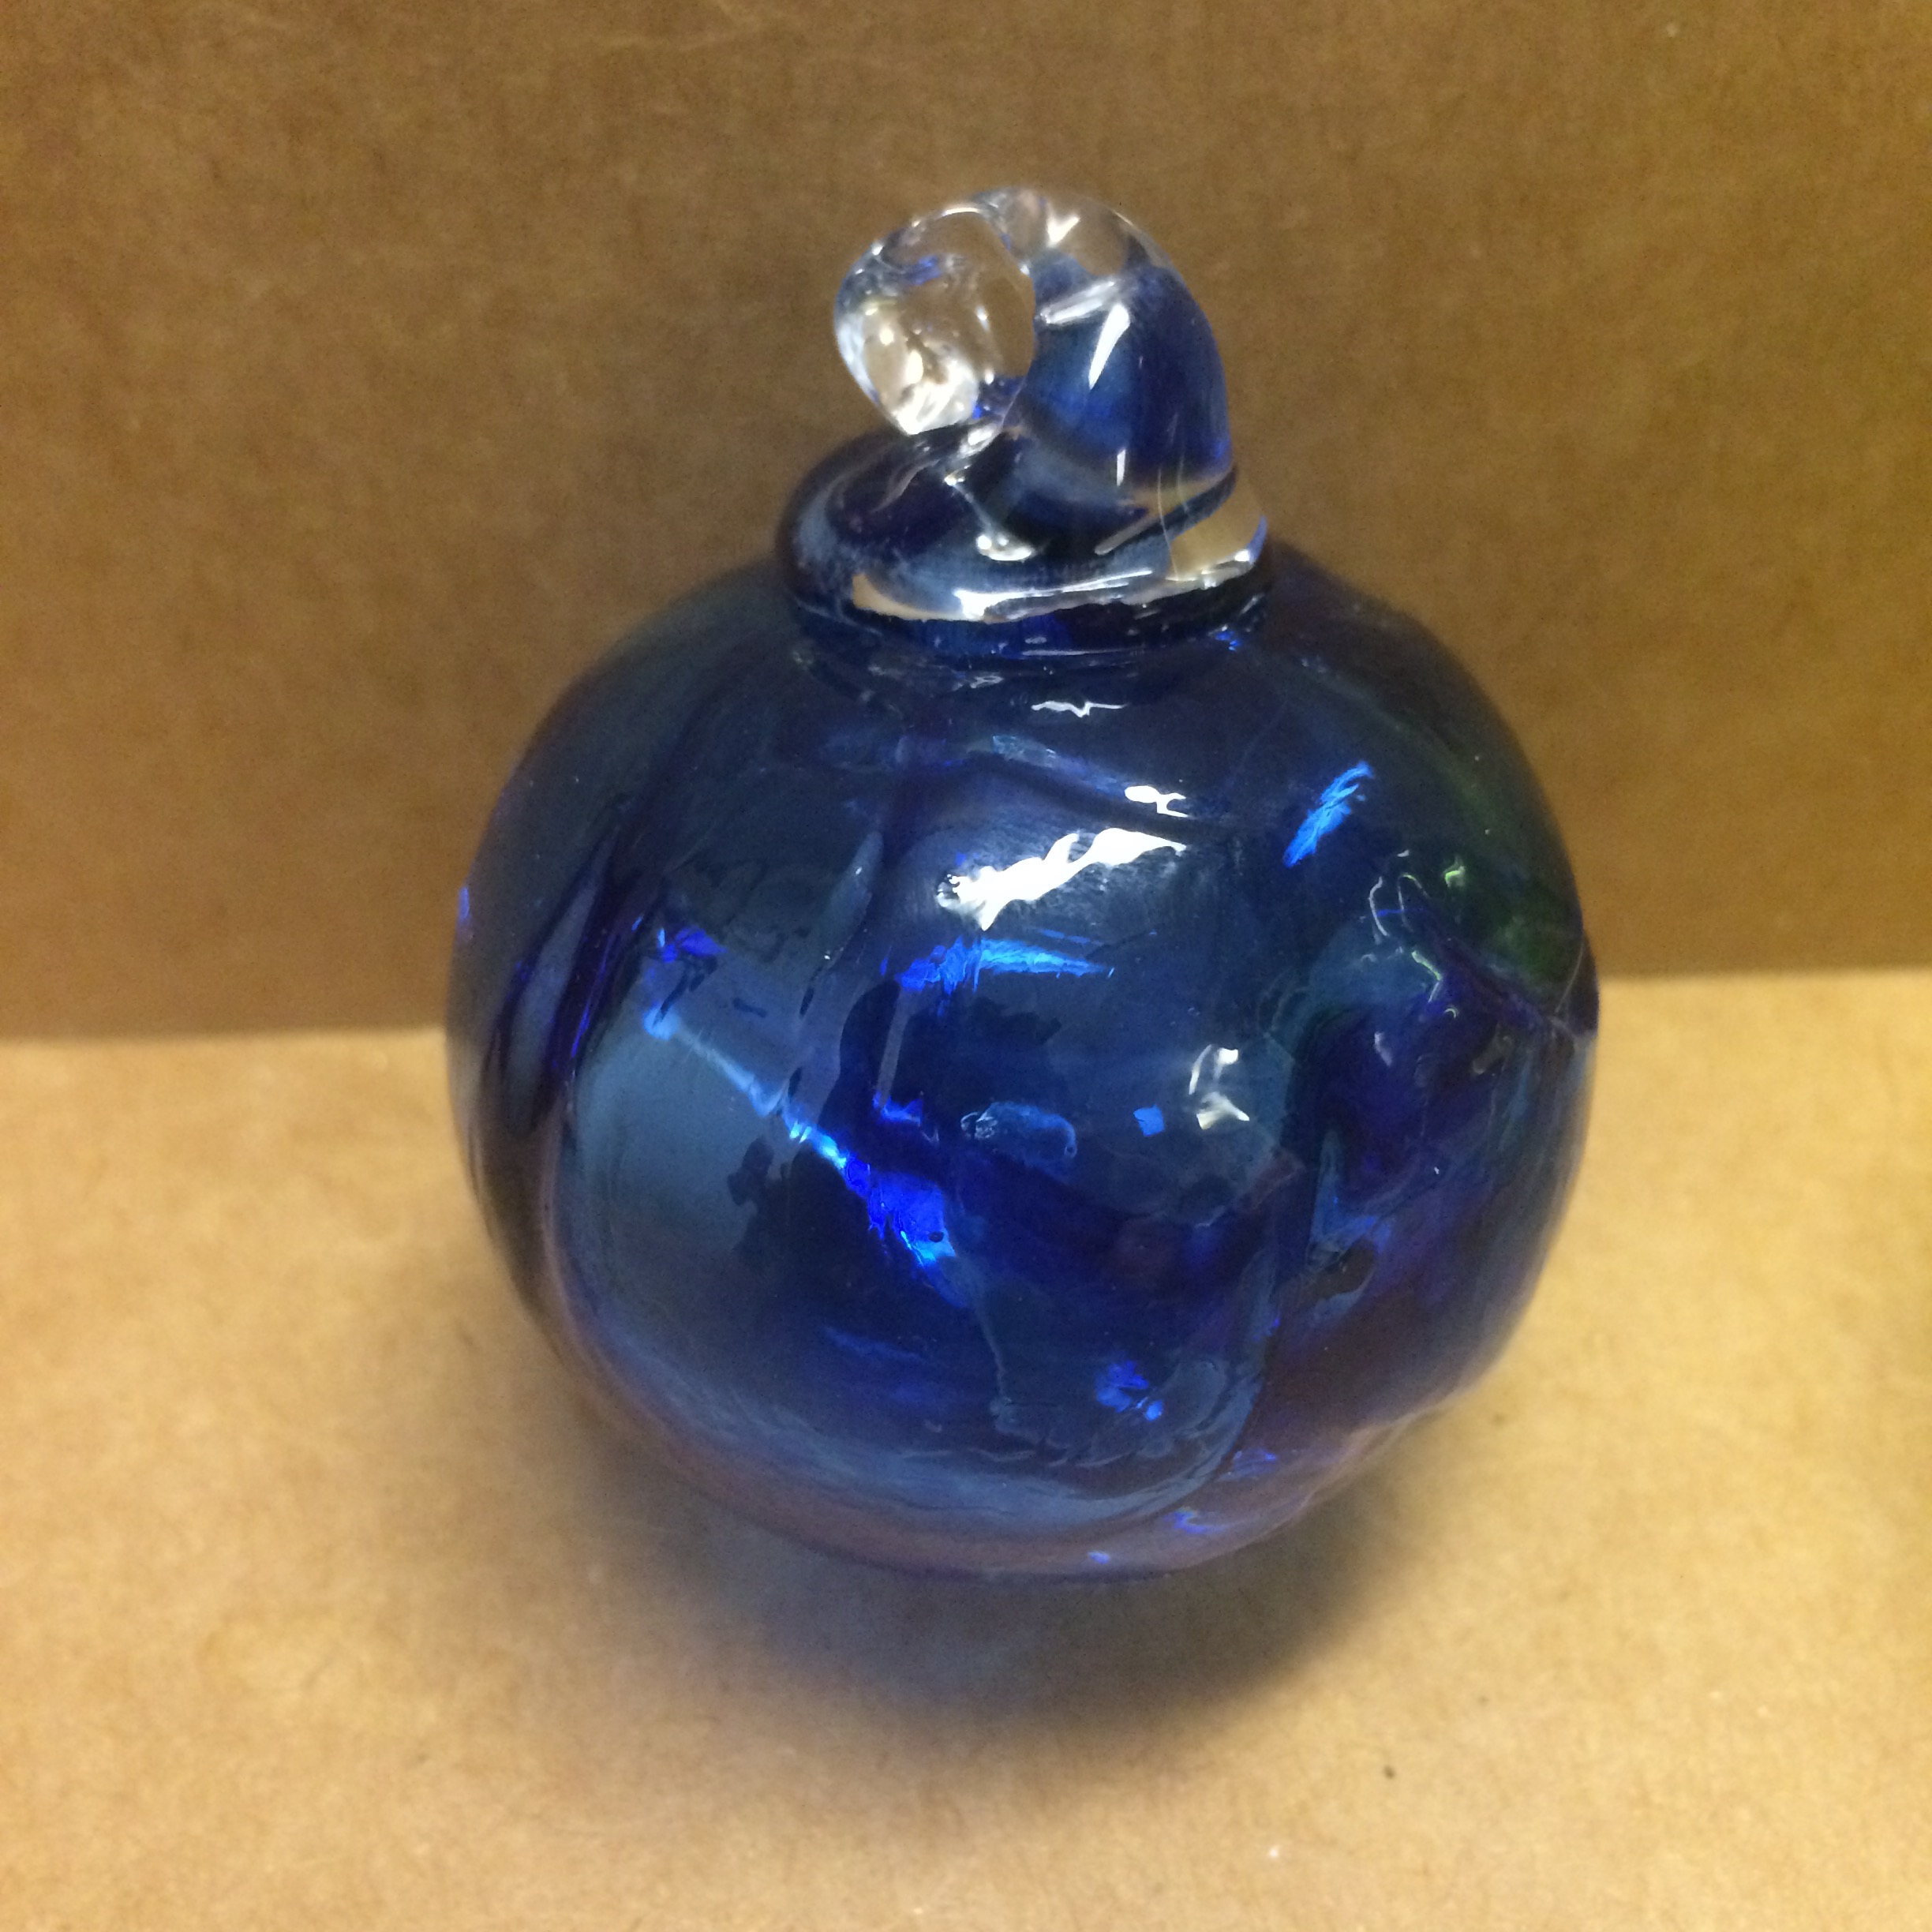
One cool design in ornaments is a Witch Ball. A Witch Ball includes “strings” of glass stretching across the inner surface. The green one was an attempt at the witch ball that kinda fell through when I attempted to poke through the bottom of the ornament, but if you squint at the dark blue one you should be able to see what I’m talking about. (If you can’t see it just trust me that it’s cool.)

Class 4: CUPS!!!!
CUPS ARE REALLY COOL
BUT THEY ARE ALSO REALLY HARD TO MAKE
BUT I ACTUALLY WAS DOING WELL ON MY FIRST TRY
AND THEN I MESSED UP :(
My cup was going to be beautiful. Its future was bright. No scratches, bumps, or bruises. It was destined for greatness. But alas, I knocked the glass into the side of the glory hole while trying to take it out and ruined my beautiful creation. Luckily, the instructors are really cool and don’t make you feel like an idiot for your mistakes, and quickly (by quickly I mean he took not even 5 minutes to do something that took me like 20…) made another great creation up to the point where I wrecked mine.
To actually make the cup a cup and not a ball, you actually have to transfer the glass onto another punty (you create a neckline over a part that has been blown so that when it is transferred it already has a hole, and then you open up the hole).
Here is a video of me opening the lip of my cup:
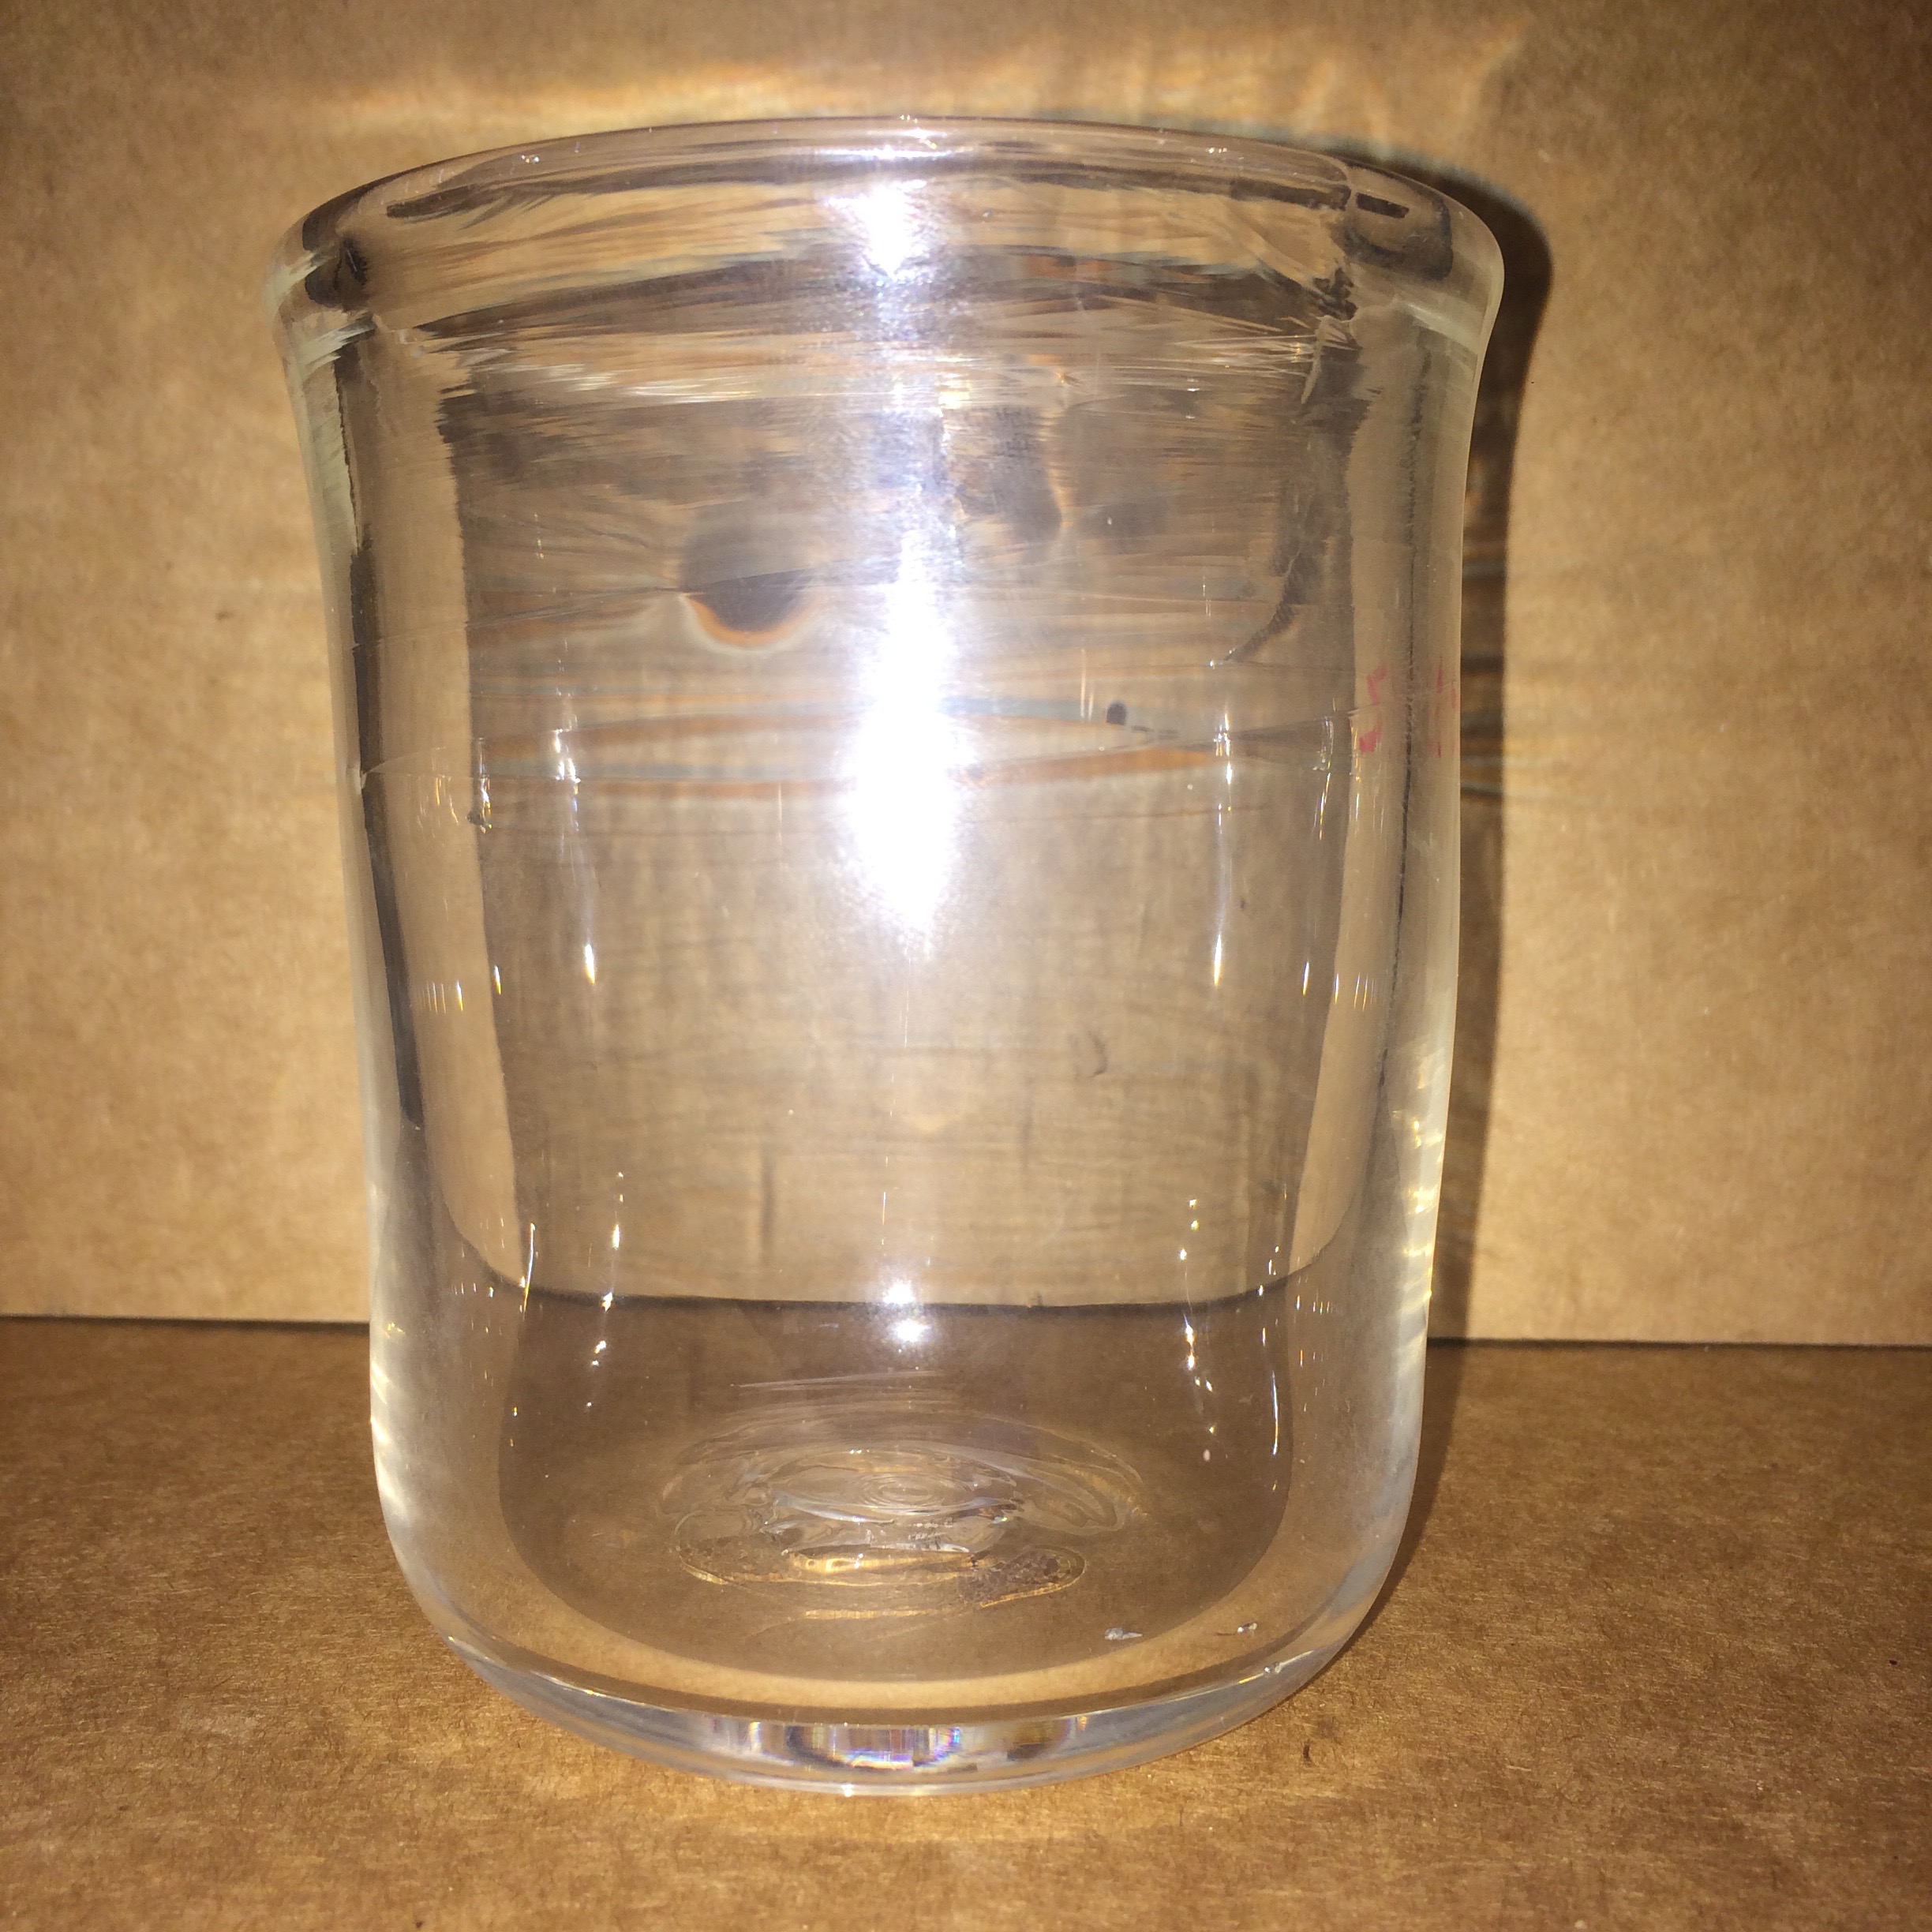
Practice 4: Cups again (a vase this time)!

I am so proud of this vase. I did not mess up at any time during its creation!
Arlene and I finished our cups with a little extra time, so we each got to make another small thing. As an attempt to rectify my wrongs of the first class (aka the Snowman-gone-wrong-that-is-now-a-bird-with-arms), I decided to make a snowman. With WAY more comfortability and skill than my first class, I can definitely say that try #2 was a success!
:)
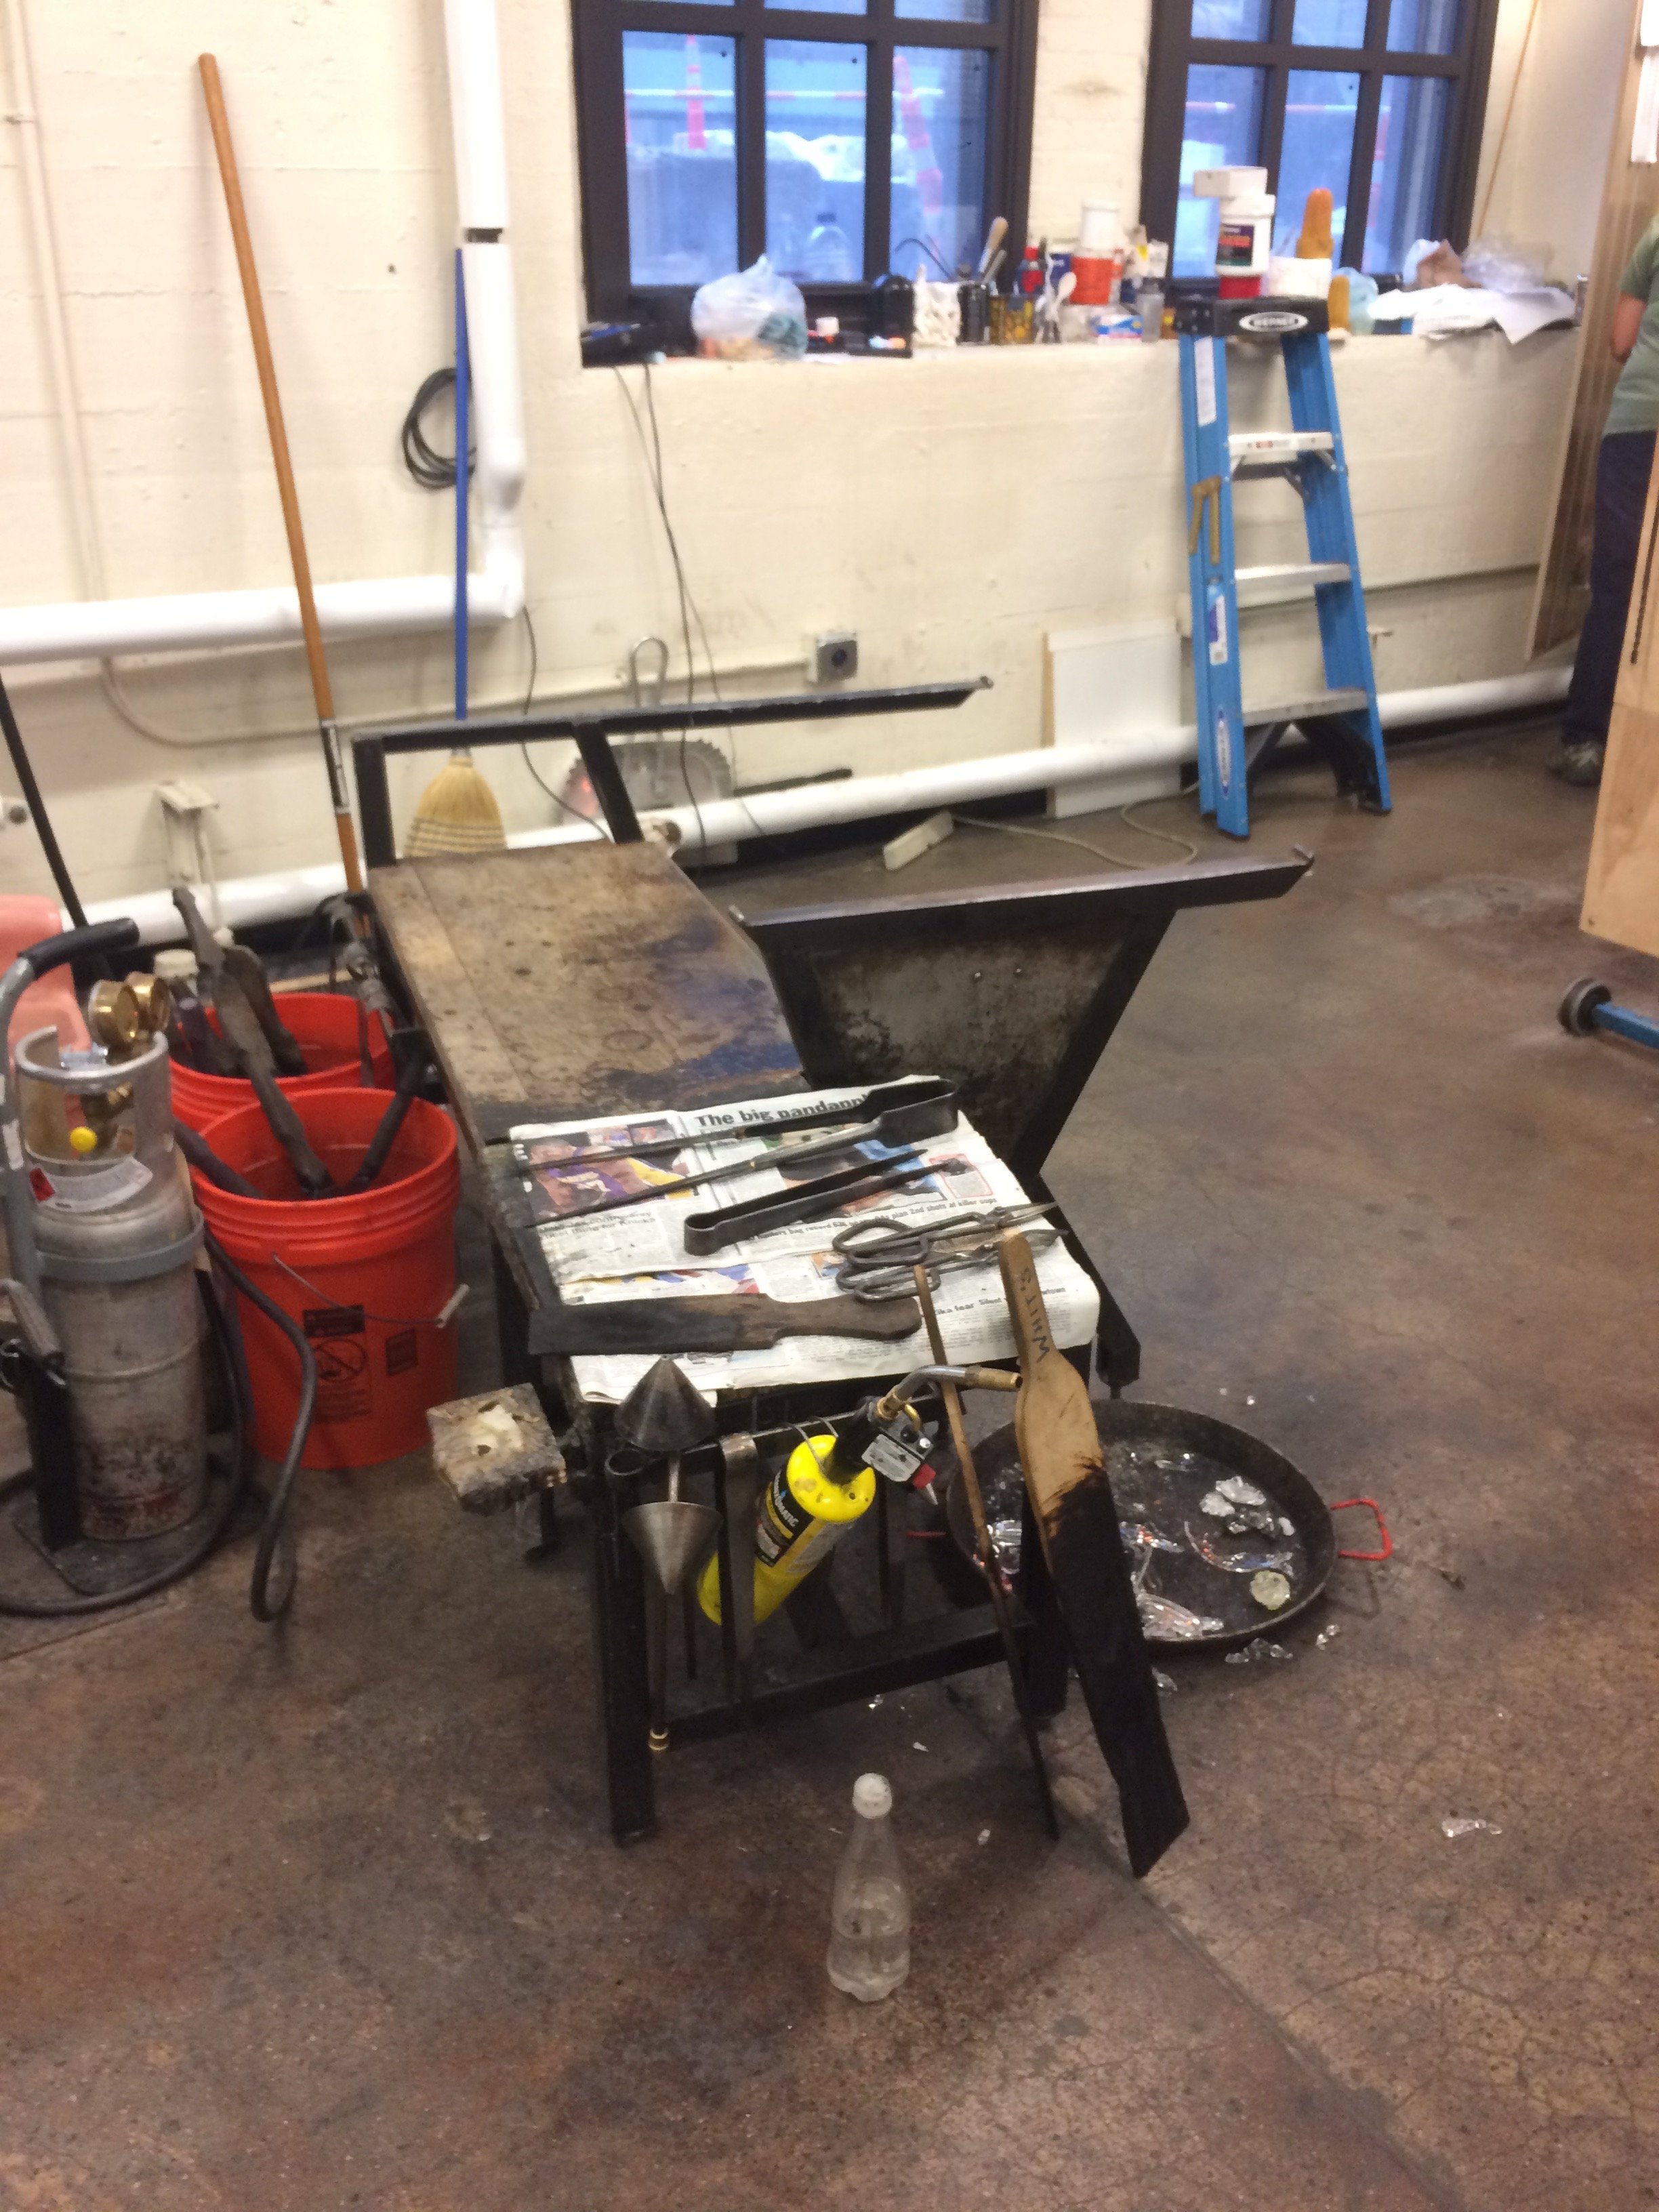
Here’s a photo of the bench you work at while making things; I didn’t know where else to put it in this post. The bucket is filled with water because those wooden tools start to burn and might catch fire if you hold them too long on the glass, or if they are dry.
Wooo!!!! :)