
How to Make a (Short) Movie in 15 Days by Sabrina M. '21
give or take
Conceptualizing
FIRST THINGS FIRST, YOU NEED TO HAVE AN IDEA.
1. Create your story. What are you filming? Where are you filming? Do you need a crew and actors? Ruminate over this.
2. Write a script, taking note of each scene you want to film. Format it to look like the scripts you see online, so it feels more official. 
3. Draw your storyboards. Get an idea of what you want your scenes to look like, from the location, angles, and framing.
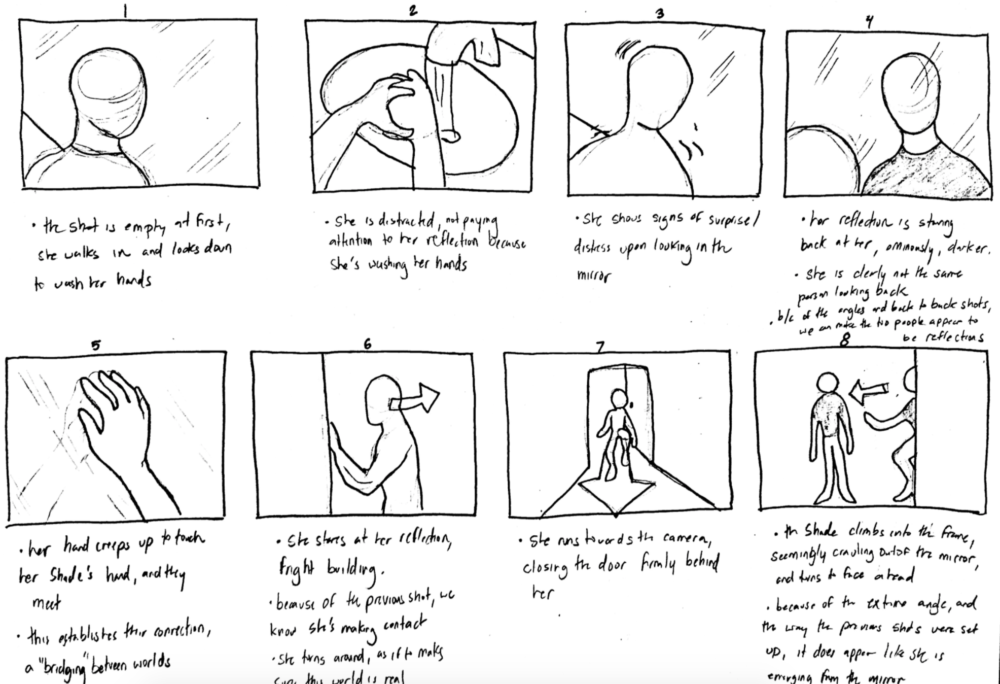
an example storyboard from a previous assignment
4. Create a shot list for each scene. Have a list of all of the shots you want,04 for example: a close up of Character B as they say something, or a long shot from across the street to establish a location numbered accordingly.
5. Establish a crew. If you’re like me, you can convince your friends who’ve already graduated and aren’t swamped with their own final projects to help you.
Filming
THE NEXT OBVIOUS STEP IS TO START FILMING. YOU CAN’T HAVE A MOVIE WITHOUT FOOTAGE, SO GET OUT THERE AND GET SOME.
6. Realize you have 14 days to finish, and skip steps 3 and 4. Craft your scenes on the fly.
7. Carry a ton of heavy equipment05 including, but not limited to, Canon 70D camera with battery replacement, tripod, sound recorder, shotgun microphone with dead cat windshield (it's a real film term i promise), heavy duty cable for said microphone, and whatever other props you may need to your filming location. Even in the pouring rain.
8. Get yelled at by two different employees at the T station, realize after a quick online search that you aren’t allowed to film with a tripod at any Boston T station. Walk away in shame.
9. Figure out lighting for your location. Outdoors, this involves messing around with your settings06 exposure, focal length, etc and careful placement. Inside, it involves more creative moving of physical lights and the previously mentioned.
10. Make sure your sound is good. Set the recording volume accordingly, place your mics, and try to drown out the unnecessary background noise.
11. Start filming! Always do more than one take07 I did three, or more when necessary of each scene. And, have the perfect, directorial ACTION voice.
12. Use your clapsticks. I learned they actually have a use, and aren’t just decorative relics from the ancient film world! The audio visual marker of the stick coming down, and the loud clap sound makes syncing the video and sound a breeze.
13. Clap with your hands instead when you forget your clapsticks. Same effect, but much less cool looking.
14. Freeze your body and numb your fingers while you try for an hour to get the perfect outdoor tracking shot in 30 degree08 for those of you with Celsius mind- that’s about -1 degrees, so freezing weather.
15. Kill the batteries of your equipment. Laugh during takes. Have your actors improvise their lines. Forget your scene numbering because you’re not organized. Have your actors forget their lines entirely. Regret skipping steps 3-4.
16. Have your crew secretly take photos of you while you work.
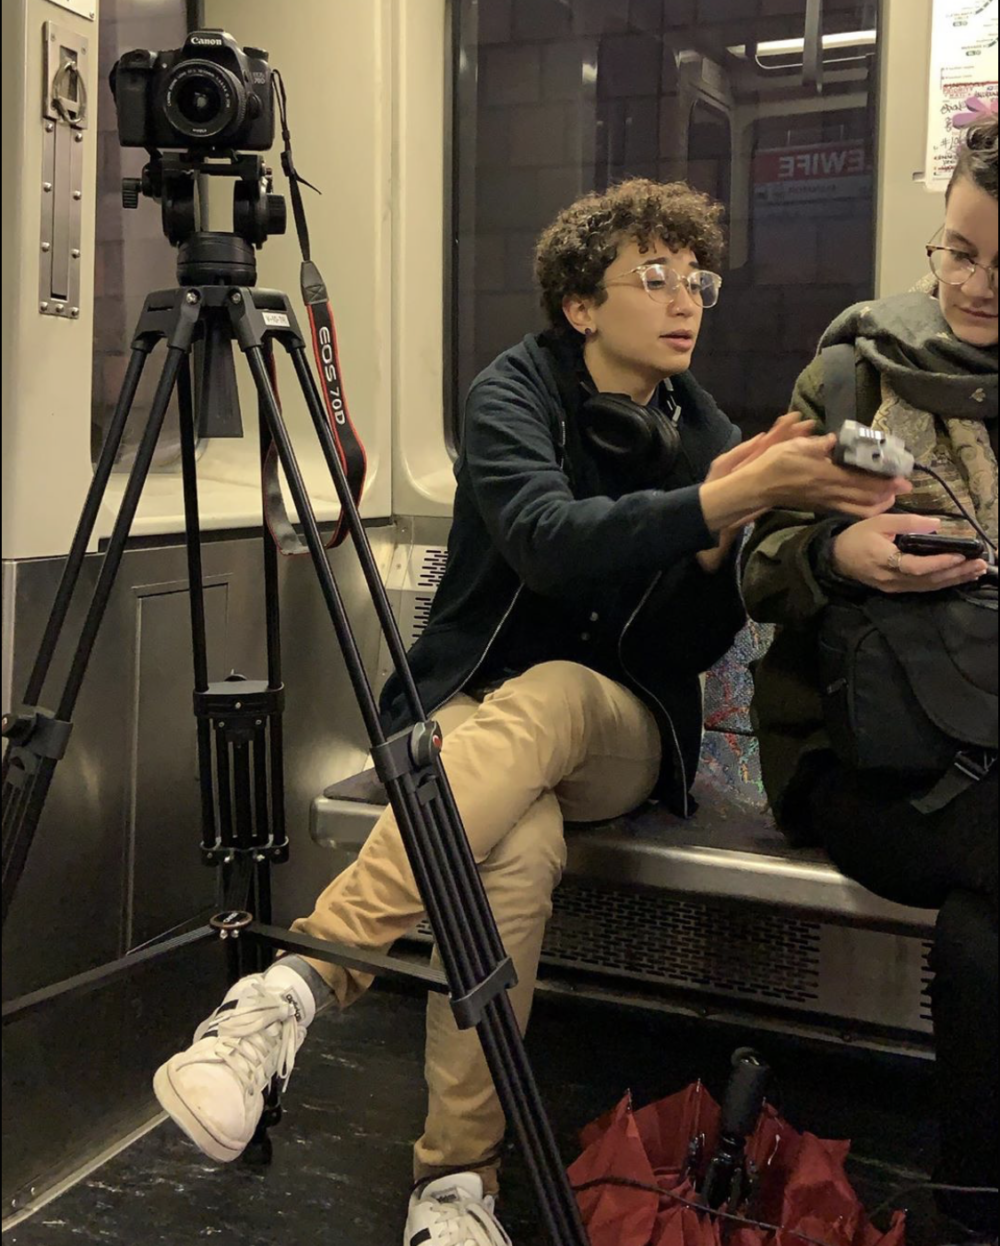
don’t tell the mbta
17. Finish filming!
18. Buy your crew something nice to celebrate being done with one part, and for taking time out of their days to help you make a short film. And for getting caught in downpours, freezing with you, and generally doing a killer job.
Cutting
LASTLY, YOU HAVE TO ACTUALLY MAKE THE MOVIE. RIGHT NOW, ALL YOU HAVE IS HOURS OF RAW FOOTAGE WITH NO STORY OR DIRECTION.
19. Transfer all of your footage and audio files to your working area. I use a solid state drive and work directly from there.
20. Sort through everything on Adobe Premiere, or whatever video editing software you’re using, labelling accordingly so you know what is what.
21. Mark the exact frame where a clap occurs (in both the audio and video), and sync the clips using that marker. Premiere makes this pretty easy, using Merge Clips and using the marker as a reference.
22. Go through all of your footage again when it’s all synced and organized, and mark the outtakes that you definitely won’t use.
23. Now, with your best footage, start throwing it in the sequence! Spend the next few hours arranging and rearranging footage.
24. Regret not making storyboards again, and try to create a vision as you work. Struggle as you try a million different iterations of the same scene.
25. Adjust the color and volume of sounds when you finish your rough cut. Watch your film.
26. Keep adjusting. Keep watching. Revert to step 23. Repeat.
27. Agonize for days about what song you will play in the background. Settle for something because you have no knowledge of deep classical music, and the film is due in two days.
28. Do some detail editing of lighting and audio. Add little sound effects where you need them. Adjust the hues in a scene to make it more blue. Carefully blend audio between scenes so nothing is too abrupt. Watch your film again.
29. Final touches. Cut two frames off the end of a clip. Adjust song volume. Watch again. Get tired of watching the same clip over and over again. Change the saturation slightly. Watch it again. You cannot rest.
30. Export the video into an .mp4 file. Watch it again, this time trying to look at it with fresh eyes. Hope you don’t hate it now that you’ve taken the time to export it.
31. You’re done!
Here’s my finished work, a short film I’ve titled Dissonance. Without getting too into detail, so you can see for yourself, it’s about a troubled writer who quits her job to pursue her passions. Content warning for drug abuse and swearing. And major thanks to my crew;09 unfortunately, I did not include credits in the film Leah B., Dominik M., Hansa S., and of course, my lead actress, Kendra C.
- as short as 2 minutes or as long as 2 hours back to text ↑
- i found when after shooting what i thought was an amazingly framed short film, i discovered as we screened it in class that my exposure was off for the entire process, and my film was nearly pitch black back to text ↑
- read: difficult and time consuming back to text ↑
- for example: a close up of Character B as they say something, or a long shot from across the street to establish a location back to text ↑
- including, but not limited to, Canon 70D camera with battery replacement, tripod, sound recorder, shotgun microphone with dead cat windshield (it's a real film term i promise), heavy duty cable for said microphone, and whatever other props you may need back to text ↑
- exposure, focal length, etc back to text ↑
- I did three, or more when necessary back to text ↑
- for those of you with Celsius mind- that’s about -1 degrees, so freezing back to text ↑
- unfortunately, I did not include credits in the film back to text ↑